Because the best things in life are free
|
|
|
I just moved the former page at this location that was mostly about the installation of Mandrake 9.0 here. Nonetheless, much of what was there is still here, since it still applies.
First some links for reference: Mandrake 9.0 Quick install guide Disclaimer: in (some parts of) these install comments I discuss things from the point of Mandrake linux, but a lot I describe in the beginning is the advice I'd give to anyone wanting to install any flavour of linux.
Preparations
Harddisk preparation for dual-boot.
Windows with NTFS partitions (NT, 2000, XP potentially) Another hint: once you use a partitioning tool, you should/can only use that tool in the future. Unless, in an extreme case, you do a full rollback of your harddisk, which generally makes you lose all data. (This can be done by restoring an older partitioning table, you need a utility floppy disk from your harddisk manufacturer.)
Before installing I'm not aware of more things that may be problematic to a successful linux install or use, please email me if you have more info on general (to all kinds of mobo's) settings that should be set in a certain way to obtain a functional linux system. The installation itself Just put the first cd in the tray and reboot the pc; then type enter when you get to the question if you want to install, upgrade or other. (For completeness, yes you can install from the images on a FAT32 (windows) partition, or from a linux partition, or over the network with NFS, or via ftp. But I won't comment on that here.)
I will now just give some tips and explanations on what and how I do things, along with the screenshots I made during the install (just hit
Choosing Your Language 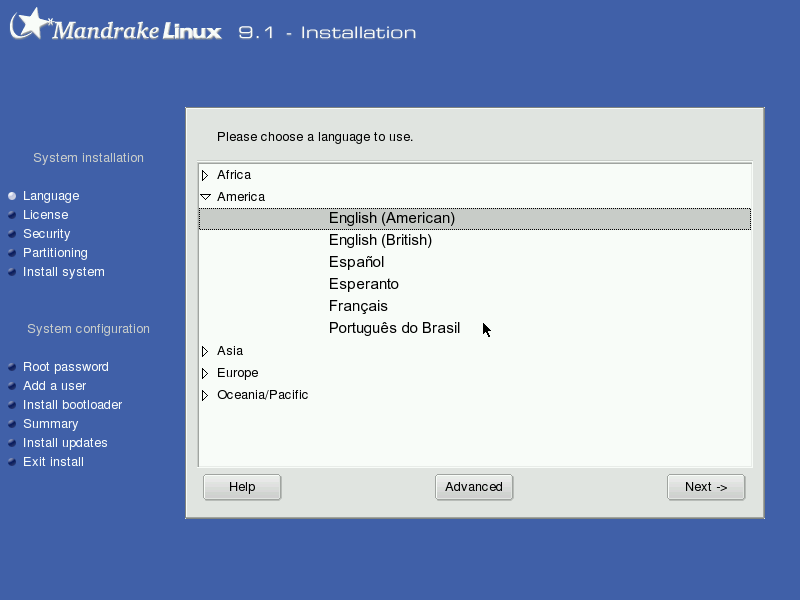 Use advanced to select more than one language. Very important if you want multiple languages, in some cases it can be near impossible to add later (well you can always run through the install process again, just doing upgrade instead of install...).
License Terms of the Distribution 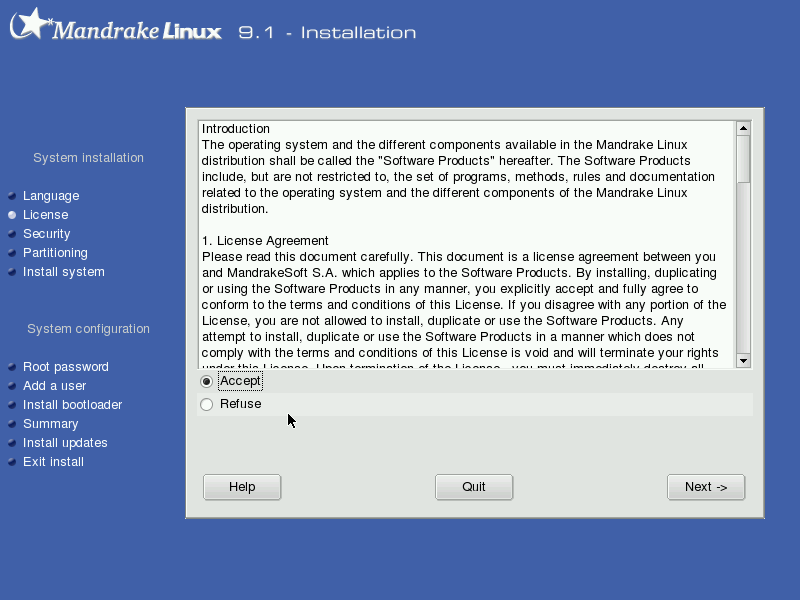 Well I don´t think anything in this license is objectionable for the normal user, so click accept and move on.
Keyboard and mouse settings 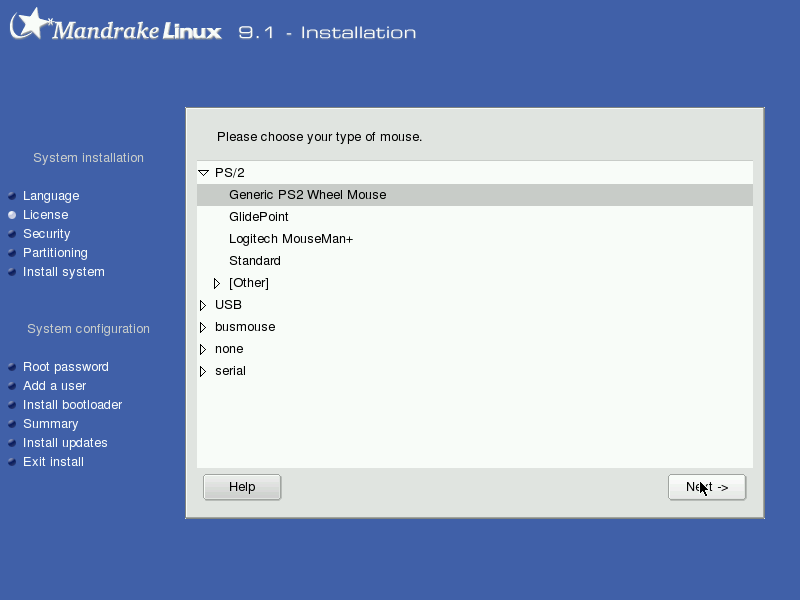 The mouse detection jumped past the config screens (maybe it got confused because I have two mice attached, one ps/2 and one usb), but on another computer that I installed Mdk9.1 on, it did work as it should have, so here are the screenshots of that: 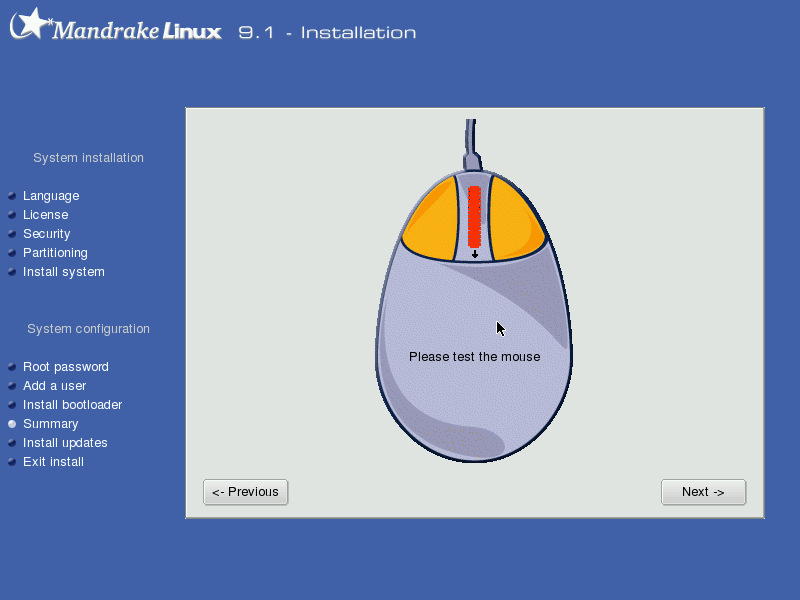 Basically, just move the scrollwheel up and down.
Installation Type 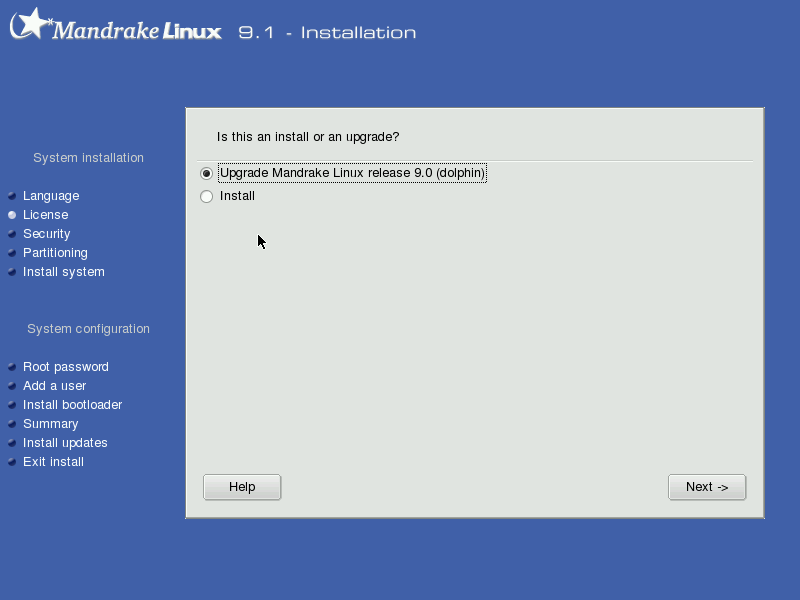 Mandrake correctly detected that I had Mandrake 9.0 installed; I still chose ´install´ instead of upgrade anyway, it seems to be the best choice. Many people have managed to use the upgrade option, but some have ended up with a badly broken system; the best advice seems to be to do a clean install. BTW there is no direct selection for expert or so anymore, but at some places during the install it is still possible to select expert mode.
Security level 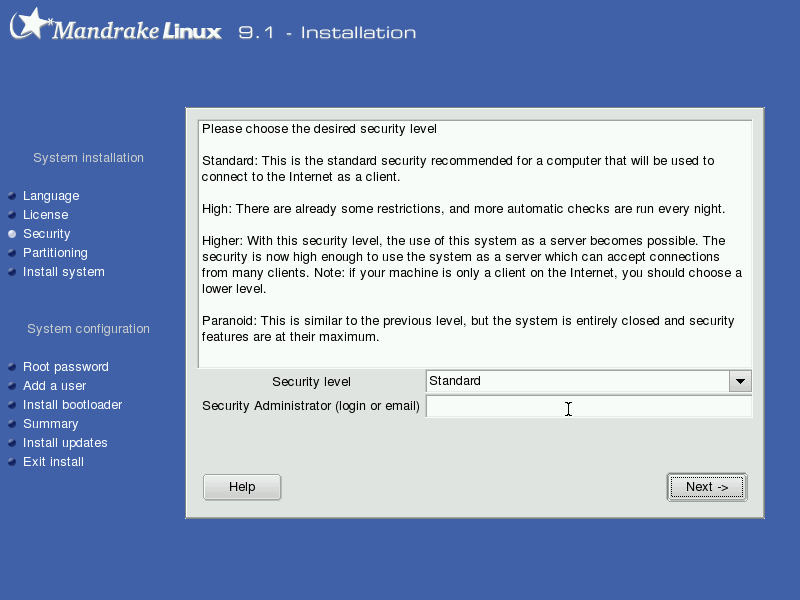 If you need to read this page, chances are that you're just a home user, with no special security needs, so you can just choose standard. A higher security level is to be adviced if you are running a machine that is always connected (cable, adsl), and definitely if you are going to run a webserver or other services that are available from the outside. Also, if you have a fixed IP address, you may want to think about choosing something other than standard.
Selecting the Mount Points
About the swap partition: traditionally 2x the size of your RAM memory, nowadays not necessary to make it so large, if you use your linux system in a way that it really needs 200MB of swap, you're doing such heavy things that a memory upgrade would be in order..
You just divide the remaining space over the last 2 partitions, if you have a 20GB harddisk, you have about 10GB left, so you can do 5GB - 5GB or, if you are certain you are going to use a lot of files both under linux and windows, 3GB for /home and 7GB for /mnt/win_d
because you cannot access any linux filesystem when under windows, and under linux you can actually access all fat32 partitions for reading and writing, so you can make a large win_d to be able to pass large files from the linux environment to windows (like ripped cd's or so). Important note! If you create new partitions, they must be formatted so that later the operating system (whichever that is) knows the total size. I recently wasted quite a bit of time of a friend of mine for thinking I could bend the will of the digital universe to my liking. Formatting of newly defined partitions is necessary before any system can use the partition. DrakX asked me if I wanted to use existing partitions, or create new ones. I used my existing partitions, and I was just asked which of the linux specific partitions I wanted to format, preselecting the / partition and offering the other ext3 partitions I have without preselecting them to get formatted. I left the / partition as the only one to be formatted. Edit: an addition thanks to John Coombes: under windows you can actually have read access to ext2 (3) partitions, more info here. This may especially come in handy for those who use NTFS as their only windows filesystem and want to exchange data from linux to windows.
Choose Packages and Install 
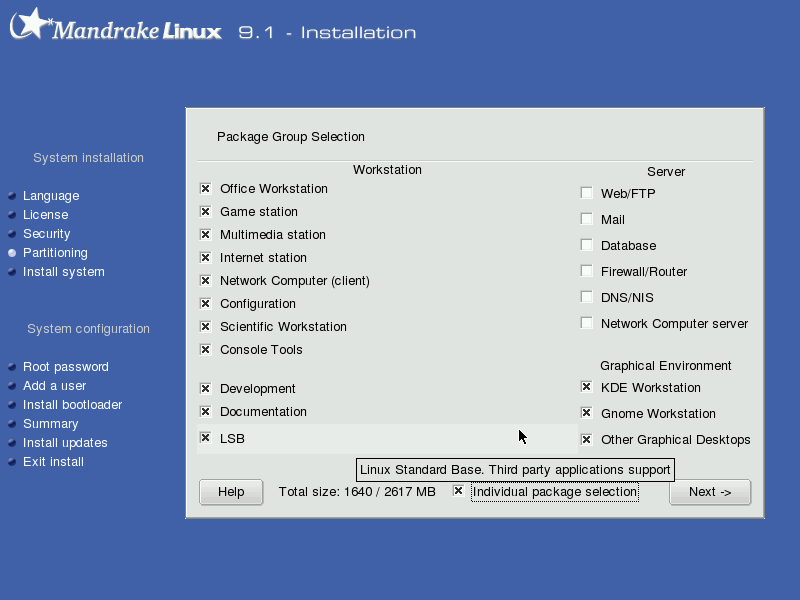 - for a more or less complete install, just select basically all general groups on the left, and all environments on the right bottom side. Leave out the server stuff, unless you know you want to play with that. Keep in mind that it's really easy to install anything at a later point with the software installer. If you choose 'individual package selection' you get to hand pick extra packages.
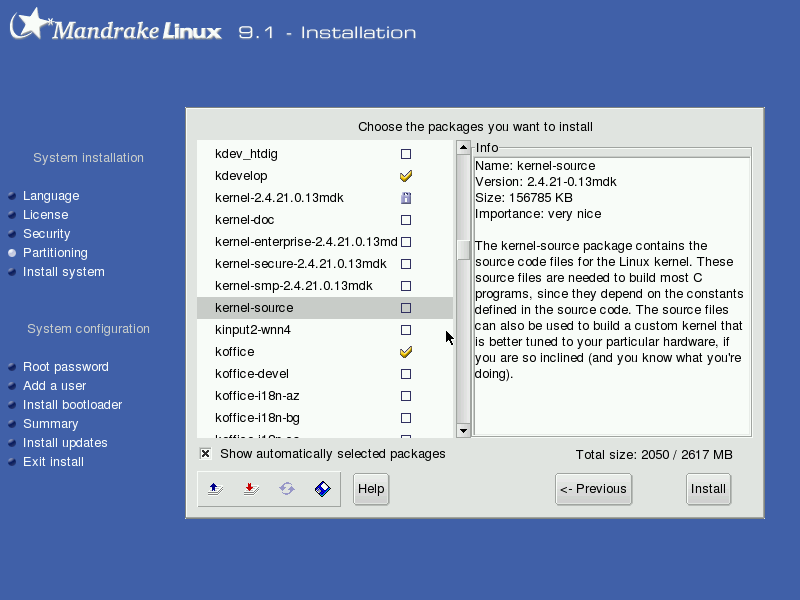
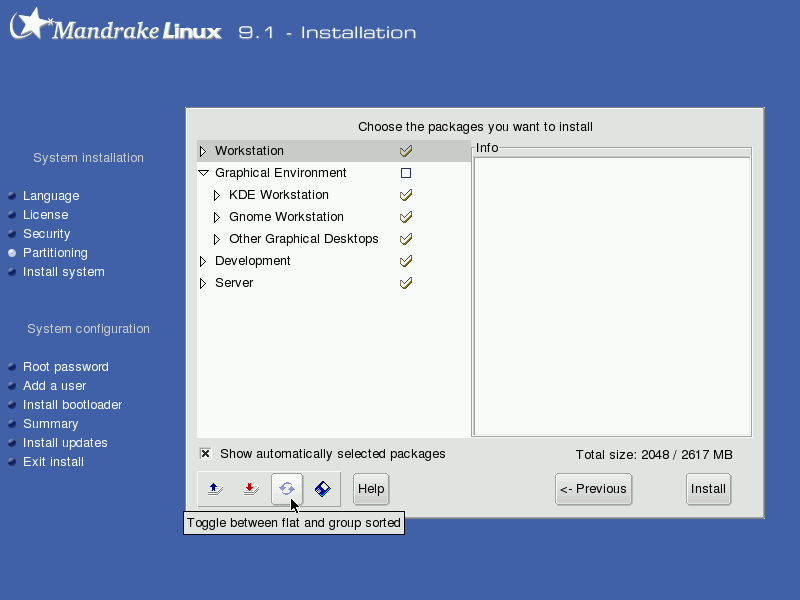 But any stuff you can pick there, you can also install later. BTW, selecting the development packages does not install the kernel-source, so you may want to add that by hand picking, or later with urpmi.
 After selecting, sit back and relax, or take a break,... on a Duron 1GHz system, the software packages install took me more than 20 minutes! Oh and you get to change the cds a couple of times.
BTW, people calling Mandrake bloatware are exaggerating (as the smallest harddisk you could buy 2 years ago was already 8GB), if you look carefully you notice that about 1.6GB out of 2.6GB have been selected to get installed; so now you see why I didn´t tell you to make the / partition larger than 5GB... You get a warning that you have selected to install a number of servers
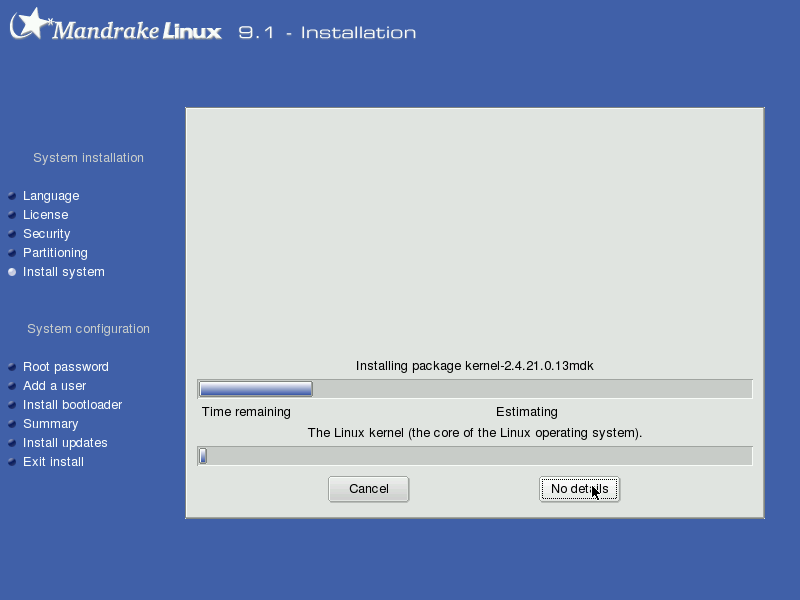
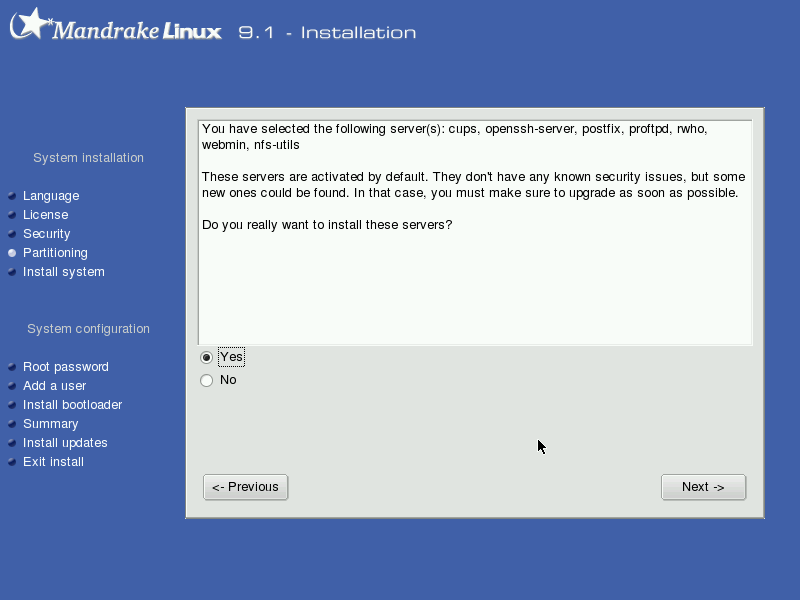 And then finally the installation can begin.
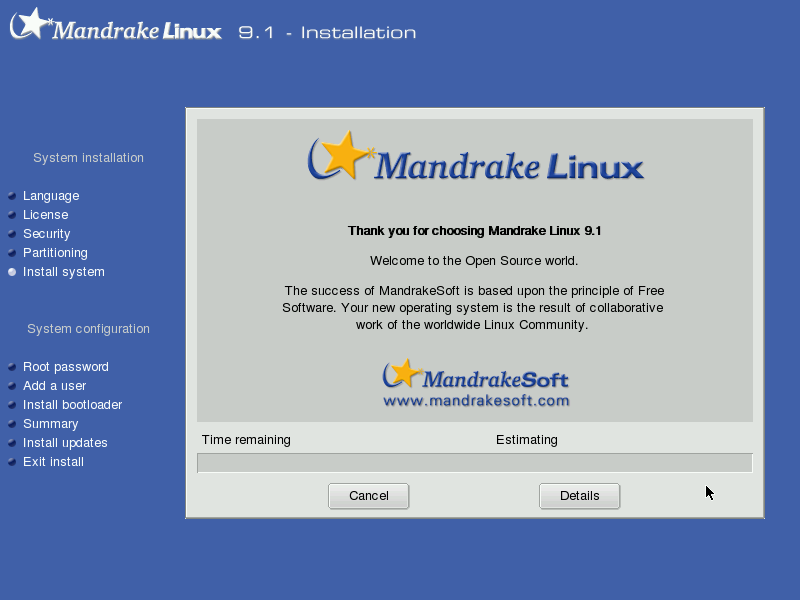
Don´t pay too much attention to the estimated time that gets calculated; somehow it was way too optimistic for me...
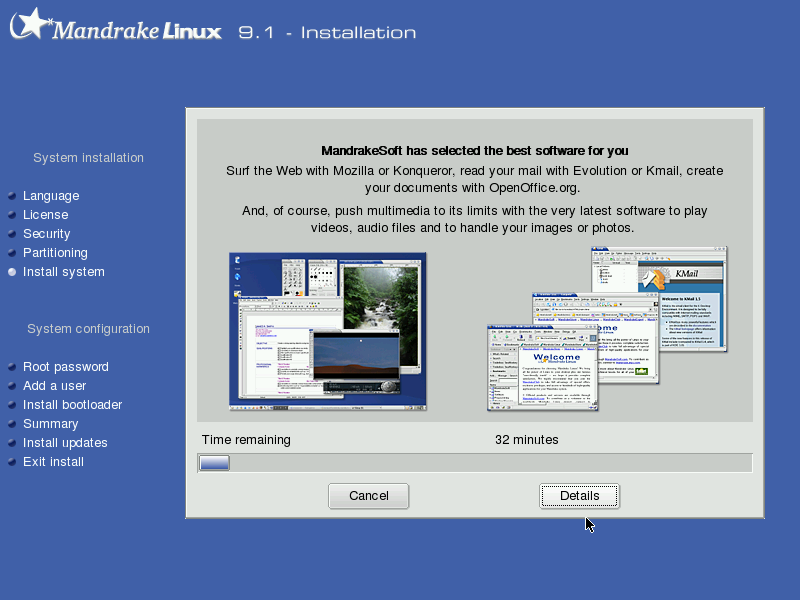
 Switching back to the no-details view, you get some pictures about programs and how nice the selection is that Mandrake has made for you, etcetc.
 Root Password
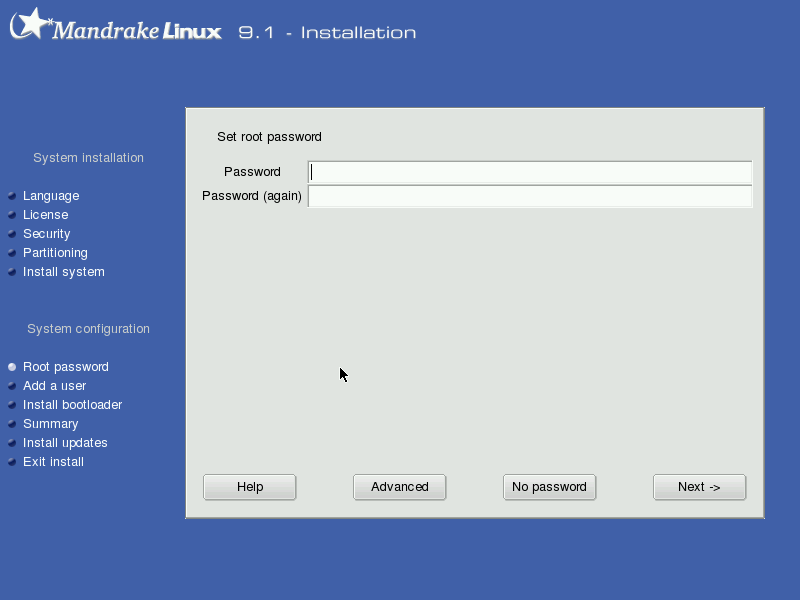 Root is the term for the administrator, and with the root password you can ´become root´ and have full control over your system. Make sure you don't forget whatever you choose, (and also: don't make it easy to guess for someone else if you want to make sure no-one can mess with your machine... no actual words, or worse: names). If you do forget it, you can actually go through this installation again without installing anything (choose upgrade, then don't select anything), and just choose another root password. Oh, in that case you do have to create the same users that existed on your system. Or you may revert to the foolproof idea of just writing it down and putting that in a safe place... :-)
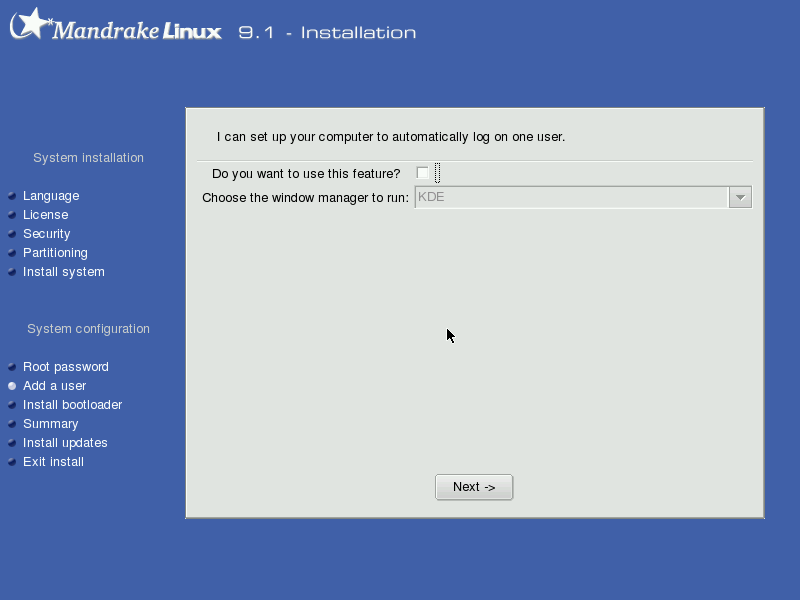
Adding a User Autologin

If you want, you can set up the system so that upon boot, you (well, the user that you choose) automatically get logged on. This is a non-security ´feature´ from some other OS that people are so used to that omission of it in a true unix-like system would make the system seem to be deficient....
 and got on with things. Installing boot loader
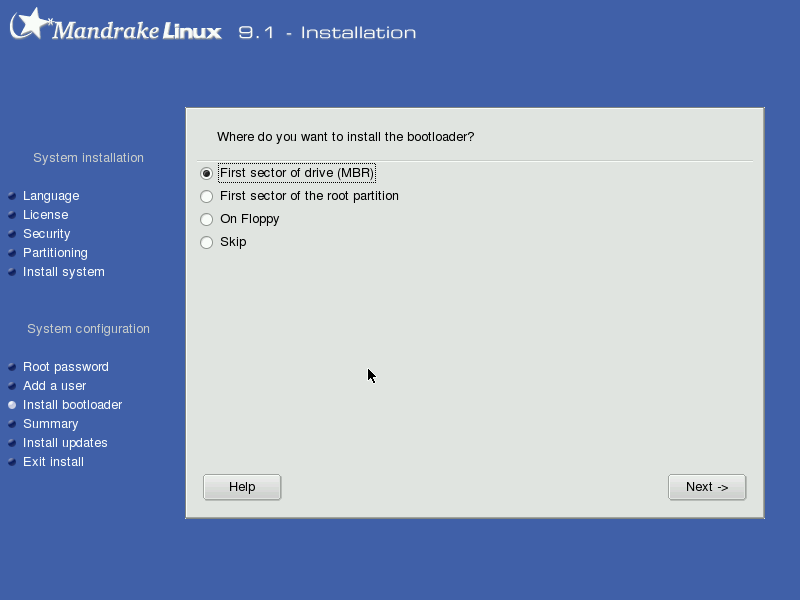 Can anyone tell me how you are supposed to start your system if you choose ´skip´ here? Anyhow, I just took MBR, since that is the easiest way. A boot floppy is not a bad idea, in case you do a reinstall of windows for instance, but then you can also restore the bootloader on the harddisk if something were to happen to it, by booting with the first CD (CDROM 1), choosing F1 - and booting into rescue-mode (F1 and type 'rescue' [enter], then select "repair bootloader"). Summary
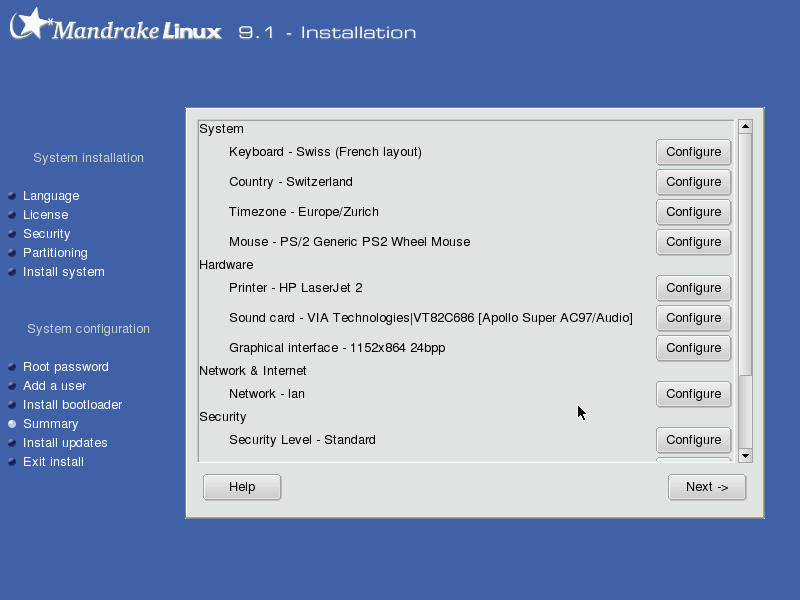
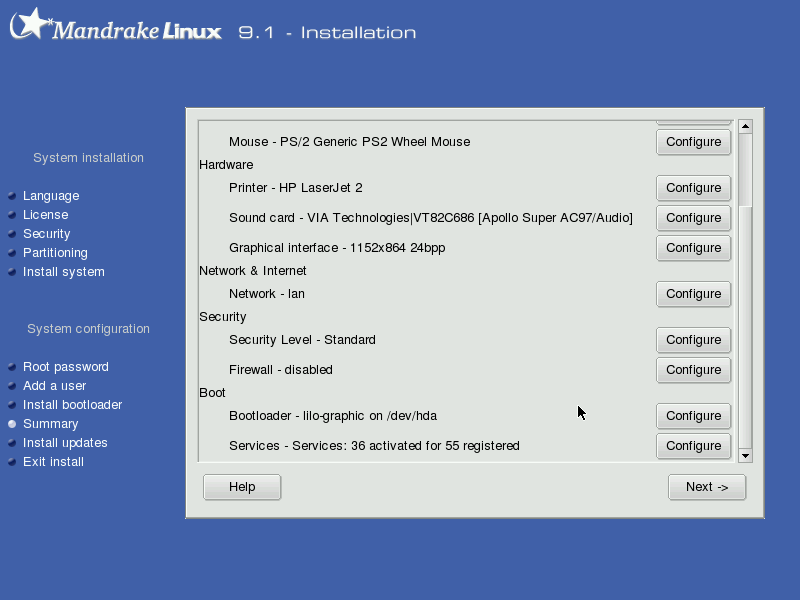
 These are screenshots from the second pc I installed Mdk9.1 on, the first one (my own) had the graphics adapter configured at the desired 1600x1200 resolution, and the correct graphics card selected too (gf4ti4200). Clicking the "configure" buttons right from the item you want to configure takes you to the respective submenu. I just went through them and set things up: country, graphics, printers, ethernet (here you get to select the hostname of your machine), etcetc. Servers started at boot
 For any server that you have installed, you get to tell if you want it started at boot. It is generally a good idea to switch off ftpd, httpd and such servers that you may have installed to play with, but aren't going to use. You can switch them on later, but they do slow down the boot process. If your boot is very slow, it may be because of this; anyway, this screenshot shows the servers that I switched off... Summary with adjusted settings The following shots show the settings after configuring all subparts that were applicable for this machine.
 Installing Updates from the Internet
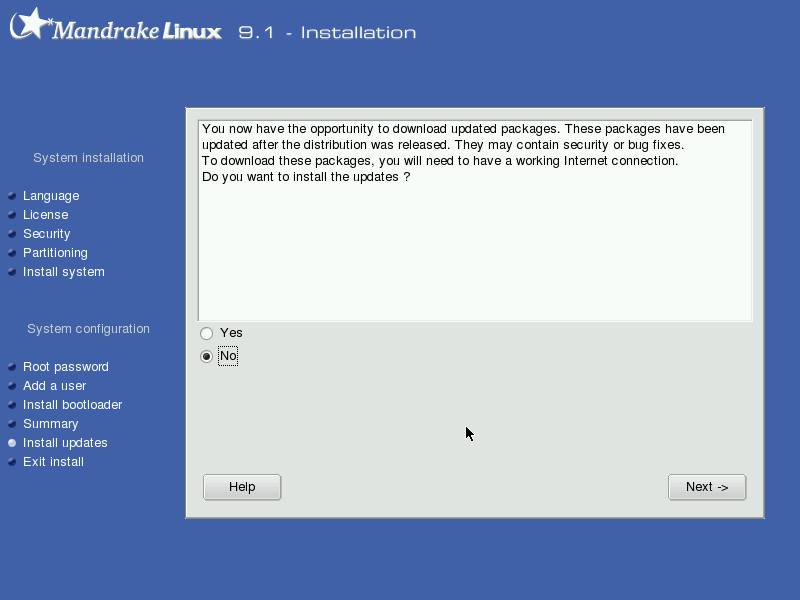 Mostly to get security updates. Unless you have a fast internet connection, you may want to skip this step. Also, if you don't have a fast (flatfee continuous) connection, chances are that you're not going to be an easy target anyway (if you're offline, how could they hack your system...) Feel free to use it though. It's Finished!
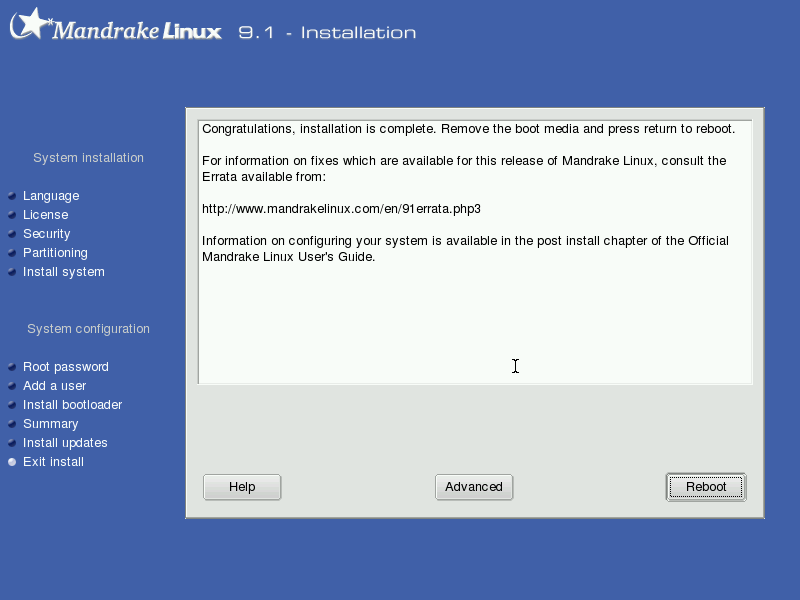 Take out the media (cdrom) and reboot.
|