|
Installation
First some links for reference:
The installation procedure of Mandrake 9.1 -- basically, this page is an updated version of that page. Please read the Preparation section about how to prepare your harddisk for dual-booting to linux next to your windows system. If you decide to leave windows behind, just skip that section. Also, read the part on how to set up your bios to accomodate linux. Certain wrong settings may result in a failing install.
Inquirer install guide mostly about Mandrake 9.0
Mandrake 9.2 features
Mandrake Linux documentation
Among which you will find:
Mandrake 9.1 Quick install guide
Mandrake 9.1 Starter guide
Mandrake 9.2 errata
Disclaimer: in (some parts of) these install comments I discuss things from the point of Mandrake linux, but a lot I describe here
is the advice I'd give to anyone wanting to install any flavour of linux.
The installation itself
Just put the first cd in the tray and reboot the pc; then type enter when you get to the question if you want to install, upgrade or other. (For completeness, yes you can install from the images on a FAT32 (windows) partition, or from a linux partition, or over the network with NFS, or via ftp. But I won't comment on that here.)
I will now just give some tips and explanations on what and how I do things, along with the screenshots I made during the install (just hit F2 to make a screenshot, you can find them later in /root/DrakX-screenshots/).
The following parts are in the installation; I've intermittently put my comments, whereever I have tips to spare.
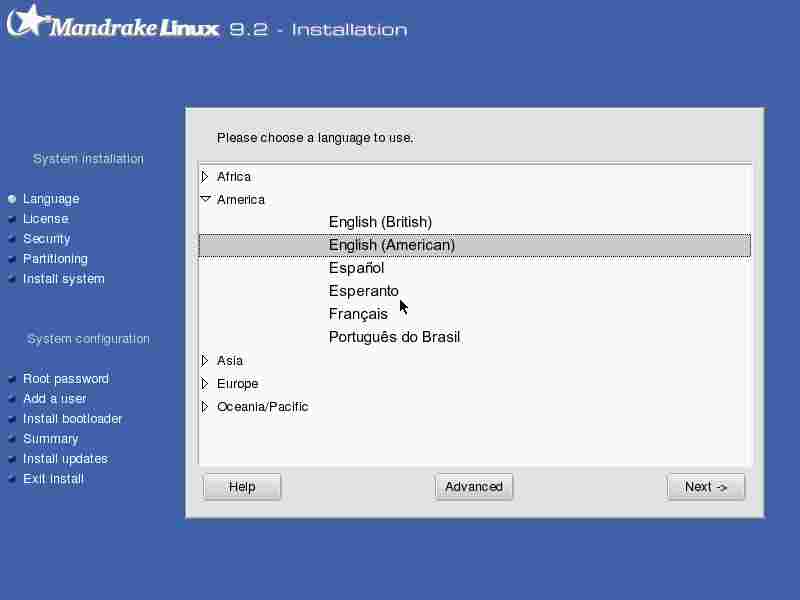
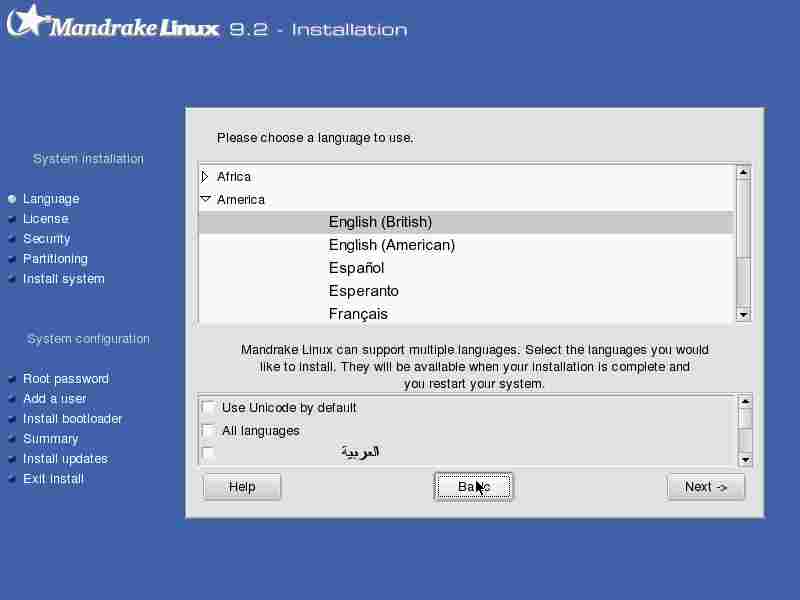
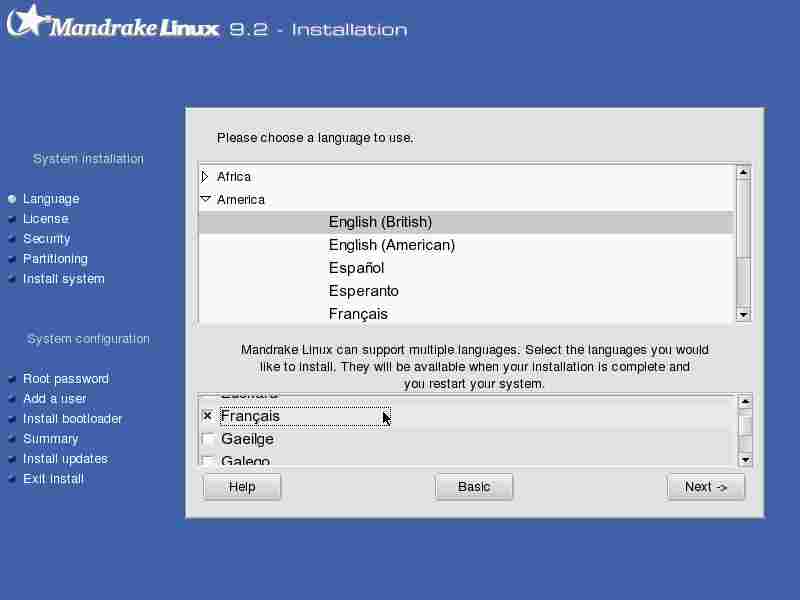
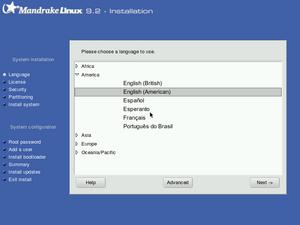
Choosing Your Language
|
Use advanced to select more than one language. Very important if you want multiple languages, in some cases it can be near impossible to add later (well you can always run through the install process again, just doing upgrade instead of install...).
|  |
|
As you can tell when browsing this list, Linux offers an astonishing choice of languages (any language that anyone has bothered to do the translation for, as a matter of fact). I checked the secondary languages of my choice and moved on.
|  |
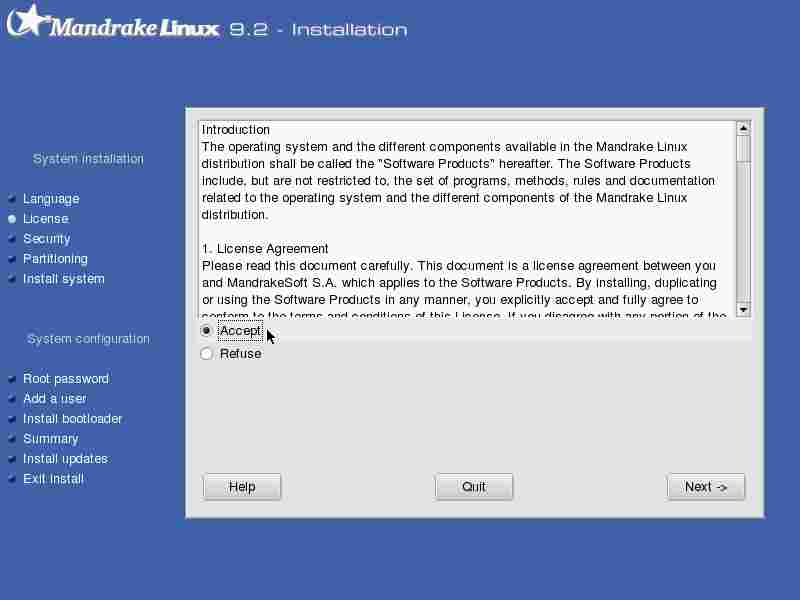
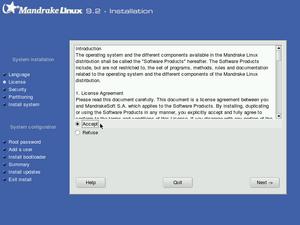
License Terms of the Distribution
|
You have to accept it. Luckily it is hardly limiting, so no-one would have any issues here.
|  |
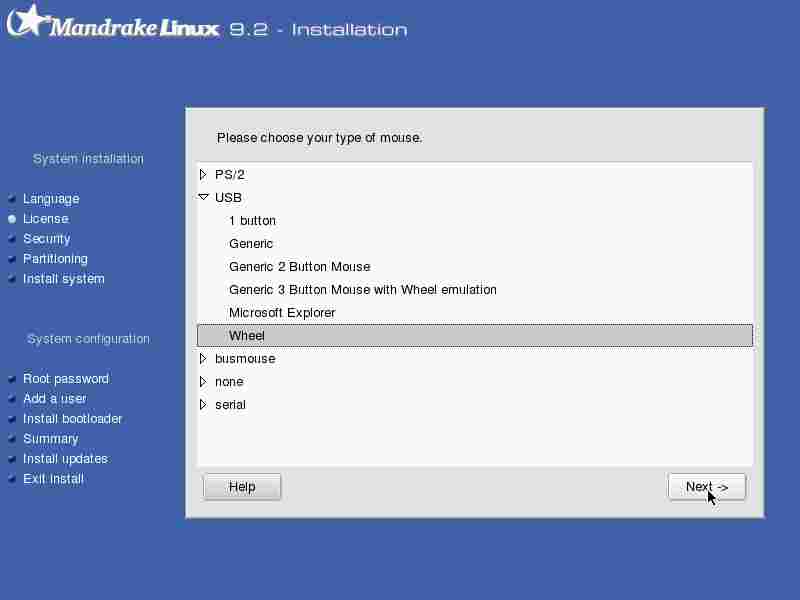
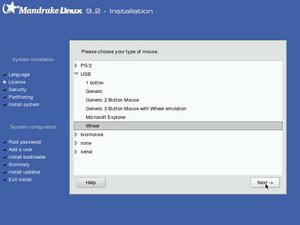
Mouse selection
|
Select the type of mouse you have. In my case, the correct type was preselected.
|  |
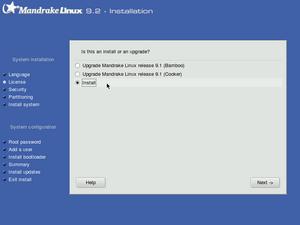
Install type
|
Here the question is asked is whether you want to install or upgrade; even if you have an older version of Mandrake installed, it is often wiser to do an install than an upgrade. People have reported problems with the result in case of an upgrade from some older Mandrake installation. Upgrade should actually not be used, except when you upgrade (or downgrade) your hardware, for instance you put a different monitor (loaner or so) that isn't capable of handling the resolution and frequency of your former one, or if you change your graphics card or so.
|  |
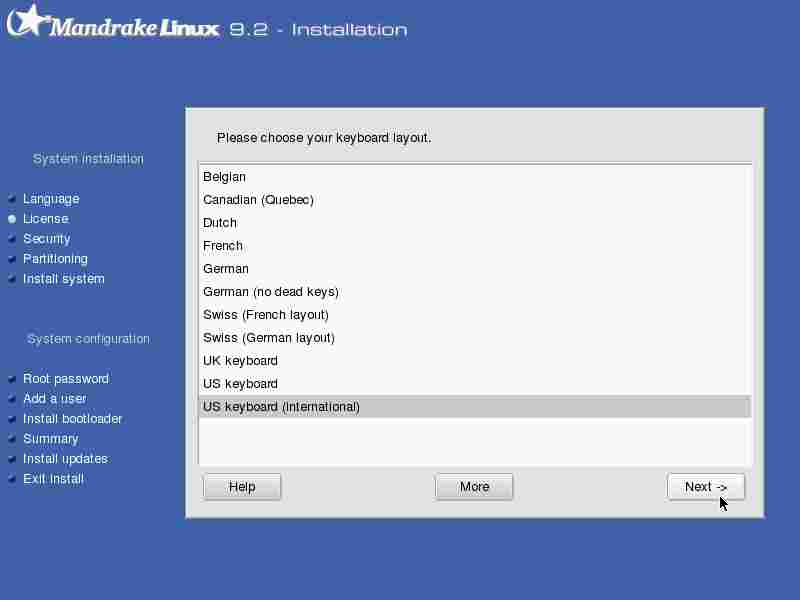
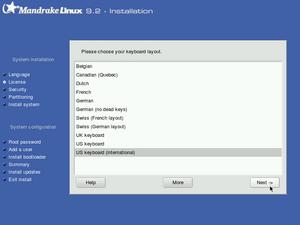
Keyboard selection
|
Select your keyboard layout.
|  |
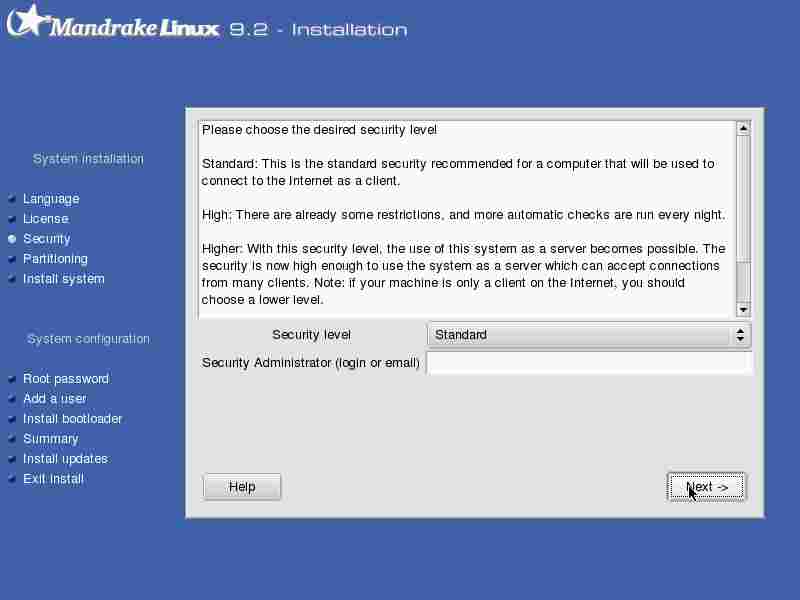
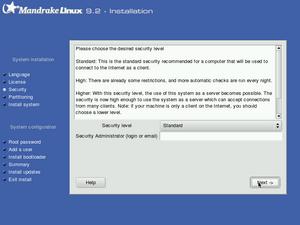
Security level
|
Choose the security level of your Mandrake system. For servers with a fixed ip address that will be permanently connected, you may want to select something a bit higher than the standard setting that I took.
|  |
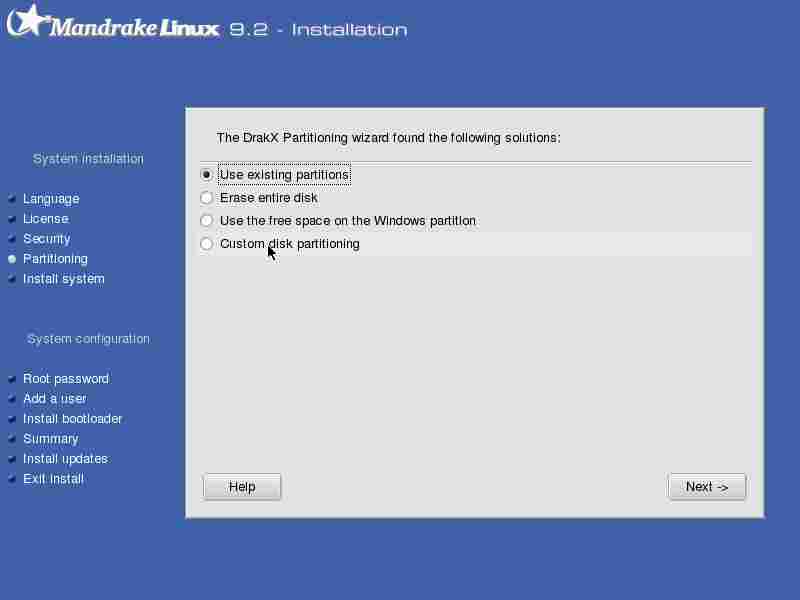
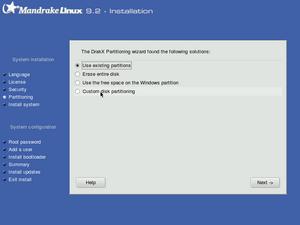
Hard disk partioning
|
Select whether you want to use existing partitions, erase the entire disk, reduce the size of your windows partition to make place for your Linux system or do your own custom setup. For comments on disk partitioning, read my Mandrake 9.1 installation page. I'm showing a bit more screenshots from the Mandrake Diskdrake program here, since this is the most 'scary' part of the installation. Oh and kids, feel free to try this at home, but either after making backups or at your own risk!
|  |
|
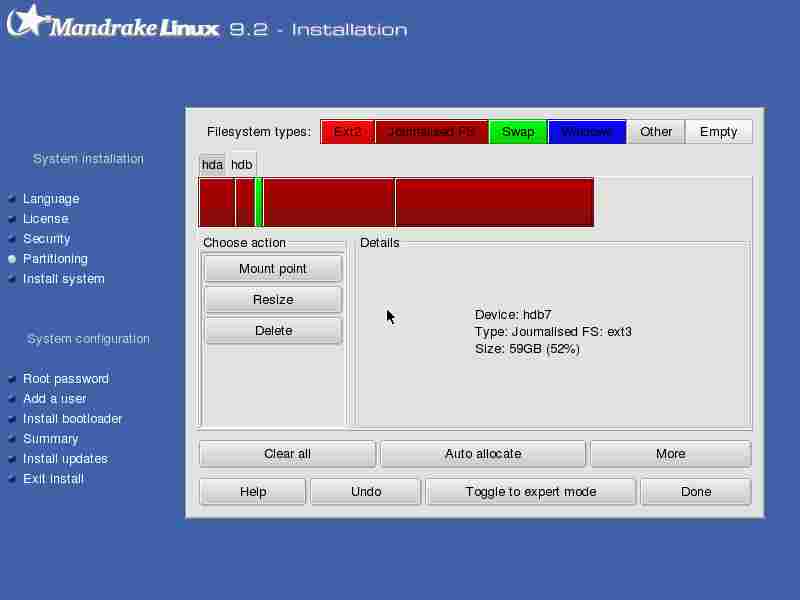
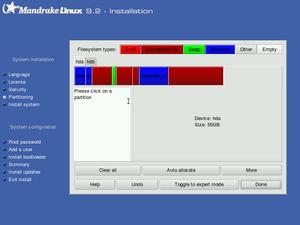
I have 2 harddisks, as you can see from the two clickable tabs at the top with the mention hda and hdb.
|  |
|
Here I switched to hdb, my second harddrive, and I selected one of the partitions, hdb7 (the partitions are from left to right: hdb1, hdb2, hdb5, hdb6 and hdb7.
|  |
|
By clicking on mount point you can select mount points for all those partitions that have no mount point defined. It is common to mount any 'spare' partitions in the /mnt folder, as I have done here for hdb7 that will be mounted on /mnt/bigtwo. Since I didn't create or change any partitions, there was no need to write the partition table to disk; this is another point that isn't completely without risk. (Just to relieve your stress: should the partition table be corrupted, but you haven't written any data to the drive, there are possibilities to restore previous partition tables.)
|  |
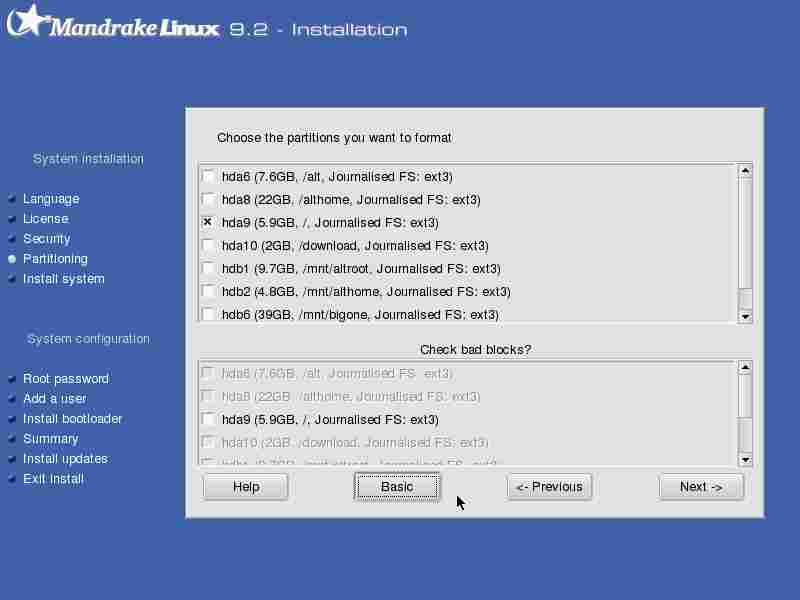
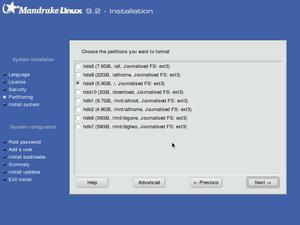
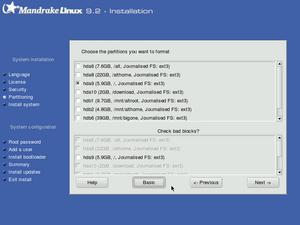
Formatting of partitions
This step should be done with care; formatting the wrong partition will burden you with the task of putting your backups to good use. It's nice to have backups, it's a drag if you actually have to use them.
In any case, at least the / (root) partition has to be formatted.
|  |
|
Under the advanced button, you get to choose whether you want the partition that will be formatted to be checked for bad blocks. I had no idea how long that might take, and I wasn't going to find out (my disks are fairly new, and IMHO unsuspect and unproblematic).
|  |
|
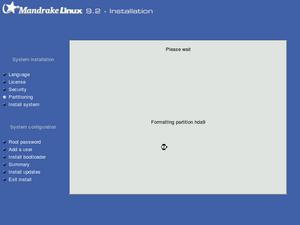
The root partition gets formatted.
|  |
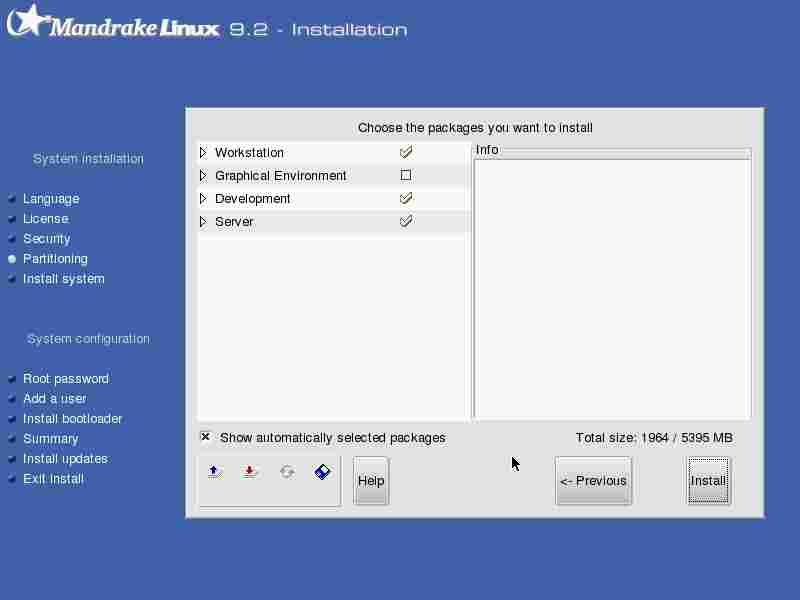
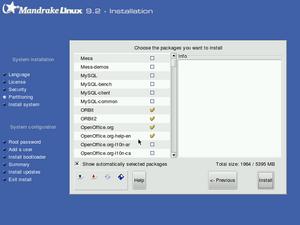
Package selection
|
The installer checks which programs can actually be installed.
|  |
|
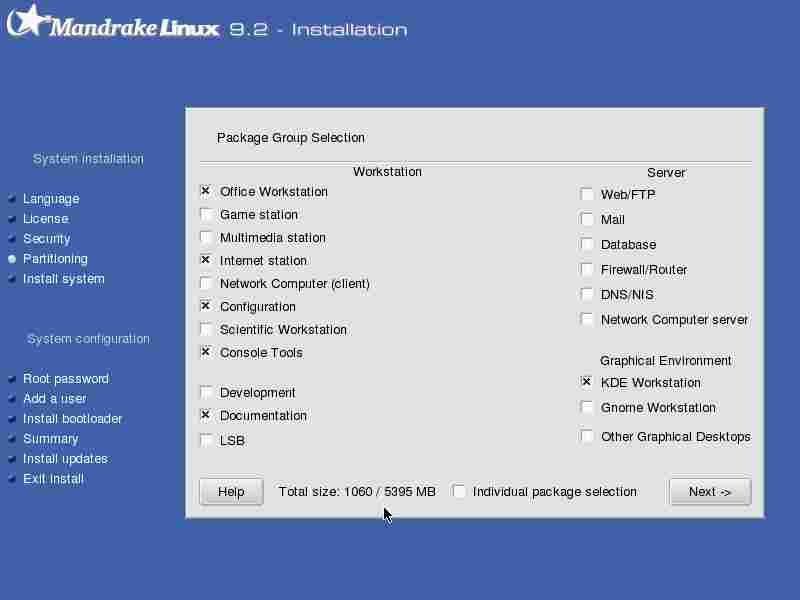
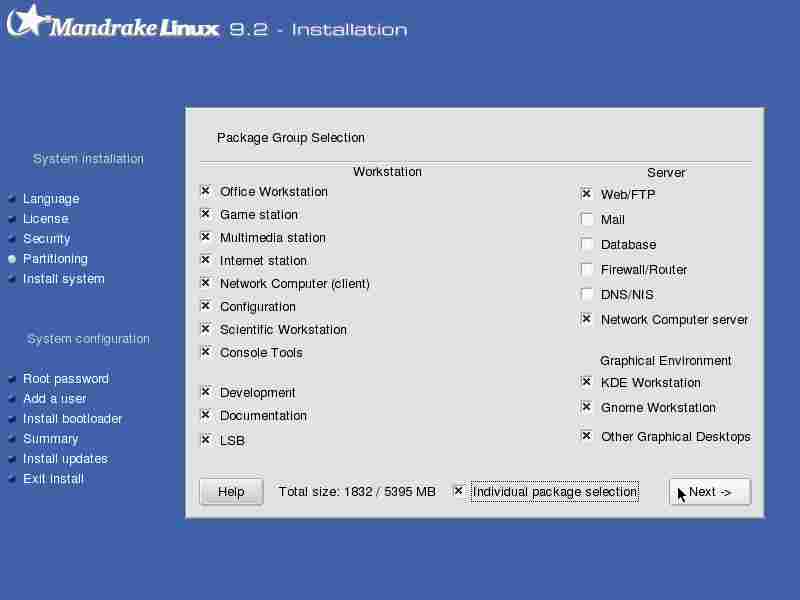
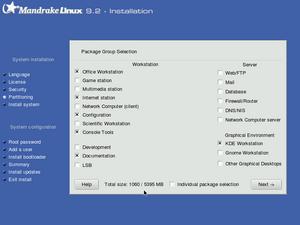
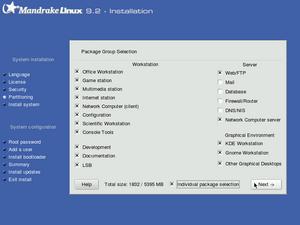
The group selection allows for quick installation of the most common applications per subsection.
|  |
|
I took all on the left side and some on the right side, then checked 'individual package selection' and hit 'next'.
|  |
|
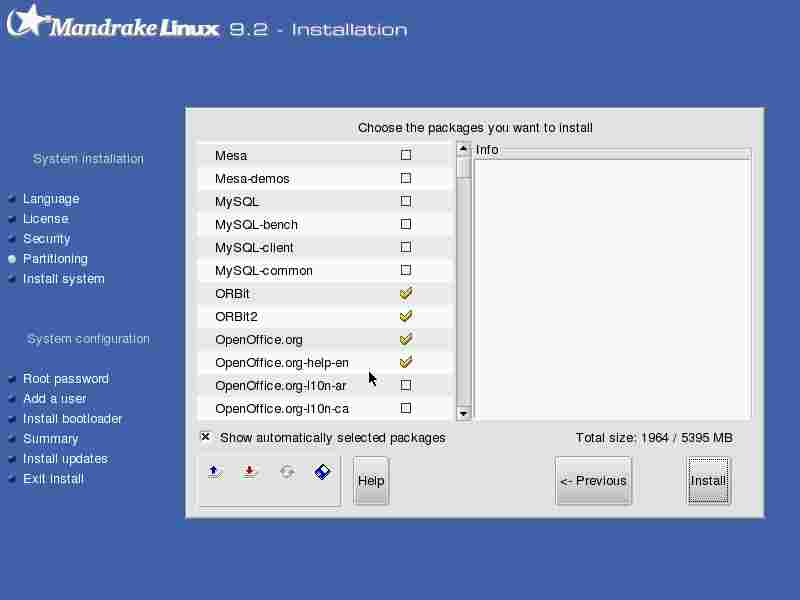
Here the list of available packages is shown in a tree view, i.e. categorised.
|  |
You can also have a 'flat list view' by clicking one of the icons; this is handy if you know the name of the package you want, but not under which category you might find it. Note that certain packages can be found under more than one categories.
BTW Note that I got just around 2GB of more than 5GB in total.
|  |
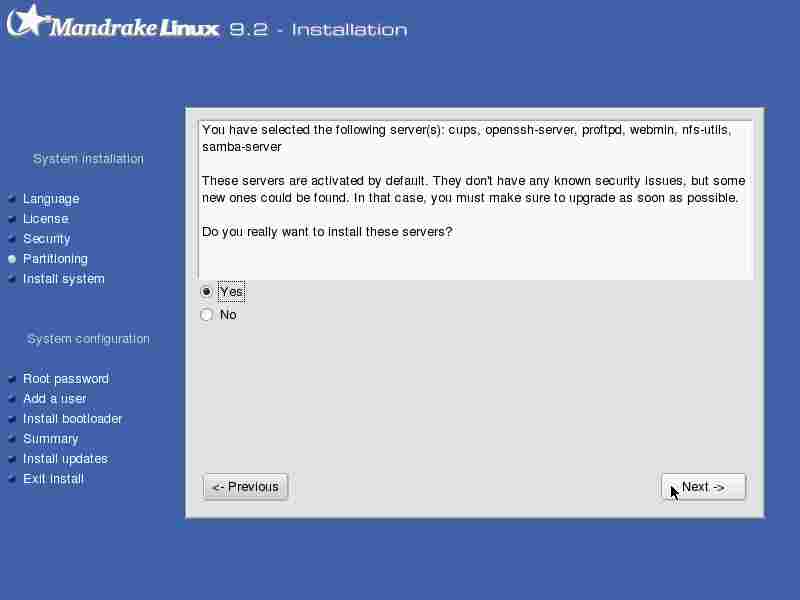
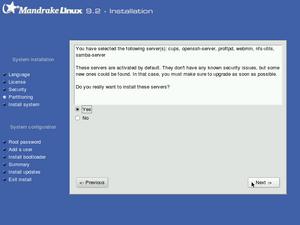
Server packages security issue
|
This is just a warning that the server applications that you may have selected to install will be switched on and if they should have a security problem, you will have to update them. In other words, please realise that installing these packages burdens you with the responsability of their maintenance.
|  |
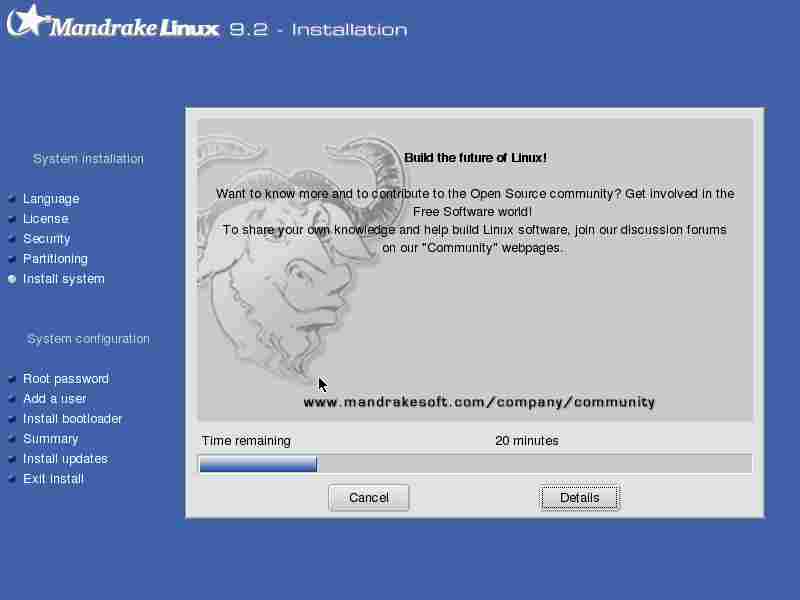
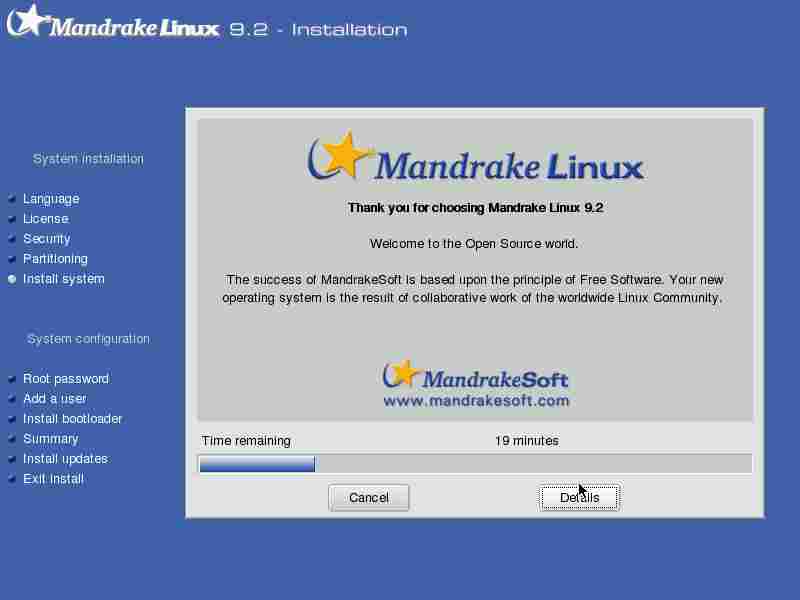
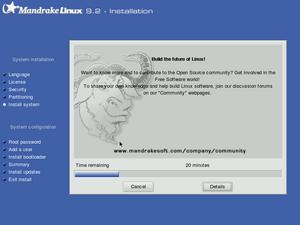
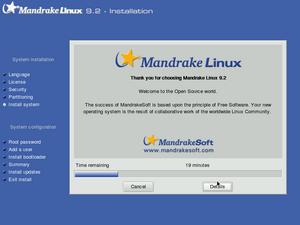
Actual package installation
|
Time to sit back and relax. Don't believe the timer too much; in my case it started at 15 minutes, went up to 20 and stayed there for quite a bit. I think in total it took 25 minutes to install all packages.
|  |
|
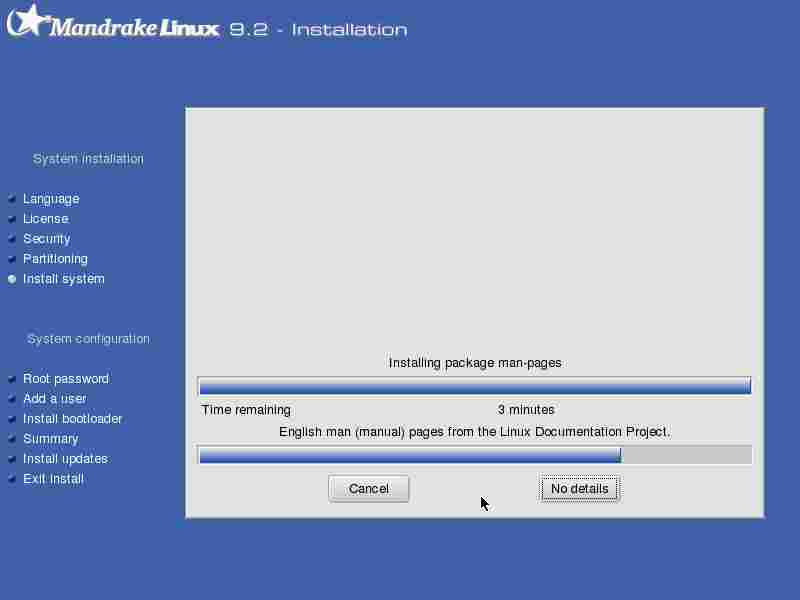
For your amusement, you can click 'details', to see what the system is currently doing.
|  |
In this detailed view, you don't see the ads anymore -- for those who have any issues with the sponsored ads, the ad-free version is only one click away... ;-)))
And you get to see what's going on. (For those who really want to see, you can also do ctrl-alt-F3 -- use ctrl-alt-F7 to get back to the graphical installer.)
|  |
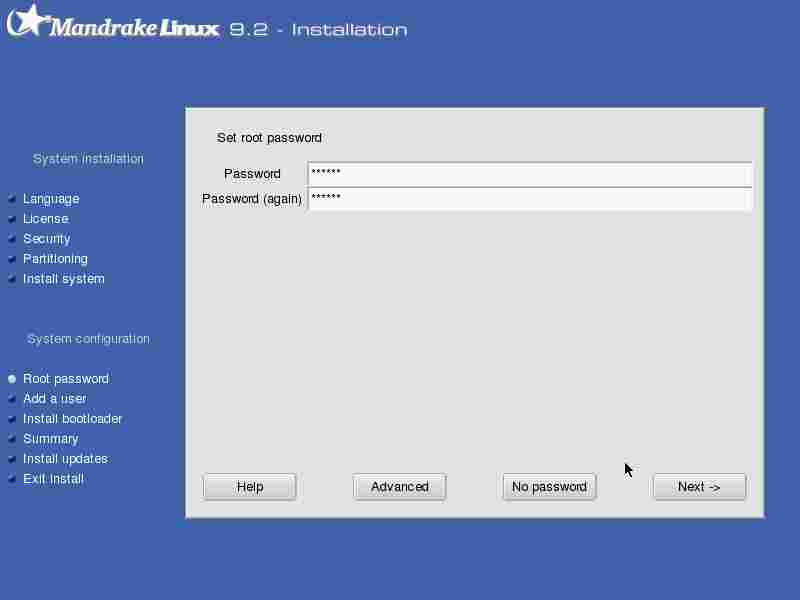
Setting the root password
|
Choose a password that you can remember, but bear in mind: anyone with physical access to your machine can easily change it (not necessarily find out what your password is, but set a new one. See the howto page on how to do that).
|  |
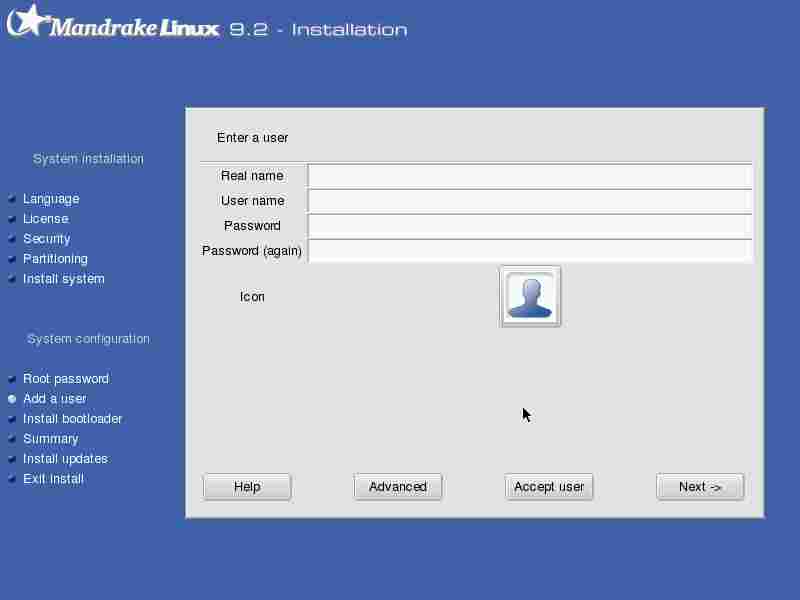
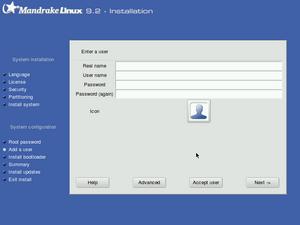
Create users for your system
|
You have to create at least one user account. You can select an icon (which, naturally can be changed later) for each user, by clicking on it. Click 'accept user' to add another one, and 'next' when you're done.
|  |
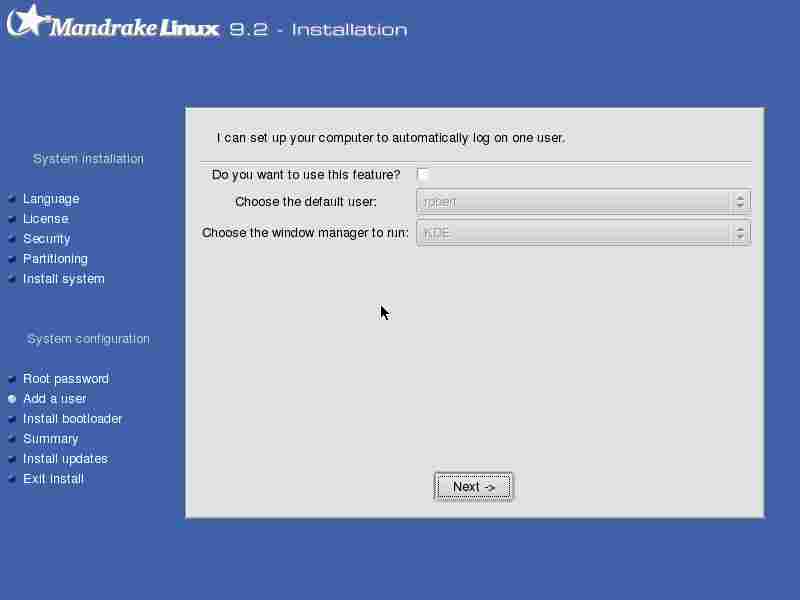
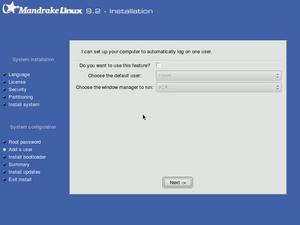
Autologon
|
If you want the system to log one specific user on upon boot, without asking for the password, you can set that up here. If you don't use this feature, a logon screen (KDM) is presented each time the machine is booted, where the account name and password have to be used to get into the machine.
|  |
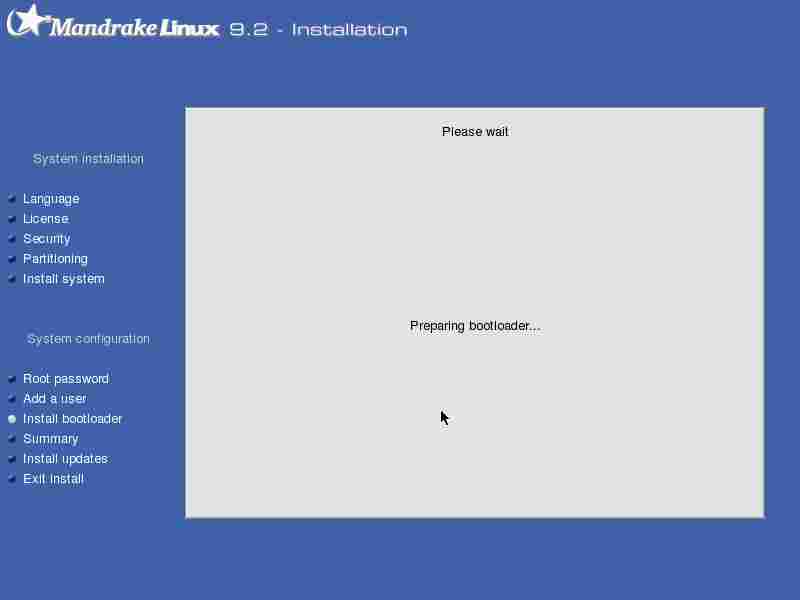
Boot loader
|
The bootloader serves to let you choose between the Operating Systems on your machine at boot time.
|  |
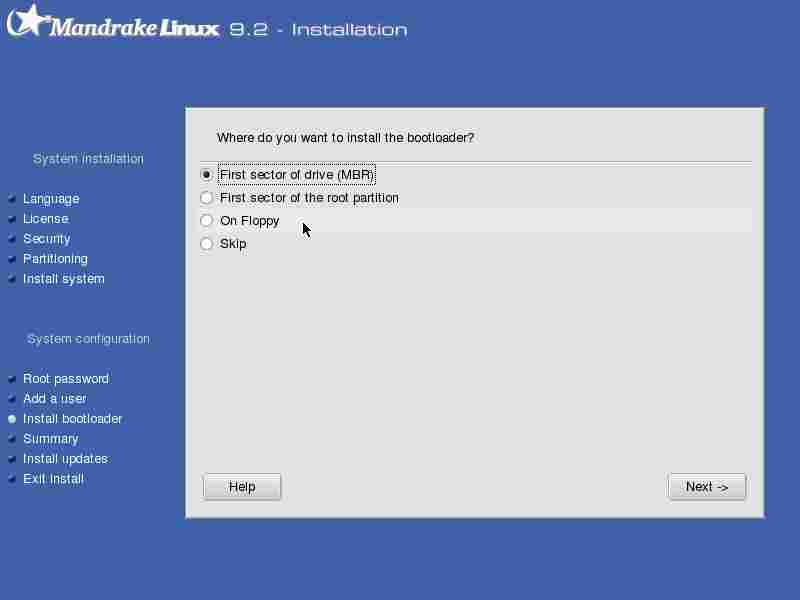
|
You can have the bootloader on the various positions that are selectable here.
|  |
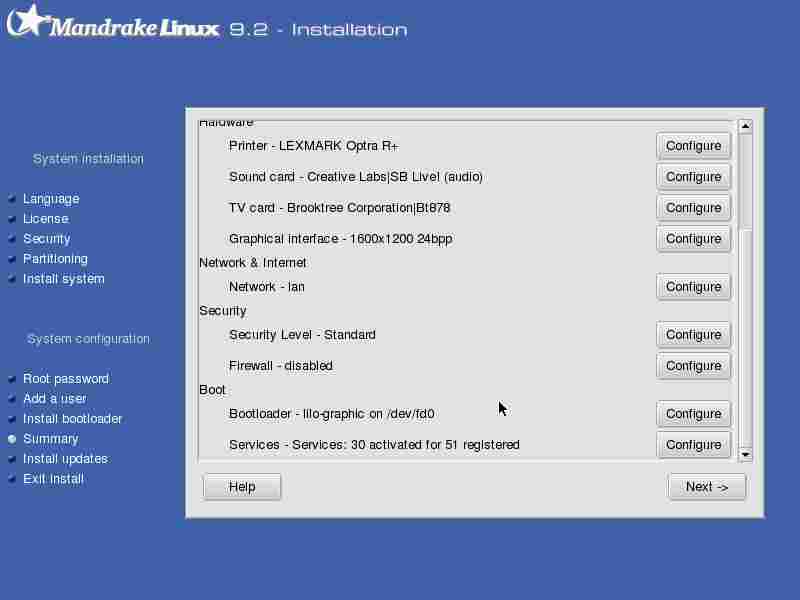
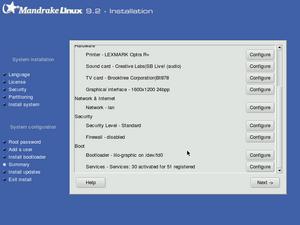
Summary and configuration
|
This is the summary screen; you can (re)configure plenty of hardware here, from your mouse, keyboard, audio, graphics card to your printer(s) and internet/ethernet connection.
|  |
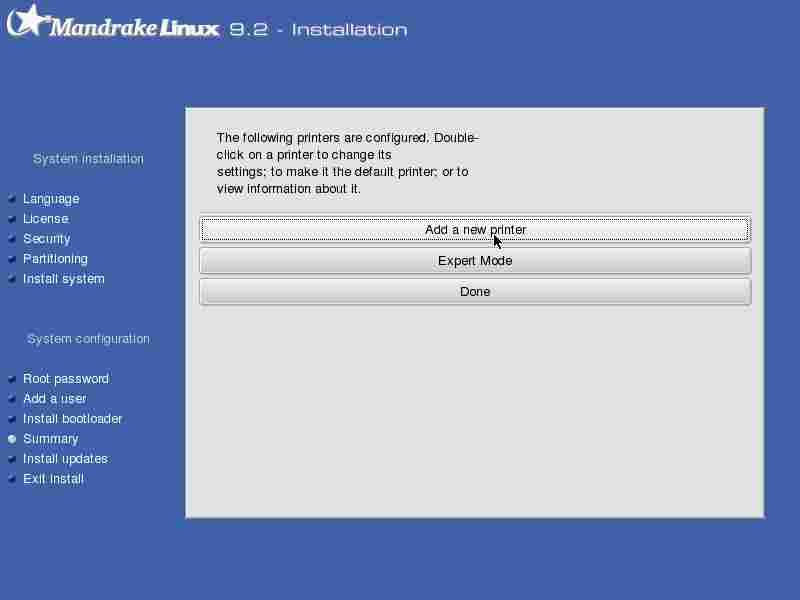
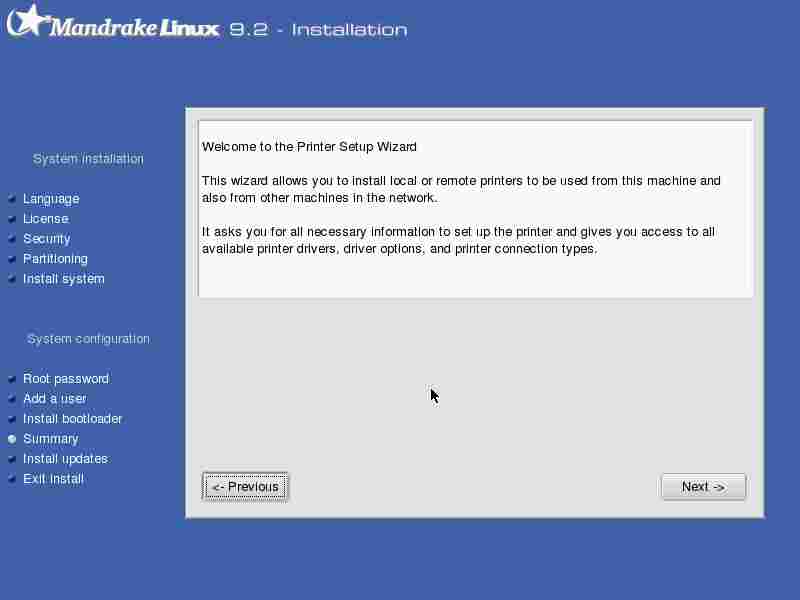
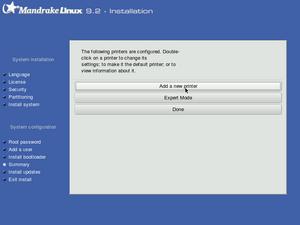
Summary -- Printer configuration
|
Adding a new printer.
|  |
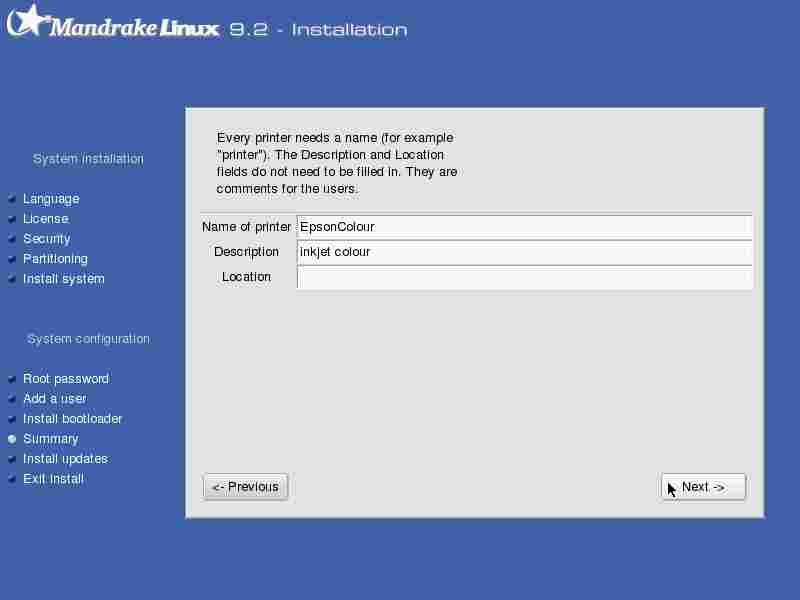
|
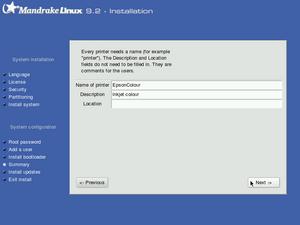
Printer name and description.
|  |
|
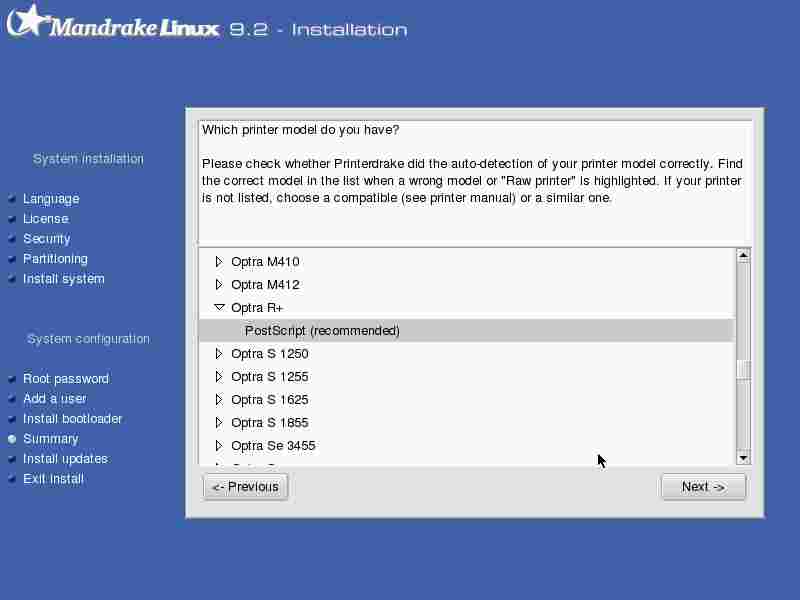
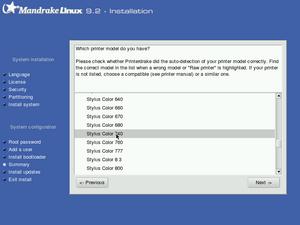
Printer type (driver).
|  |
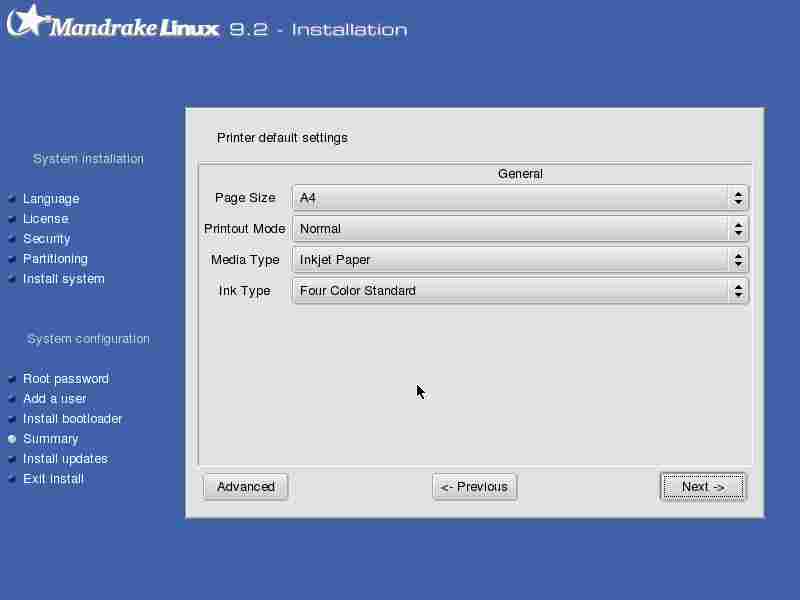
|
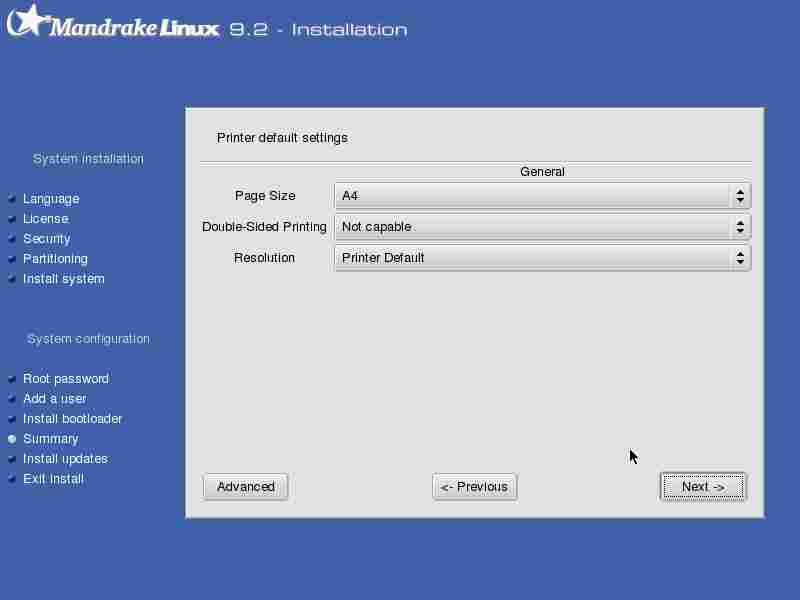
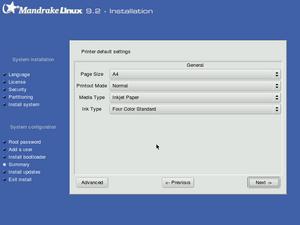
Printer default settings.
|  |
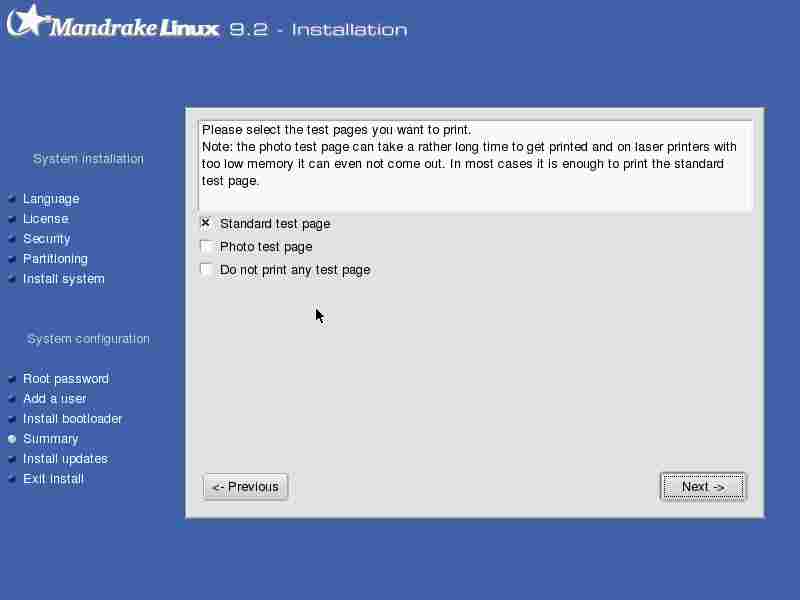
|
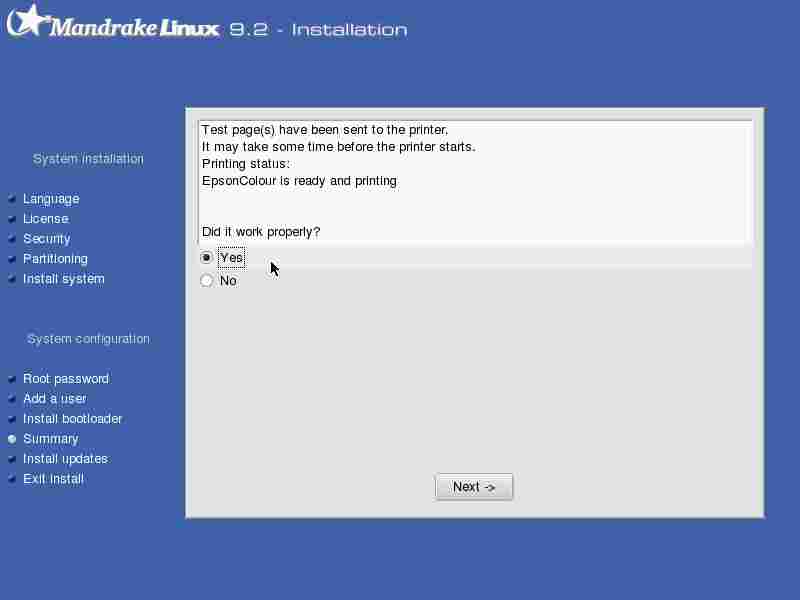
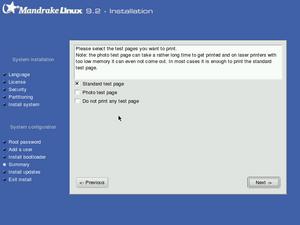
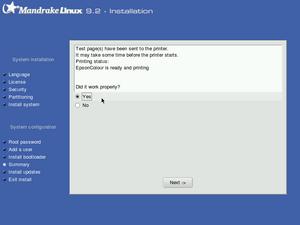
Printing a test page.
|  |
|
And yes, it printer the page nicely.
|  |
|
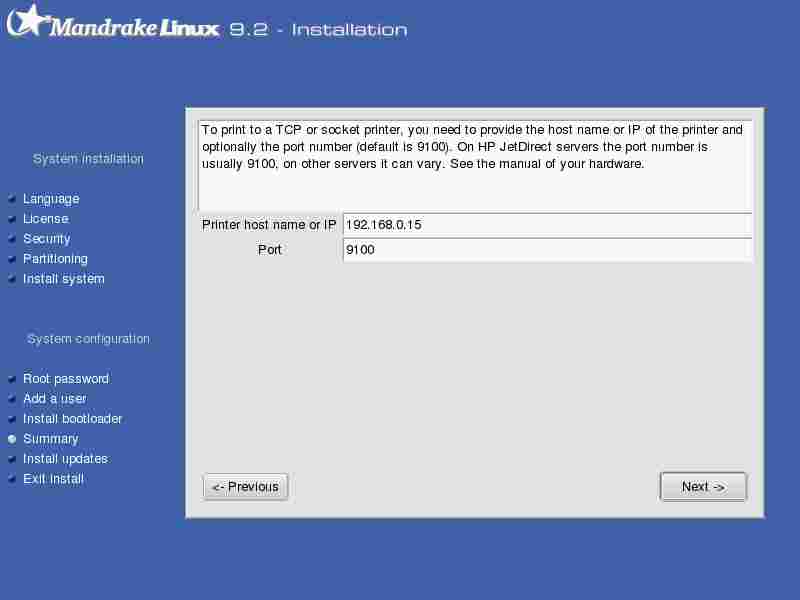
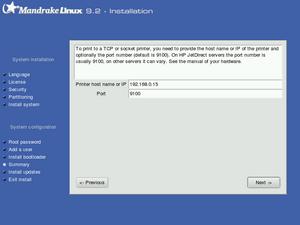
Remote (network) printer configuration.
|  |
|
Entering the right IP address.
|  |
|
Printer type (driver).
|  |
|
Printer default settings.
|  |
|
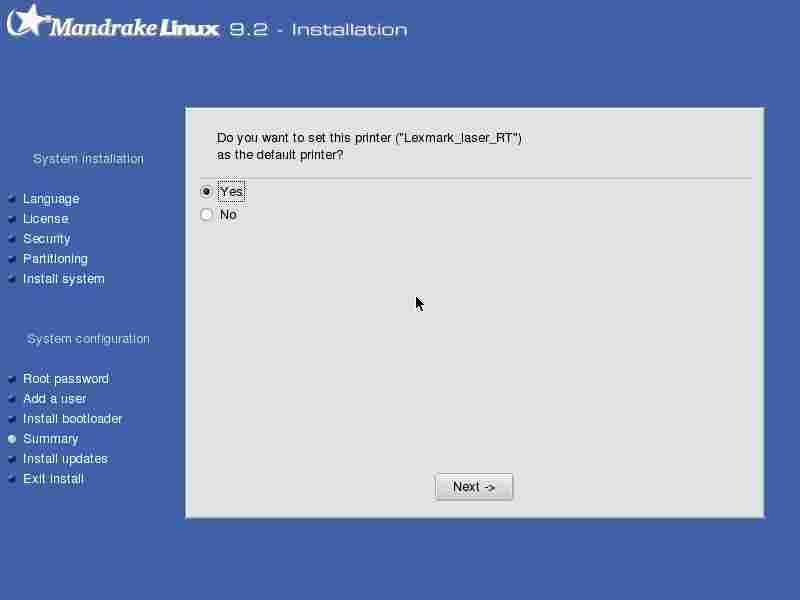
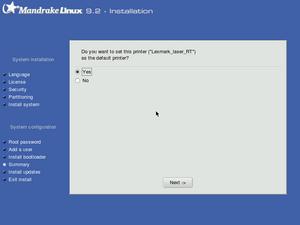
Making this printer the default printer for the system.
|  |
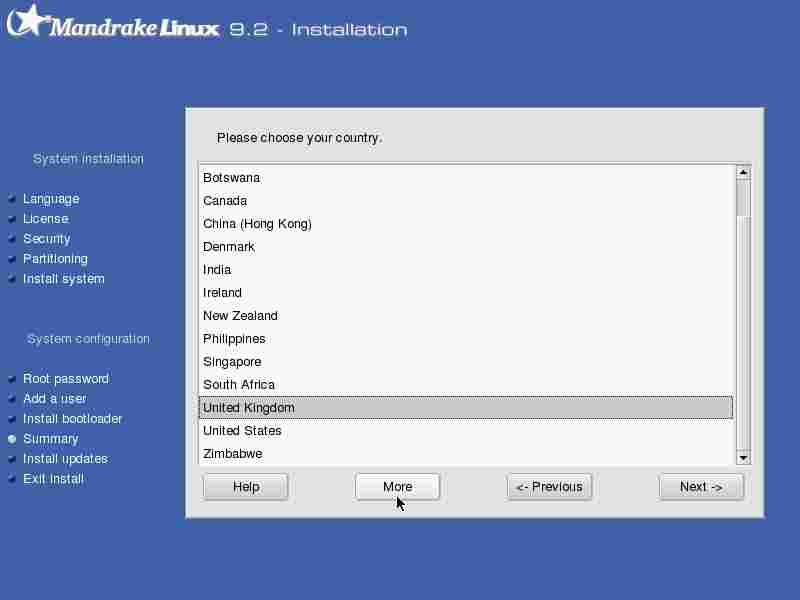
Summary -- Timezone and locale
|
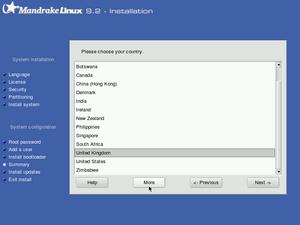
Almost forgot -- got to set the right location and time zone.
|  |
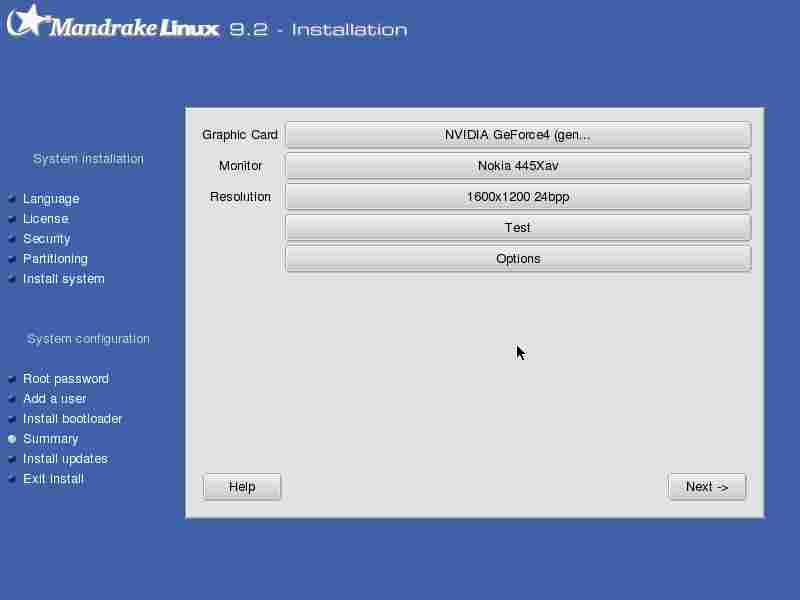
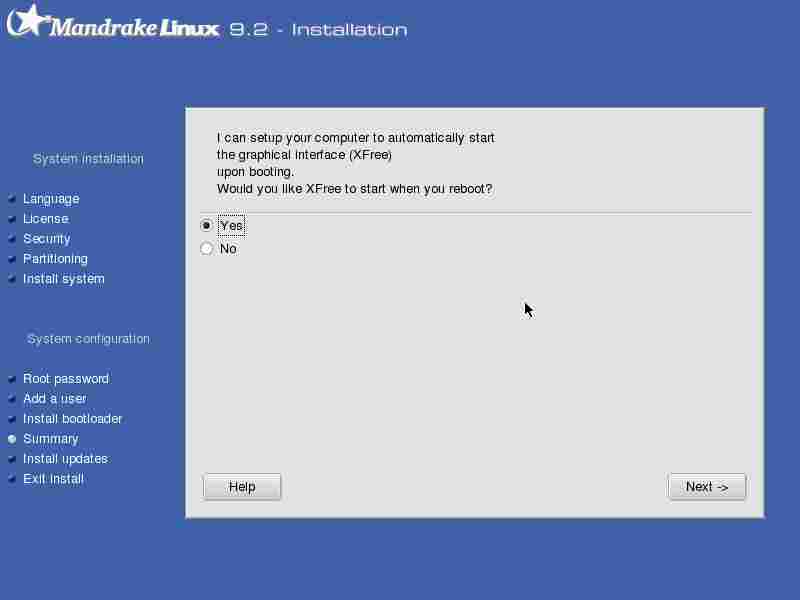
Summary -- Graphical settings
|
Set up the graphical stuff here. In linux speak this is called the X-server.
| 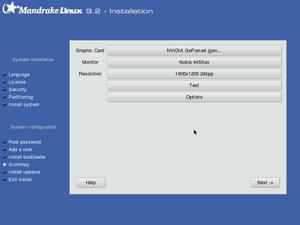 |
|
You can set up your machine so that it doesn't start the graphical environment upon boot, but if you're reading this you may be better of by choosing 'yes' here.
|  |
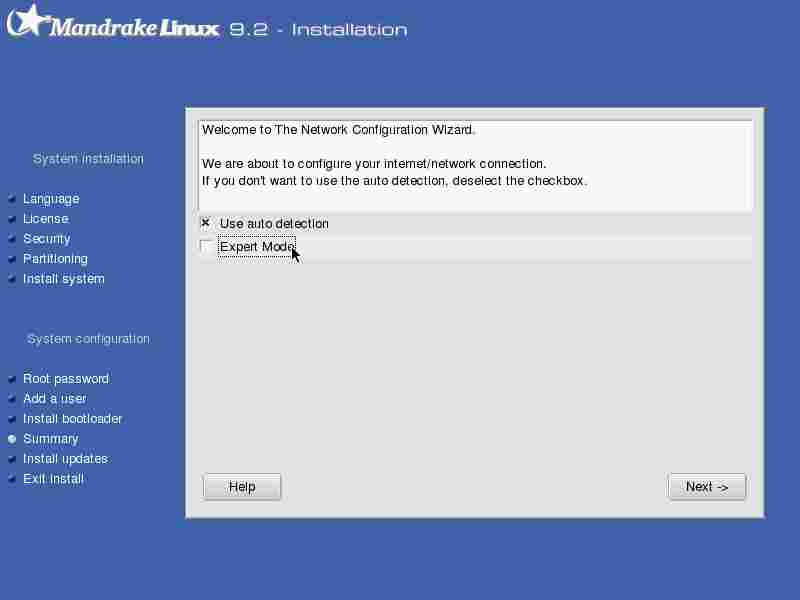
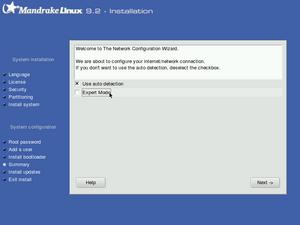
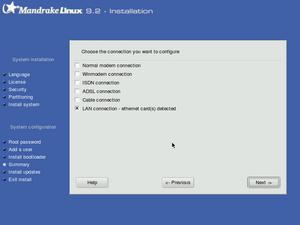
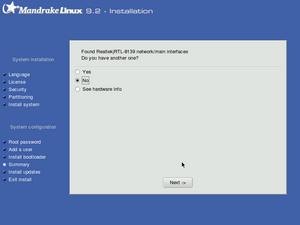
Summary -- Network
|
Configuring the network/internet.
|  |
|
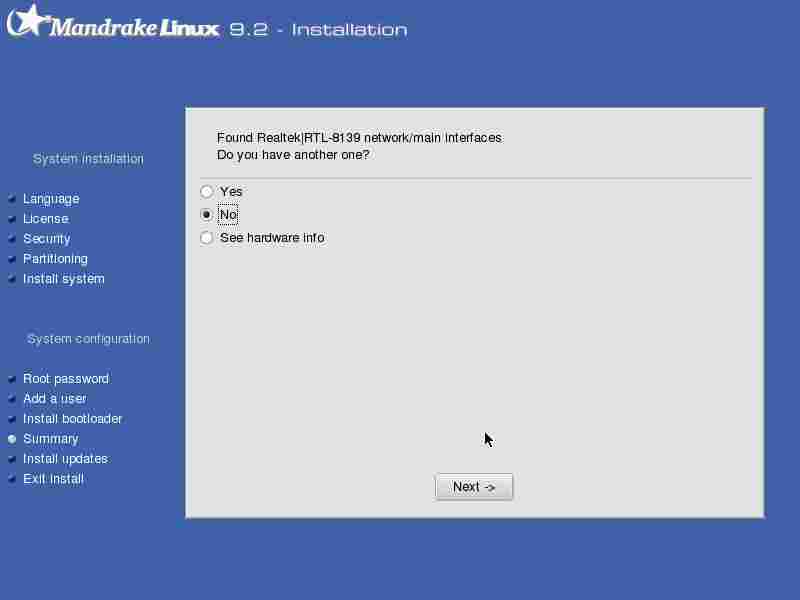
I have a LAN card only.
|  |
|
Which Mandrake properly identified.
|  |
|
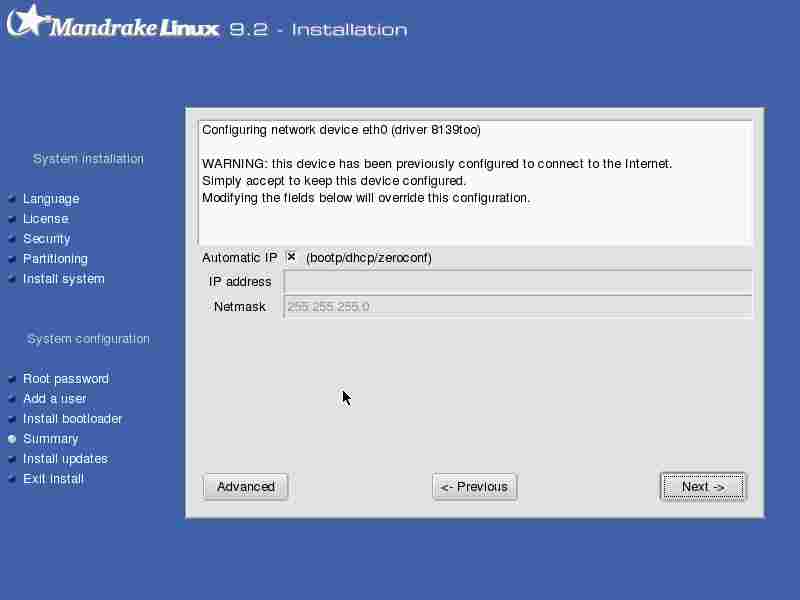
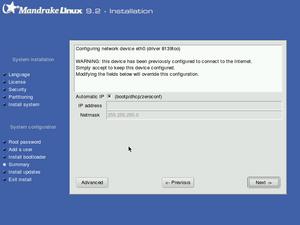
Put your IP address here, or set to auto (dhcp).
|  |
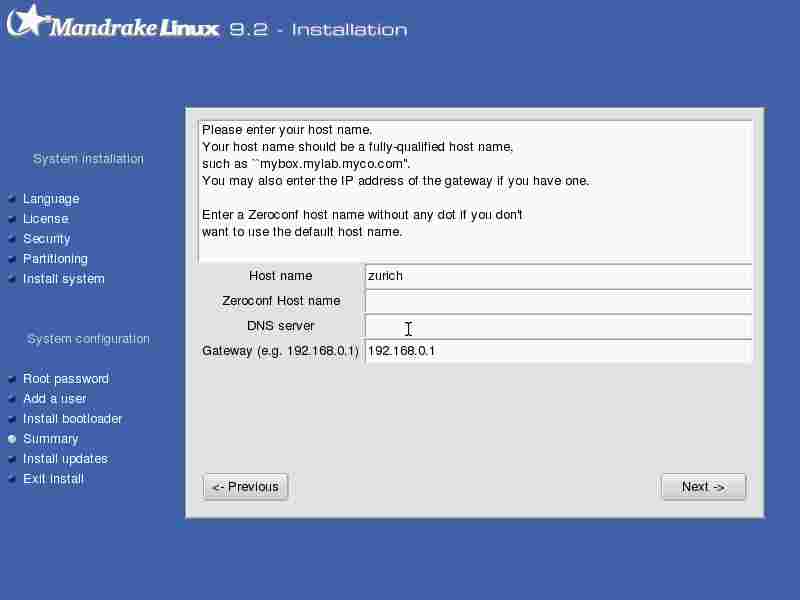
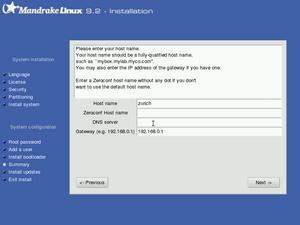
Enter a host name. If you are on your own LAN, never mind the stuff about fully qualified... ;-)
Also, fill in your gateway and DNS server addresses here.
|  |
|
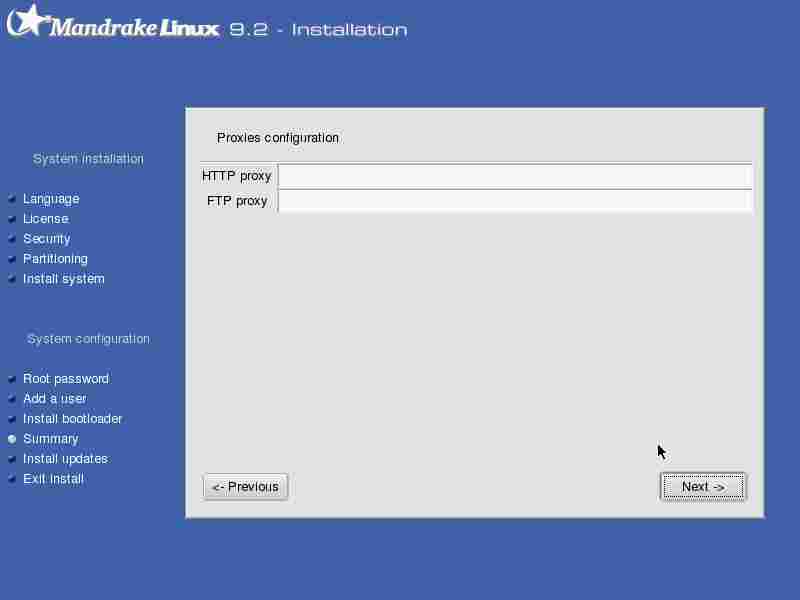
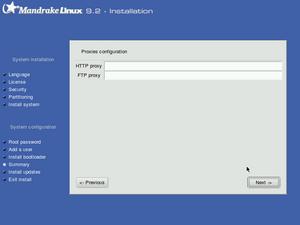
If you have http and/or ftp proxies, you can enter the corresponding IP addresses here. If you don't know what proxies are, you most likely don't have any and can leave these fields blanc.
|  |
|
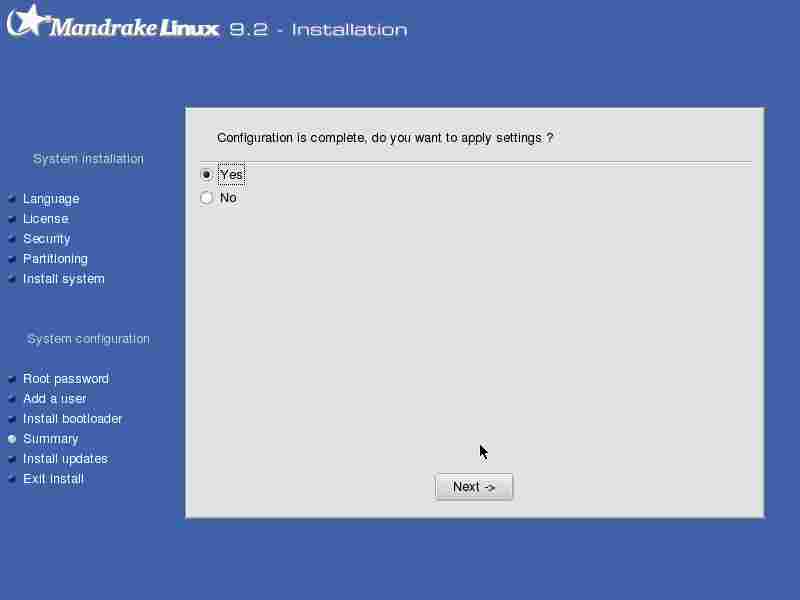
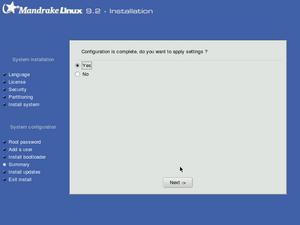
Confirm your settings.
|  |
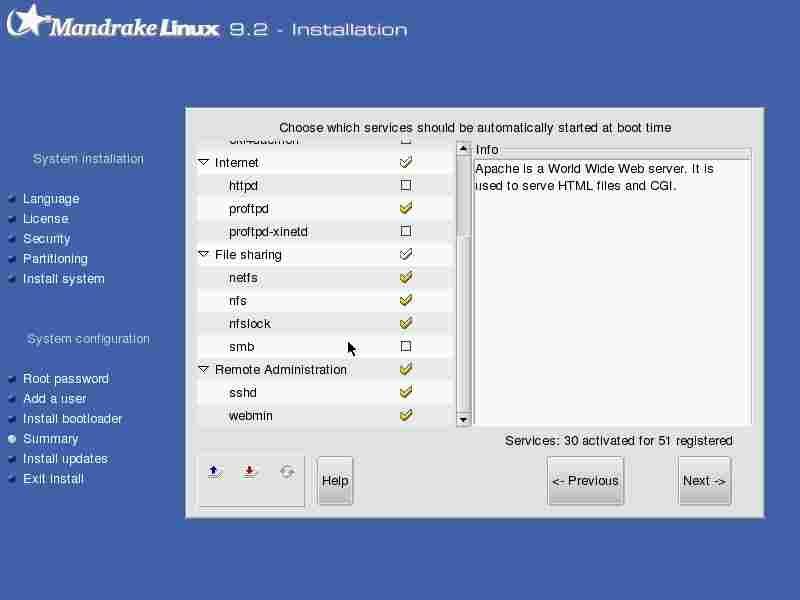
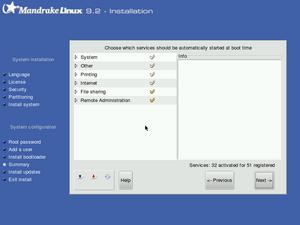
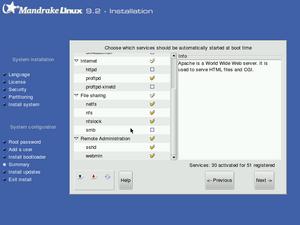
Summary -- Servers at boot
|
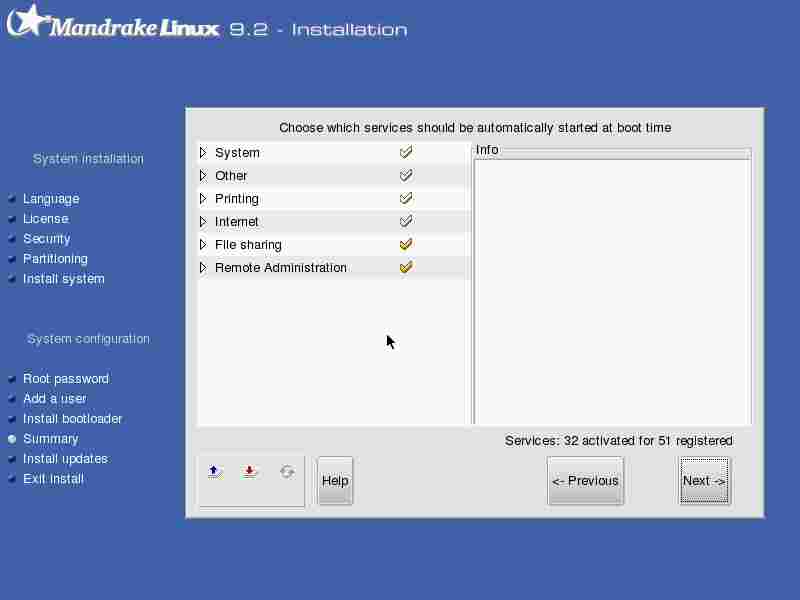
Related to the security matter of having servers running on your system, you get to choose which servers you want to run upon booting the sytem.
|  |
|
I left all system servers/services on, but turned off the internet httpd for instance, since I know I won't need that on this machine.
|  |
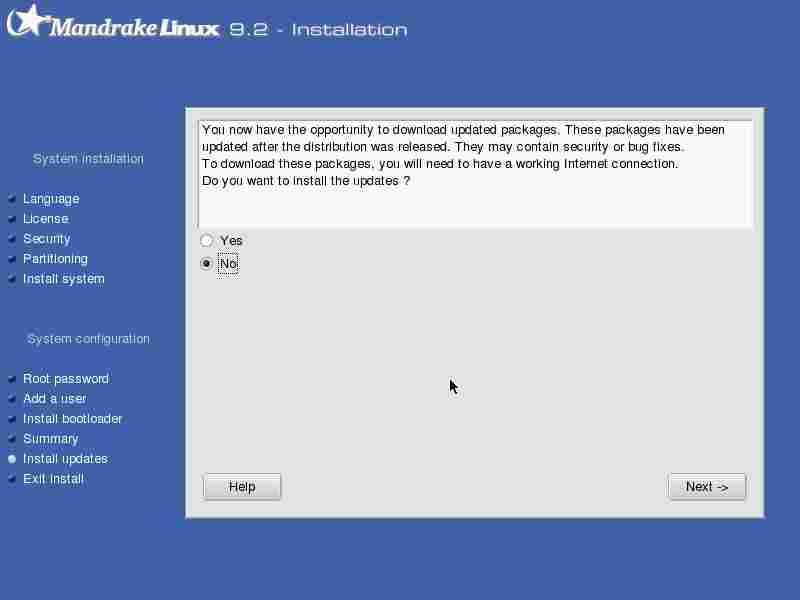
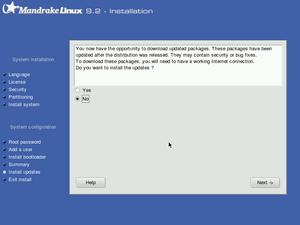
Install updates
|
Before ending the install, you get to install the updates that have been released after the install cd's hit the web. I didn't want any, since there haven't been any security warnings about any of the packages that I have installed, yet.
|  |
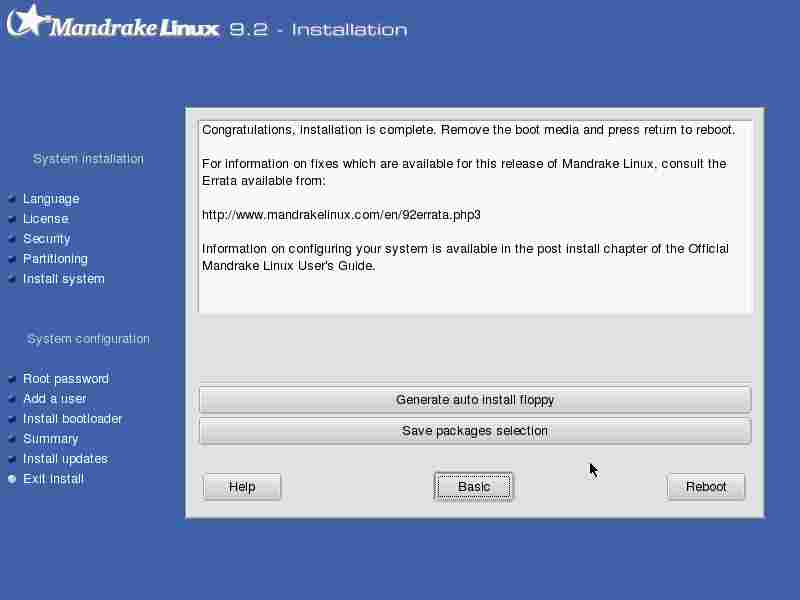
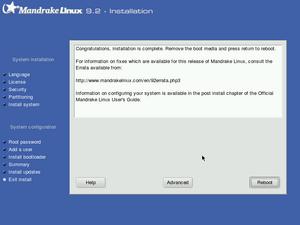
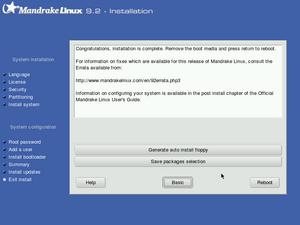
End of installation
|
Done! It took just about one hour, of which some time was spent going through the packages.
|  |
|
Curiosity killed the cat, I just wanted to see what the 'advanced' button was for. You can generate a floppy to automatically do the same installation, and you can make one with the package selection list, to be used on another install. (On the screenshots of the package selection, you can actually see an icon that allows you to load this list.)
|  |

Page first created: Oct 2003. Page last updated:
Nov 7 2003
| |