|
Installation
This page describes the installation I did with the 4cd Mandrake Linux 10.0 Community Edition set.
For reference: the installation procedure of Mandrake 9.2 and the installation procedure of Mandrake 9.1 -- basically, this page is an updated version of those pages. Please read the Preparation section about how to prepare your harddisk for dual-booting to linux next to your windows system. If you decide to leave windows behind, just skip that section. Also, read the part on how to set up your bios to accomodate linux. Certain wrong settings may result in a failing install. Note that as of kernel 2.6 Linux is a PlugNPlay OS, so it doesn't matter anymore what setting you choose in the BIOS.
This time around, I used 'use existing partitions' and 'install' instead of upgrade. It seems that in some cases 'upgrade' works fine, but in others it doesn't. Your mileage may vary; if you use the 'upgrade' function and you have problems, you may first want to do a clean install to see if that helps. BTW, a clean install is usually faster anyway, since there are no dependencies of the packages that get replaced to be checked.
I have 3 partitions that I use as root partitions; normally I have the bootloader of my main system in the MBR of the first harddisk, /dev/hda, and on other installs (different distro, beta's or rc's) I choose to have the bootloader on a floppy (/dev/fd0). On this install I choose to install on a floppy, in the meantime I have used the Mandrake Control Center to put it on the MBR of my master harddrive.
A last remark: it may pay off later if you create an extra partition that can serve as root partition for subsequent linux installations, for instance for beta/rc testing.
The installation itself
Just put the first cd in the tray and reboot the pc; then type enter when you get to the question if you want to install, upgrade or other. (For completeness, yes you can install from the images on a FAT32 (windows) partition, or from a linux partition, or over the network with NFS, or via ftp. But I won't comment on that here.)
I will now just give some tips and explanations on what and how I do things, along with the screenshots I made during the install (just hit F2 to make a screenshot, you can find them later in /root/DrakX-screenshots/). Note that I have chosen to resize the screenshots, the normal resolution is 800x600 (SVGA). You can click each image to get the normal size screeny. I have also chosen the JPG image format with a rather low quality setting - beauty is not really the point, and if it reduces the total data amount of this one page to 1/4th, this is welcome, not only for modem users but also since my (free) webprovider doesn't have too much bandwidth.
The following parts are in the installation; I've intermittently put my comments, whereever I have tips to spare.
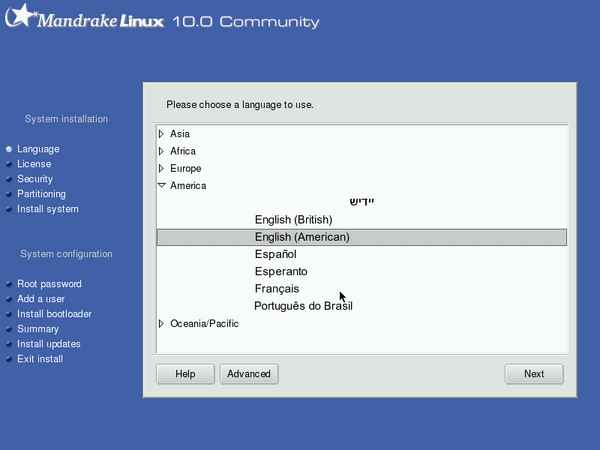
Choosing Your Language
|
Use advanced to select more than one language. Very important if you want multiple languages, in some cases it can be near impossible to add later (well you can always run through the install process again, just doing upgrade instead of install...).
|  |
|
As you can tell when browsing this list, Linux offers an astonishing choice of languages (any language that anyone has bothered to do the translation for, as a matter of fact). I checked the secondary languages of my choice and moved on.
|  |
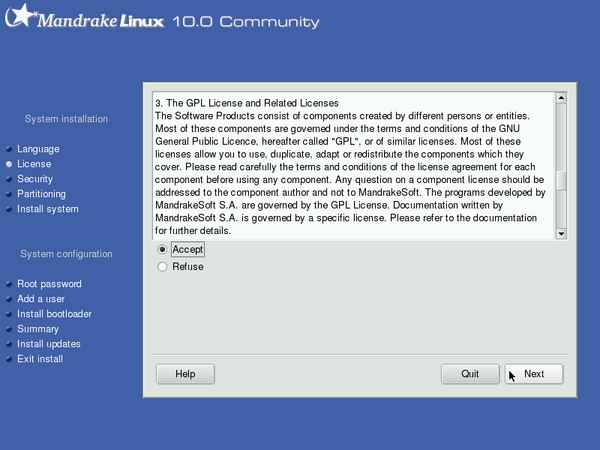
License Terms of the Distribution
|
You have to accept it. Luckily it is hardly limiting, so no-one should have any issues here, apart from SCO, who are irrelevant anyway.
|  |
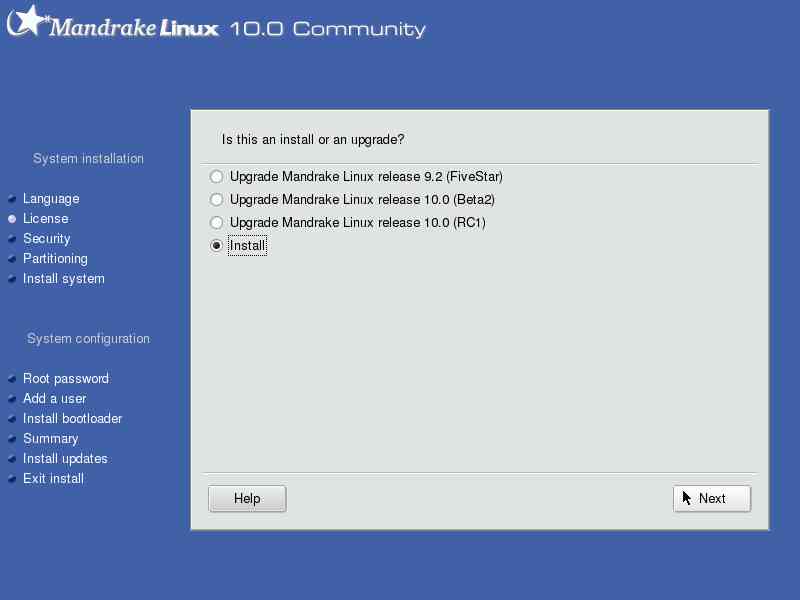
Install type
Here the question is asked is whether you want to install or upgrade; even if you have an older version of Mandrake installed, it is often wiser to do an install than an upgrade. People have reported problems with the result in case of an upgrade from some older Mandrake installation.
Note that Mandrake 10.0 installer has correctly identified that the current installations are Mandrake 9.2, Mandrake 10.0 Beta2 and Mandrake 10.0 RC1.
|  |
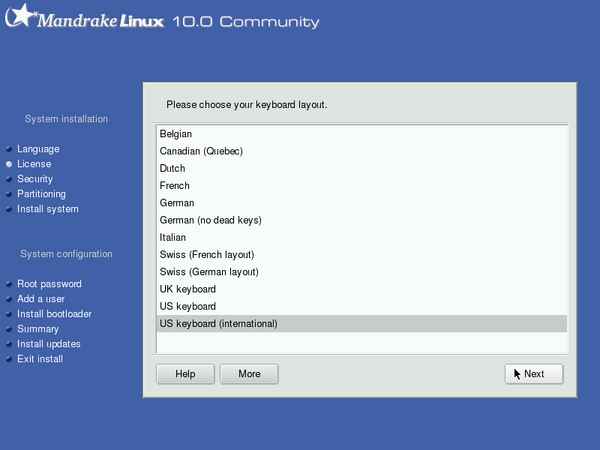
Keyboard selection
|
Select your keyboard layout.
|  |
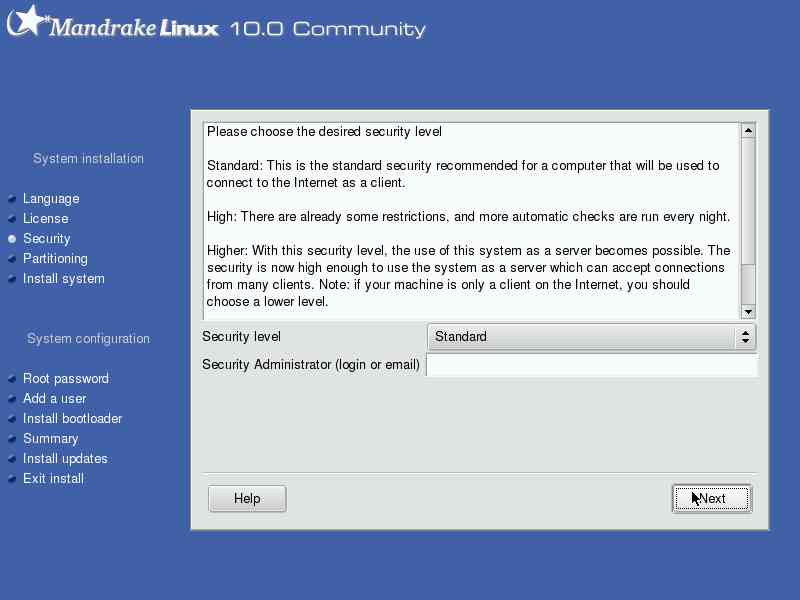
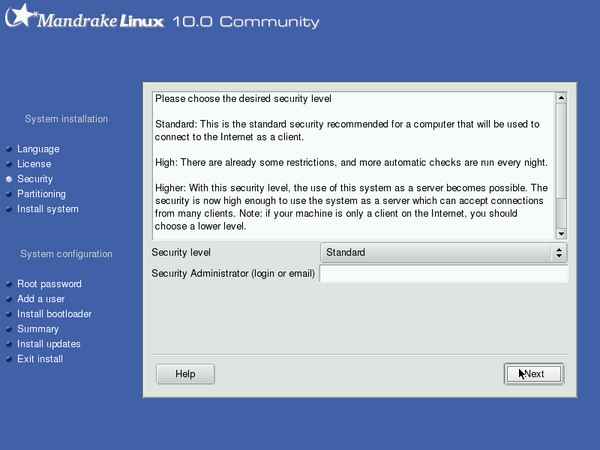
Security level
|
Choose the security level of your Mandrake system. For servers with a fixed ip address that will be permanently connected, you may want to select something a bit higher than the standard setting that I took.
|  |
Hard disk partioning
|
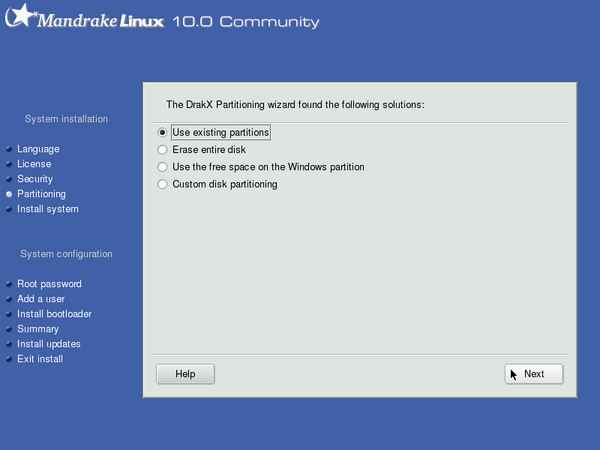
Select whether you want to use existing partitions, erase the entire disk, reduce the size of your windows partition to make place for your Linux system or do your own custom setup. For comments on disk partitioning, read my Mandrake 9.1 installation page. For more screenshots from the Mandrake Diskdrake program, read the 9.2 installation page.
|  |
|
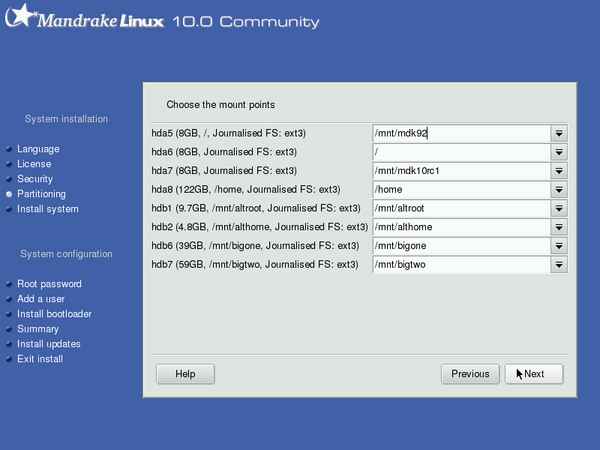
I chose 'existing partitions', and I guess the installer read one of the old /etc/fstab files to know where I usually mount which extra partitions. Neat! I indicated which partition I wanted to use as a root partition ( / ) for this installation, and where to mount the other two 'root' partitions.
|  |
Formatting of partitions
|
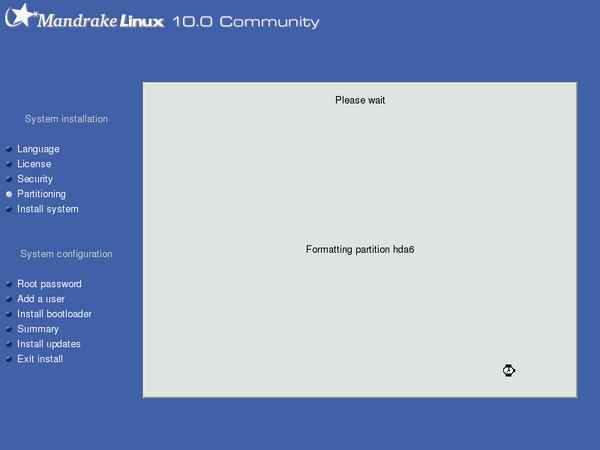
The next step is to format the partition that will serve as root partition. After this, there is no way back, so be sure that you have made backups of any file on that partition that you may need. If you wish, you can choose to format other partitions as well; in my case I wanted to keep all data on all other partitions.
|  |
|
The root partition gets formatted.
|  |
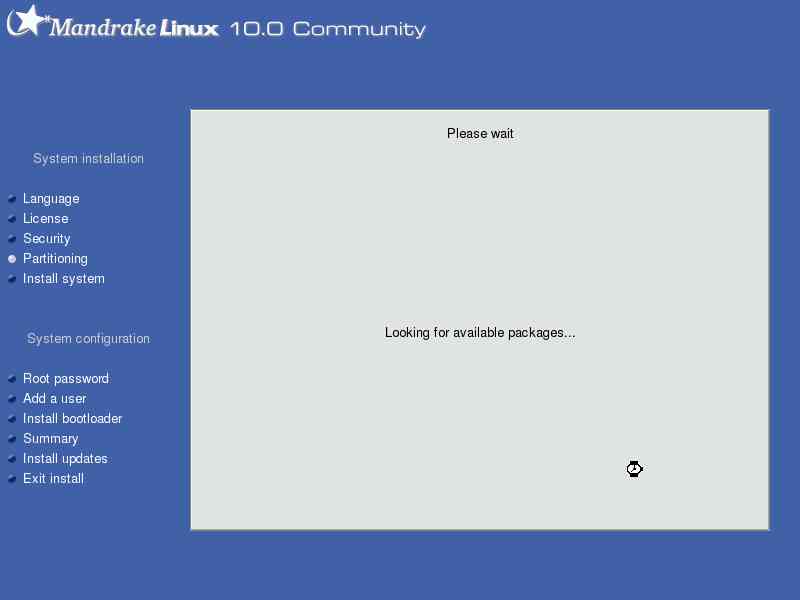
Package selection
|
The installer checks which programs can actually be installed.
|  |
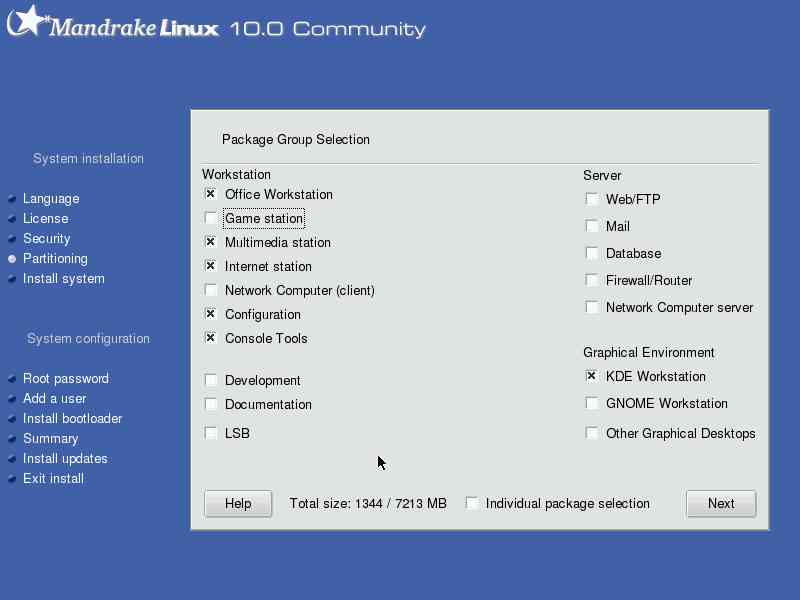
|
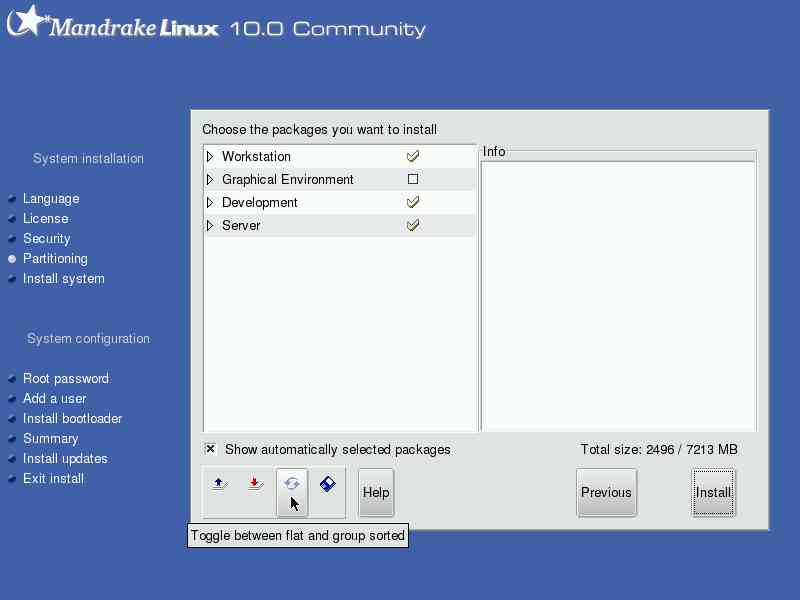
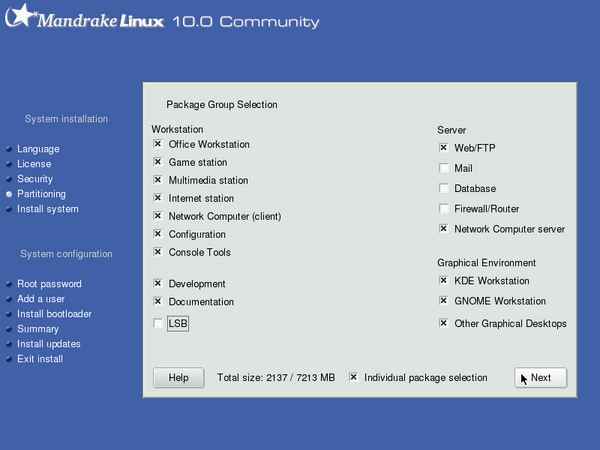
The group selection allows for quick installation of the most common applications per subsection.
|  |
|
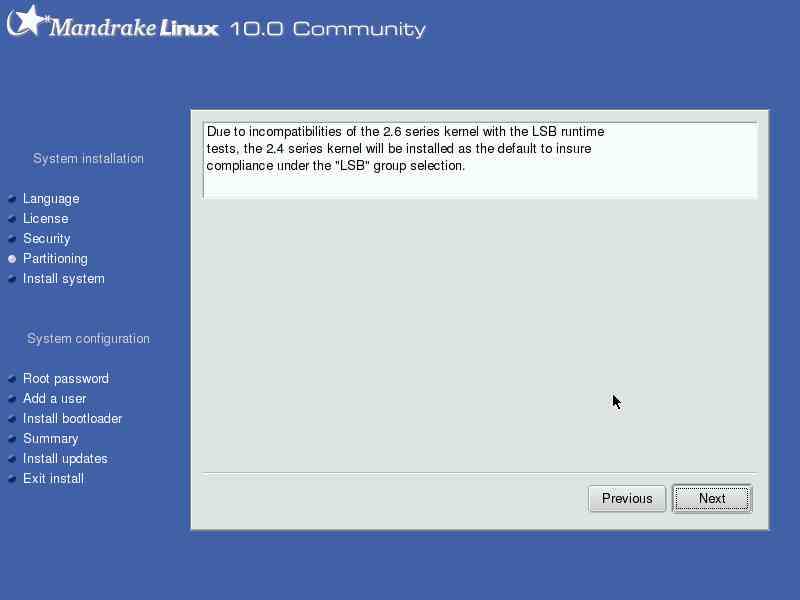
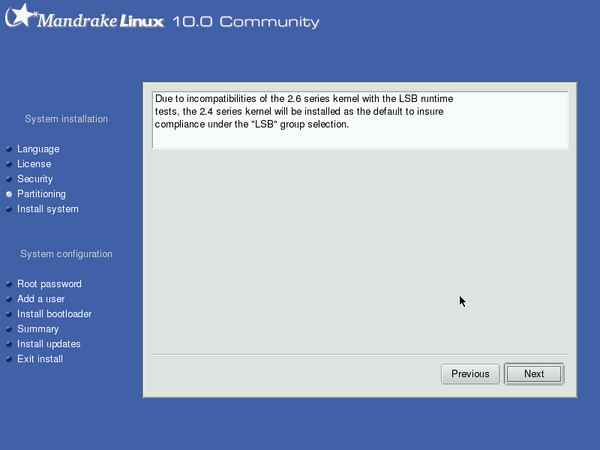
When trying to select LSB, I got this warning. I went back and deselected LSB, since using kernel 2.6 is more important to me.
|  |
|
This is my usual selection - minus the LSB.
|  |
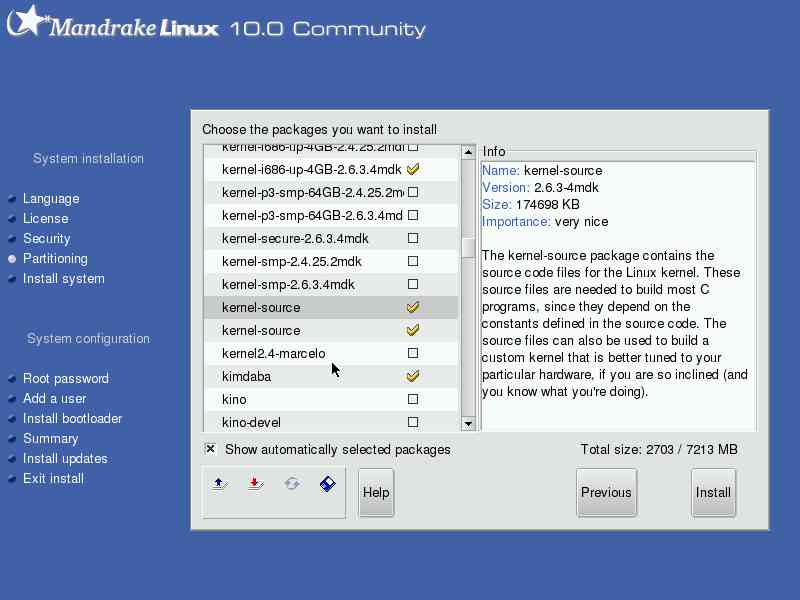
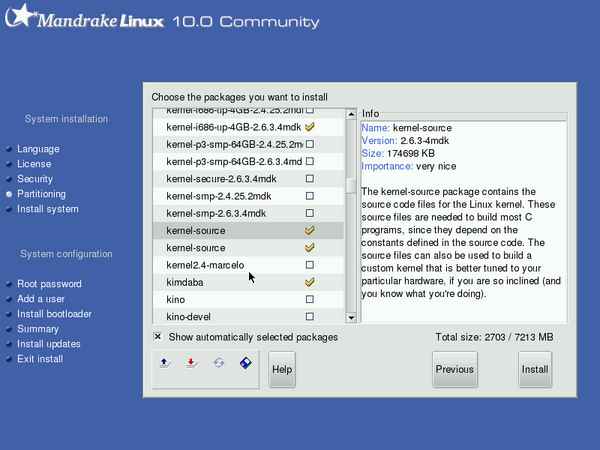
This is the individual package selection.
You can also have a 'flat list view' by clicking one of the icons; this is handy if you know the name of the package you want, but not under which category you might find it. Note that certain packages can be found under more than one categories.
BTW Note that I got just around 2GB in total.
|  |
To make up for not including the kernel source in Mandrake 9.2, there now is a double entry :-)
Both indicate the same thing though, and upon (de)selecting one entry, the other also gets (de)selected. Nobody is perfect, and the main thing is that the kernel source is there.
|  |
Server packages security issue
|
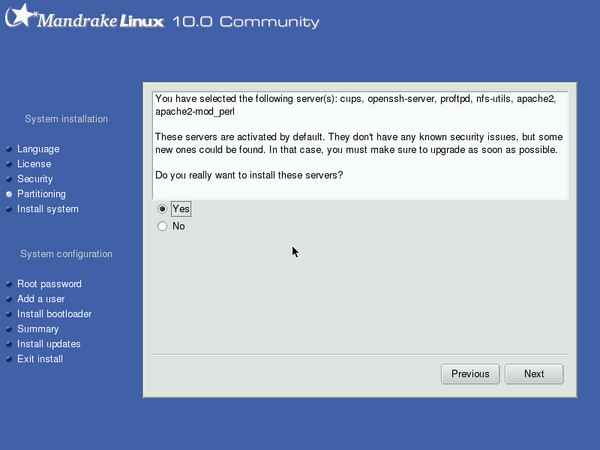
This is just a warning that the server applications that you may have selected to install will be switched on and if they should have a security problem, you will have to update them. In other words, please realise that installing these packages burdens you with the responsability of their maintenance.
|  |
Actual package installation
|
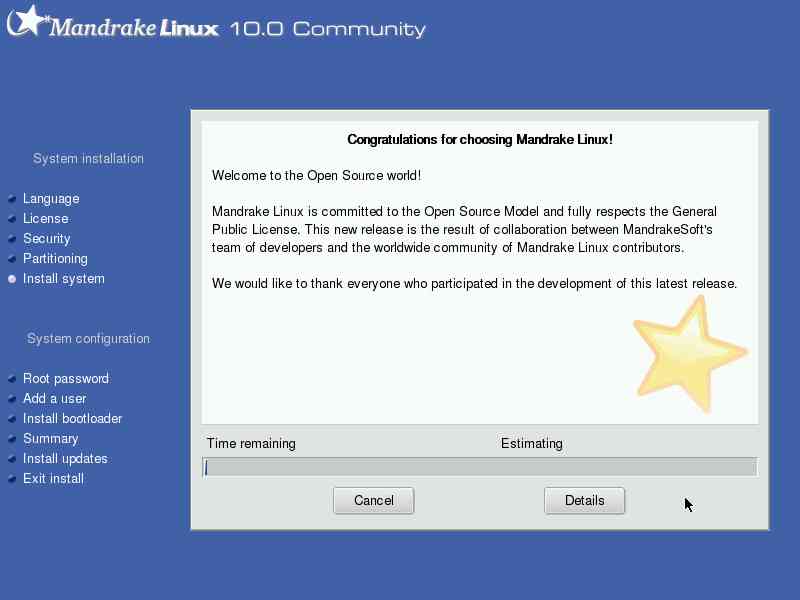
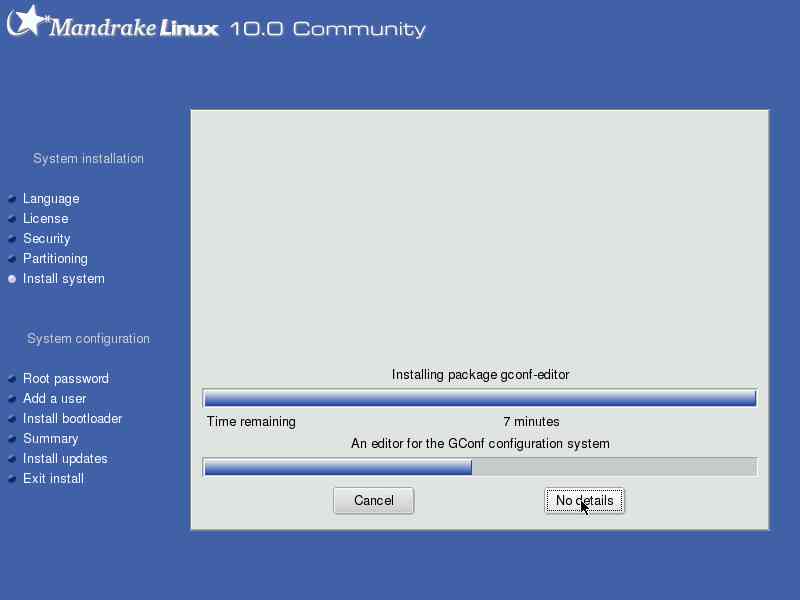
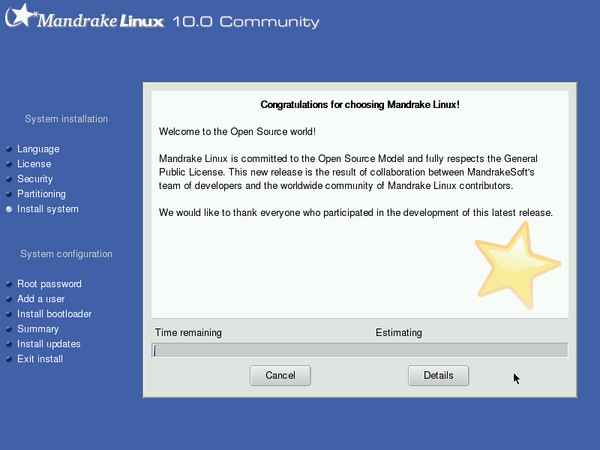
Time to sit back and relax. It seems they have improved the timer quite a bit, it was quite accurate contrary to previous installations. I think in total it took 20 minutes to install all packages.
|  |
|
The messages have been brushed up. For your amusement, you can click 'details', to see what the system is currently doing.
|  |
In this detailed view, you don't see the ads anymore -- for those who have any issues with the sponsored ads, the ad-free version is only one click away... ;-)))
(Note also that there was actually only one ad, the same as before in Mandrake 9.2. If you're curious, just read all the info...)
And you get to see what's going on. (For those who really want to see, you can also do ctrl-alt-F3 -- use ctrl-alt-F7 to get back to the graphical installer.)
|  |
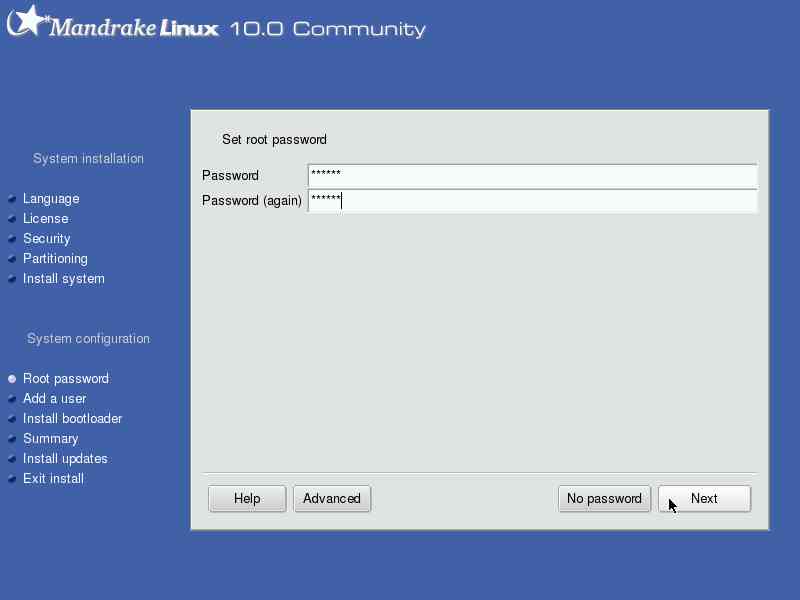
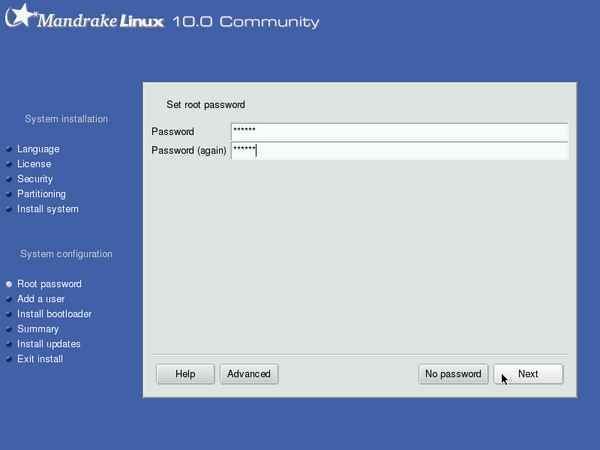
Setting the root password
|
Choose a password that you can remember, but bear in mind: anyone with physical access to your machine can easily change it (not necessarily find out what your password is, but set a new one. See the howto page on how to do that).
|  |
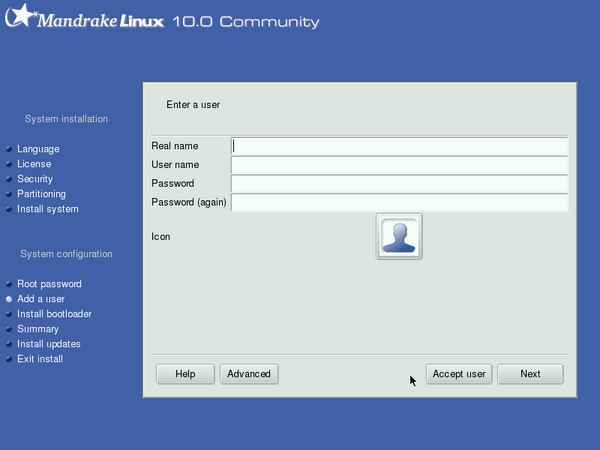
Create users for your system
|
You have to create at least one user account. You can select an icon (which, naturally can be changed later) for each user, by clicking on it. Click 'accept user' to add another one, and 'next' when you're done.
|  |
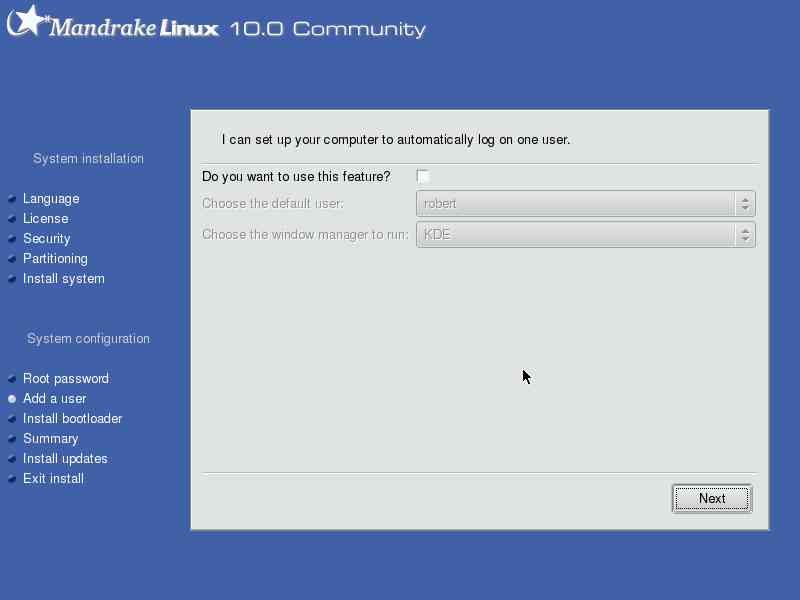
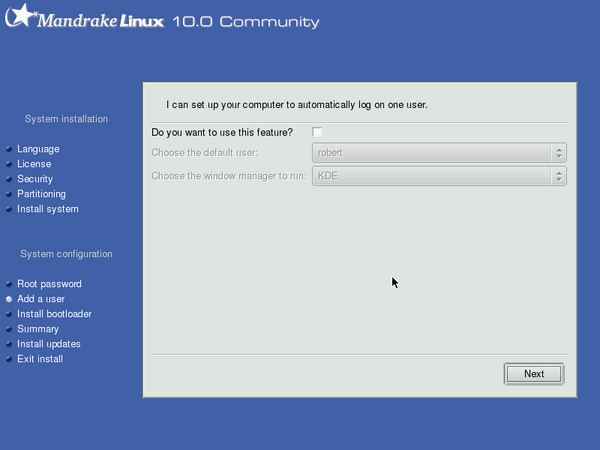
Autologon
|
If you want the system to log one specific user on upon boot, without asking for the password, you can set that up here. If you don't use this feature, a logon screen (MDKKDM) is presented each time the machine is booted, where the account name and password have to be used to get into the machine. Note that if you use KDE, you can simply set things up to use a screenlock when starting - so you can safely use this autologon feature and still be sure no-one will mess with your data and/or account.
|  |
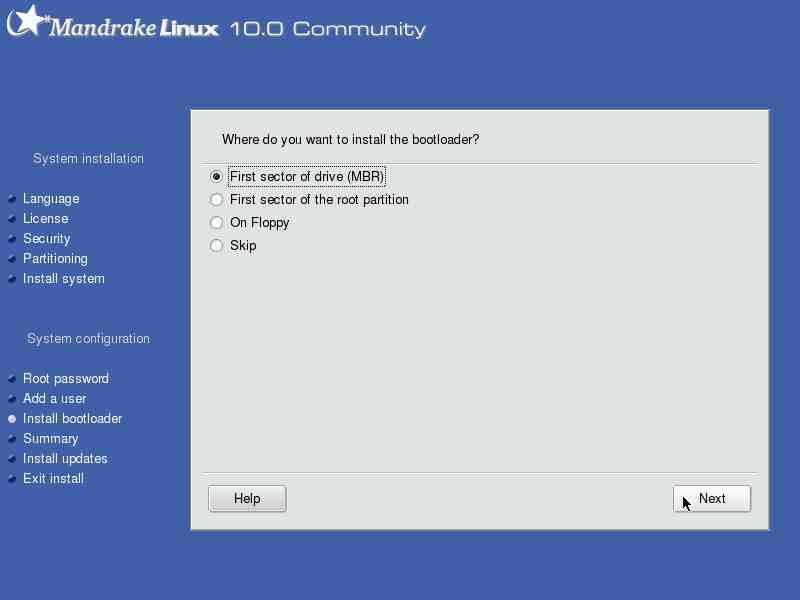
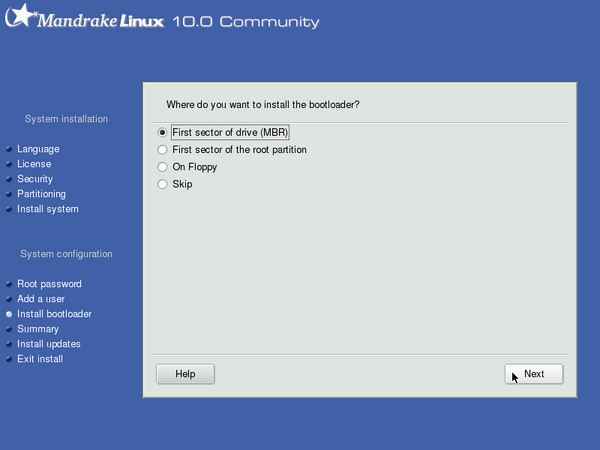
Boot loader
|
The bootloader serves to let you choose between the Operating Systems on your machine at boot time.
You can have the bootloader on the various positions that are selectable here.
|  |
-->
Summary and configuration
|
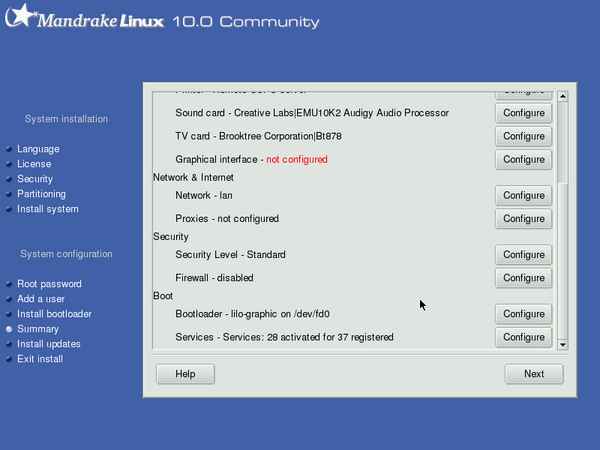
This is the summary screen; you can (re)configure plenty of hardware here, from your mouse, keyboard, audio, graphics card to your printer(s) and internet/ethernet connection.
|  |
|
Scrolling down to show you the rest of the summary.
|  |
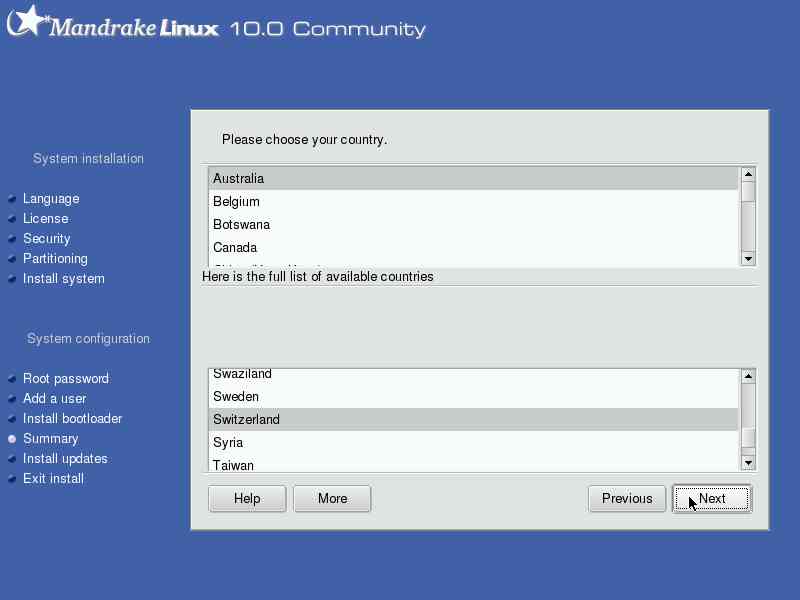
Summary -- Timezone and locale
|
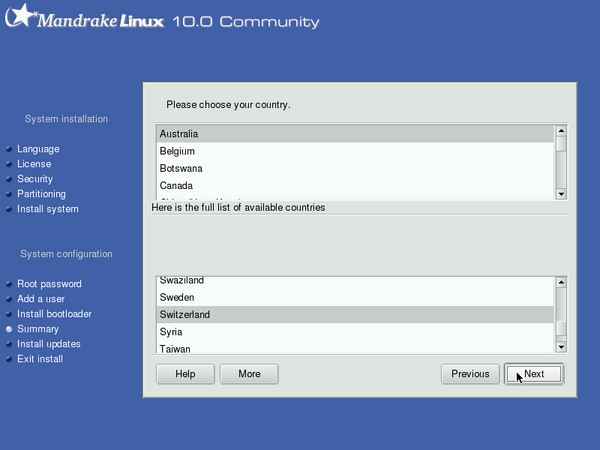
Got to set the right location and time zone.
|  |
Summary -- Sound card
|
Just checking which driver things were set to; I changed from the OSS audigy driver to the ALSA driver later on.
|  |
Summary -- TV card
|
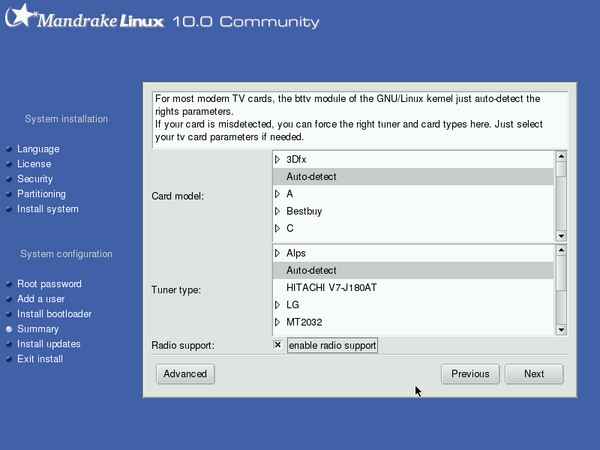
Just checking the settings, I had enough confidence that it would work properly as it always has.
|  |
Summary -- Graphical interface
|
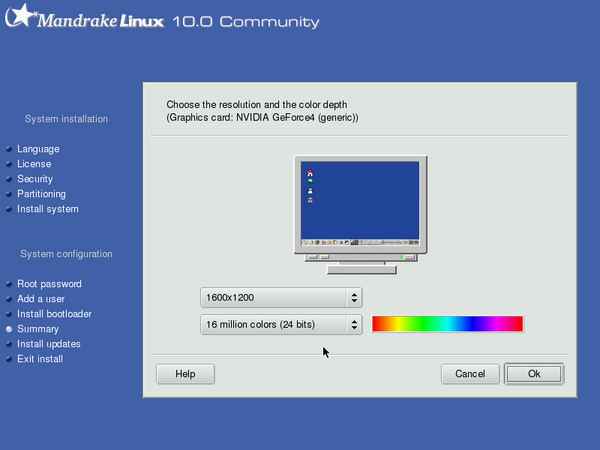
Set up the graphical stuff here. In linux speak this is called the X-server. Since it was indicated in the Summary that this had not been configured I chose to do it now. BTW for the Beta2 this was already properly set up...
|  |
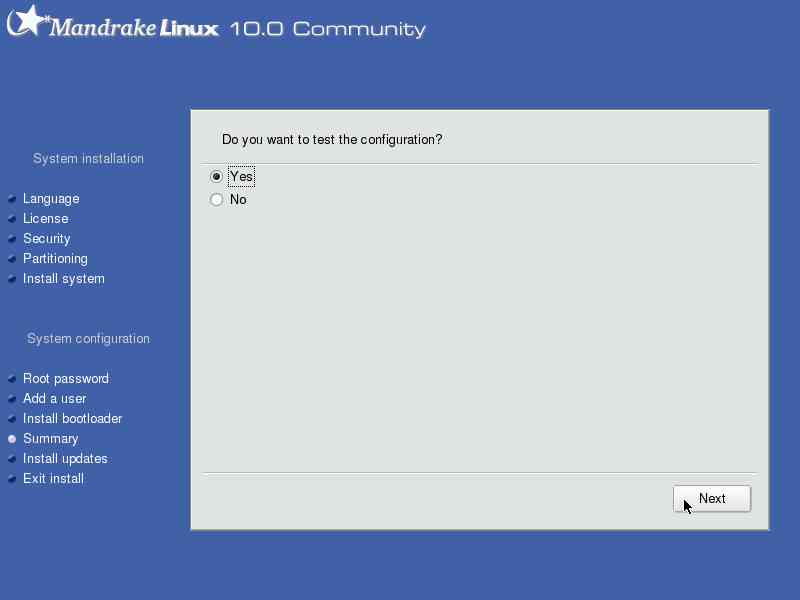
|
Test it.
| 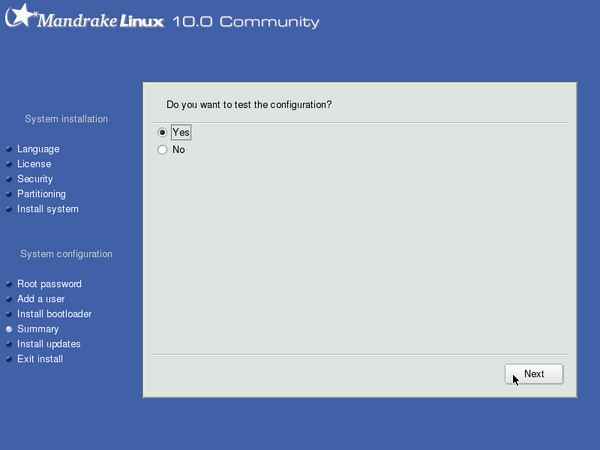 |
|
You can set up your machine so that it doesn't start the graphical environment upon boot, but if you're reading this you may be better of by choosing 'yes' here.
|  |
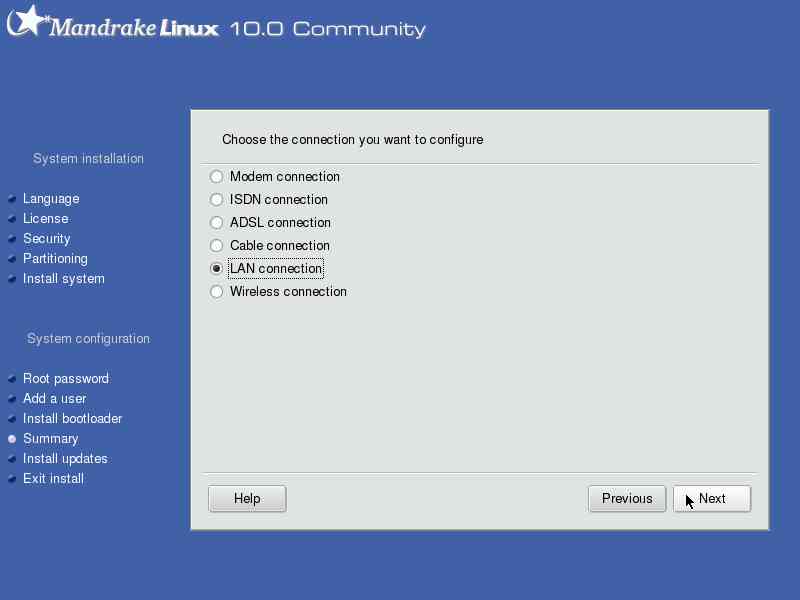
Summary -- Network
|
Choose which connection to configure. In my case, it's my LAN connection.
|  |
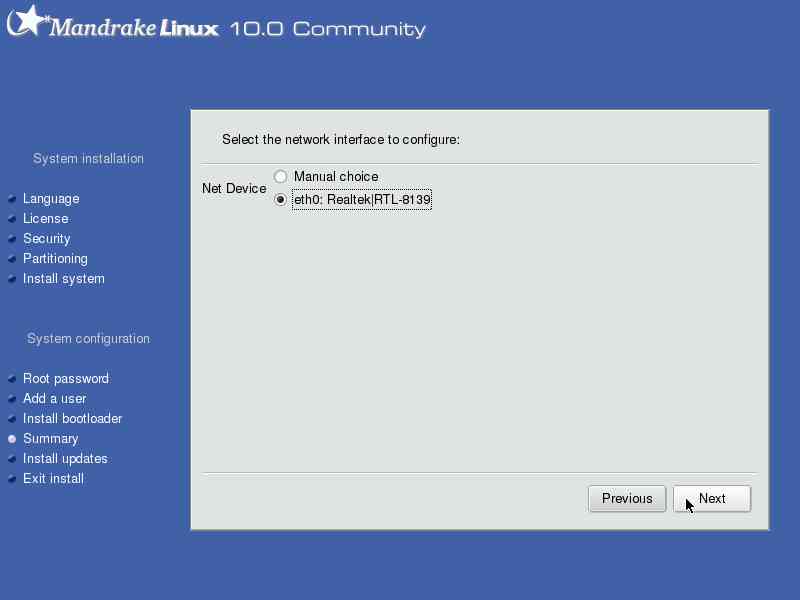
|
The Mandrake installer has correctly detected and identified my LAN card.
|  |
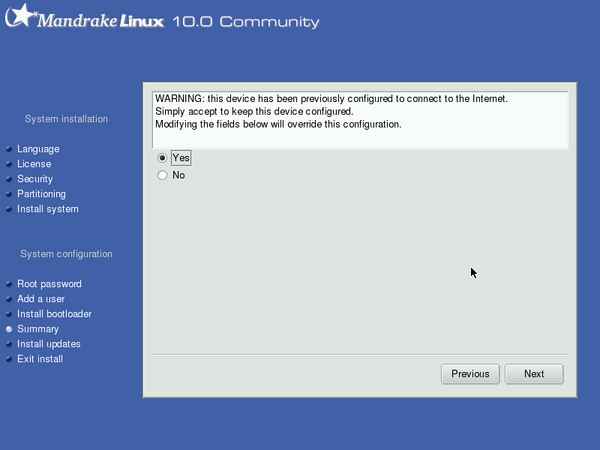
|
Strange message: how can the card have been configured previously, if this is a clean installation?
|  |
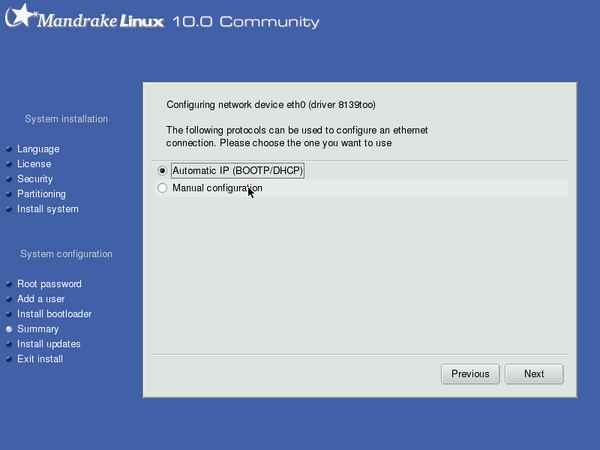
|
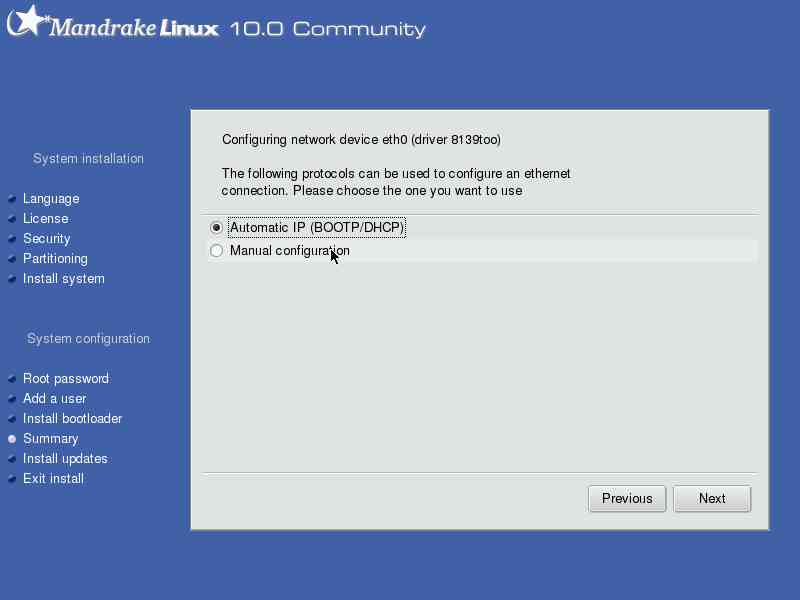
Select if you want to use DHCP or give your machine a static IP address.
|  |
|
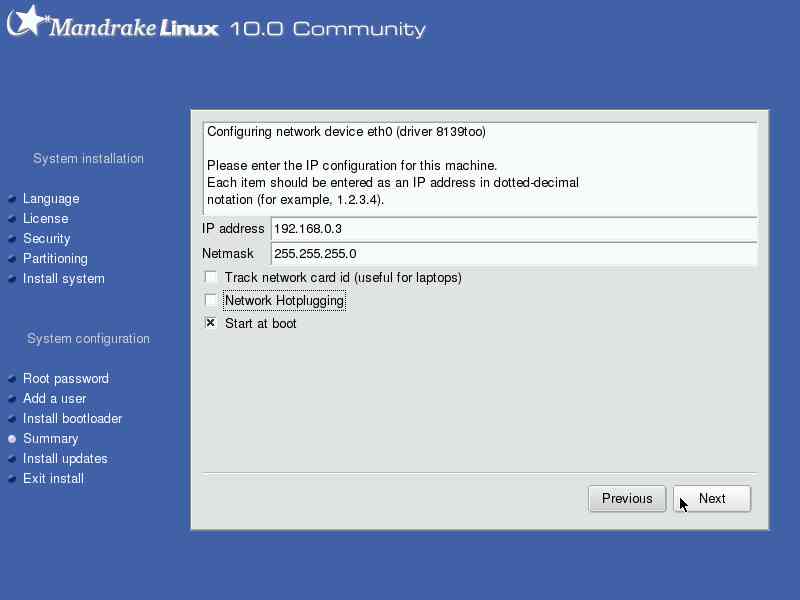
Put your IP address and netmask here.
|  |
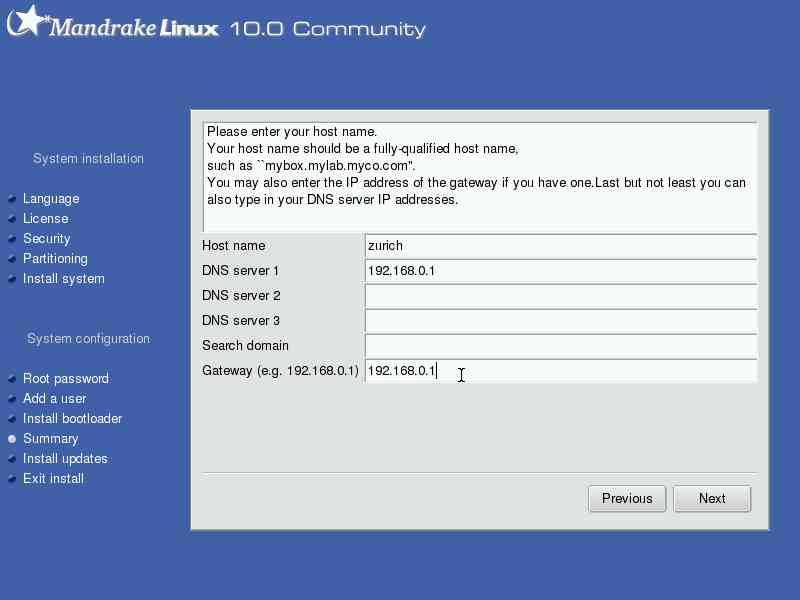
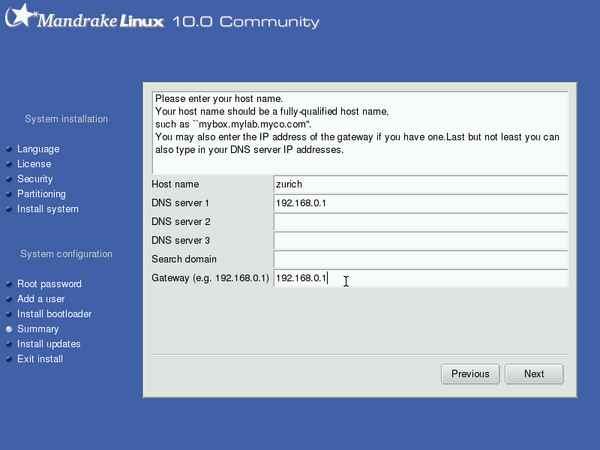
Enter a host name. If you are on your own LAN, never mind the stuff about fully qualified... ;-)
Also, fill in your gateway and DNS server addresses here.
|  |
|
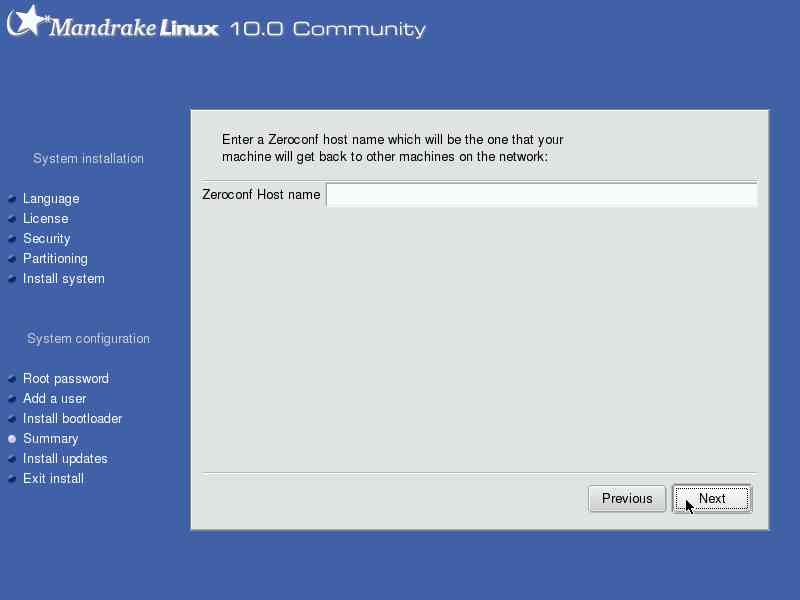
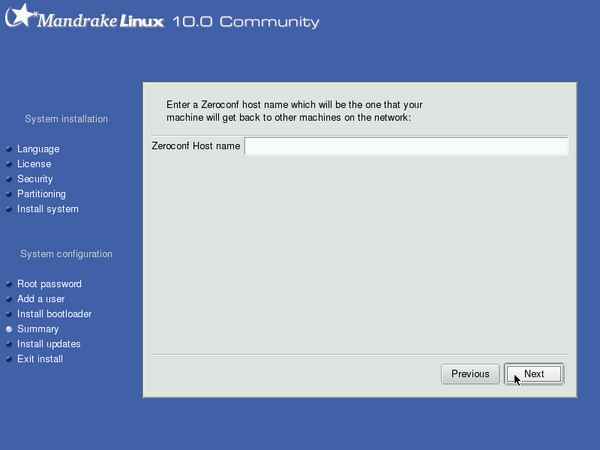
Give a Zeroconf hostname, if you would like to use that protocol. Apple uses it too, they call it 'rendezvous'. Since I don't count on using it, I left the name field blank.
|  |
|
Indicate if this connection should be started at boot. Just before I already indicated that I wanted that, but anyway...
|  |
|
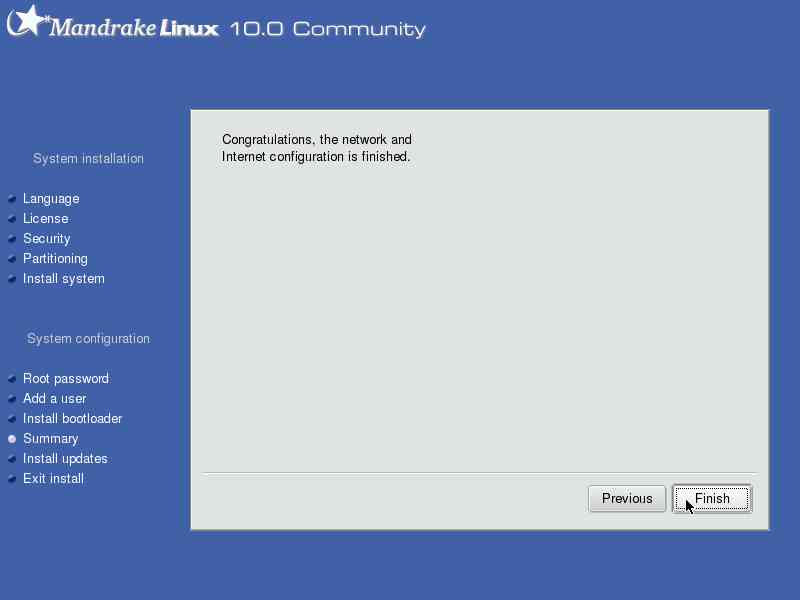
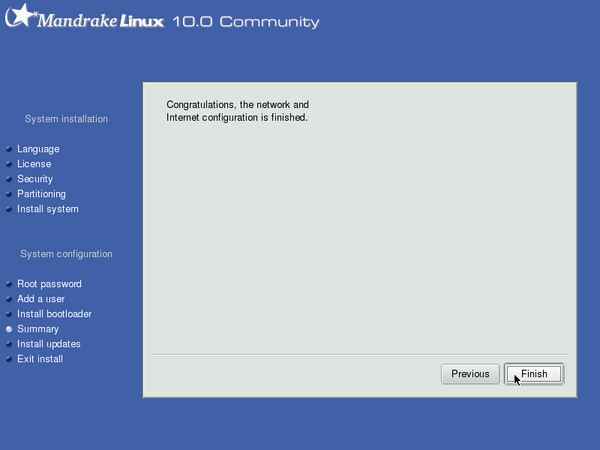
Congratulations! It must be quite an achievement.
|  |
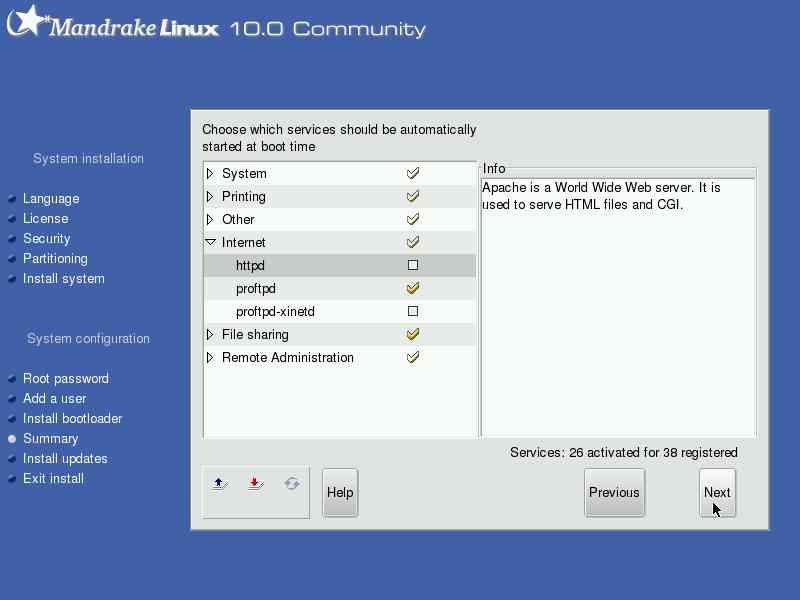
Summary -- Servers at boot
|
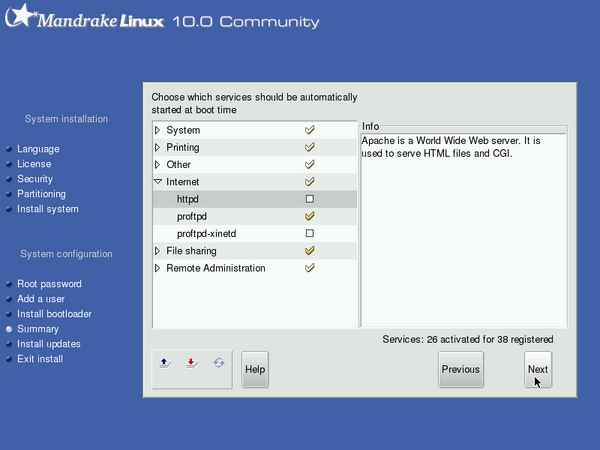
Related to the security matter of having servers running on your system, you get to choose which servers you want to run upon booting the sytem. I left all system servers/services on, but turned off the internet httpd service (Apache) for instance, since I know I won't need that on this machine.
|  |
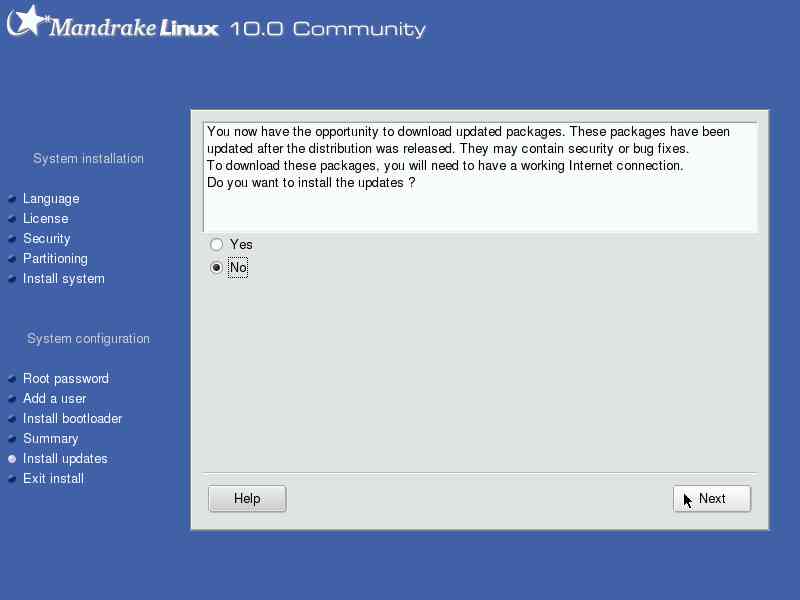
Install updates
|
Before ending the install, you get to install the updates that have been released after the install cd's hit the web. I didn't want any, since there haven't been any security warnings about any of the packages that I have installed, yet.
|  |
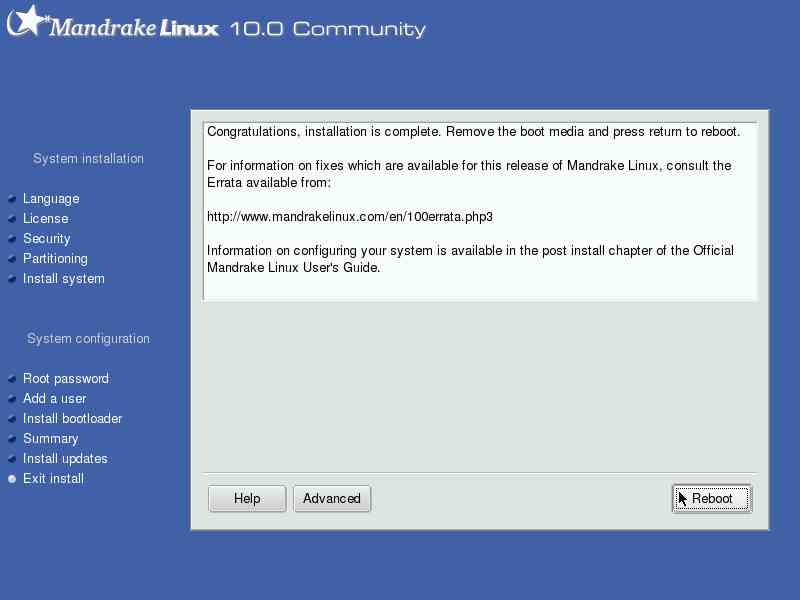
End of installation
|
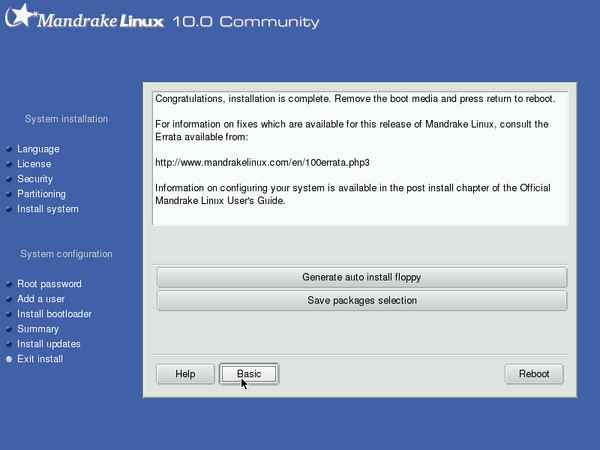
Done! It took just about one hour, as usual, of which quite some time was spent going through the packages.
|  |
|
Curiosity killed the cat, I just wanted to see what the 'advanced' button was for. You can generate a floppy to automatically do the same installation, and you can make one with the package selection list, to be used on another install. (On the screenshots of the package selection, you can actually see an icon that allows you to load this list.)
|  |
Final remarks
The installation went quite smooth, but there are still some things to work out. Addition: I just remembered I couldn't setup my network printers since the NIC would not go up, even after configuring it in the summary section. Other than that, there are some small points that one can find in the screenshots on this page that can be improved, mostly aesthetic, like the double entry for the kernel source and the unclear question about the LAN card having a previous configuration. I think that even with these minor glitches the installer worked well enough for a Community Edition, I just hope that for Official Mandrake will go the extra mile for real polish.
Happy installing!
aRTee
Discussion
If you want to give me feedback you can get to me via my contact info (link at the top) or in this topic: www.mandrakeusers.org/index.php?showtopic=12115. I'm tracking that topic, so as soon as you add a message I will be notified and read up on your comments. That forum is also great for help in case of problems.

Page first created: March 6th 2004. Page last updated:
Mar 10 2004
| |