
Installation walkthrough of Mandriva 2005 Limited Edition
Related links
Older installation walkthroughs:
Mandrakelinux 10.0 Community Edition
Mandrakelinux 9.2
Mandrakelinux 9.1
Site news
Latest site additions:
Updated January 13rd 2008:
My LIRC page: The Linux Audio Server Project - Revisited
Added January 3rd 2008:
My (K/X/)Ubuntu review: Ubuntu - beyond the hype
Added December 2nd 2007:
My Mandriva 2008.0 review
Added November 20th 2007:
The configuration page of Mandriva Linux 2008.0
Added November 18th 2007:
The Installation walkthrough of Mandriva Linux 2008.0
Added November 17th 2007:
The review of openSUSE 10.3
Added July 8th 2007:
The Configuration page of Mandriva Linux 2007.1 Spring
Added July 1st 2007:
The Installation walkthrough of Mandriva Linux 2007.1 Spring
Added December 18th 2005:
The third and final part of my Mandriva Linux 2006 review
Added November 14th 2005:
The second part of my Mandriva Linux 2006 review
Added November 6th 2005:
The first part of my Mandriva Linux 2006 review
For older additions please see the articles page.
This page describes the installation I did with the public download dvd of Mandriva 2005 Limited Edition. I have installed it and run it on my desktop system (zurich), my server (paris) and my laptop (samos) (see also the hardware specifications page). In the meantime, lots of friends, family and acquaintances also run it, on lots of different hardware.
To those who've already used or seen a graphical Linux installer this may not be exciting, but those who haven't and are curious are invited to give this page a good read. I hope that this information will help some uninitiated to take the plunge and give Linux a try.
I used 'use existing partitions' and 'install' instead of upgrade on both the server and the laptop. My desktop was upgraded from Mandrakelinux 10.2 RC2. It seems that in some cases 'upgrade' works fine, but in others it doesn't. Your mileage may vary; if you use the 'upgrade' function and you have problems, you may first want to do a clean install to see if that helps. BTW, a clean install is usually faster anyway, since there are no dependencies of the packages that get replaced to be checked.
I have several partitions that I use as root partitions; normally I have the bootloader of my main system in the MBR of the first harddisk, /dev/hda, and on other installs (different distro, beta's or rc's) I choose to have the bootloader on a floppy (/dev/fd0). On these installs I choose to install on the MBR directly.
I have done a regular install from dvd on my laptop. On my server and desktop I have installed from the iso image, by following these instructions. On my desktop I just wanted to give that method a try, on my server I have no dvd drive, so I had no choice at the time, since I didn't feel like downloading the cd images just for that.
By doing the install from iso image(s) on your local harddrive, the installation media location is known to the system afterwards, which means for me that I can just issue urpmi commands to install applications and will never be prompted to insert the media - with current harddisk sizes not a problem. One thing I ran into: if you have the iso image on your /home partition, during installation your 'old' usernames will not be found (in the 'create user' steps), and if you opt to create the same username(s) the chances are they will not have the same UID and GID - this can lead to some problems (that can be fixed, but they will keep the novice puzzled)... Naturally I filed a bugreport for that, so please vote for that bug.
Another new feature is that the installer actually offers to copy the installation media to the harddrive - this has the same effect as the iso installation, one will not have to scramble for any discs later on.
A last remark: it will pay off later if you create an extra partition that can serve as root partition for subsequent linux installations, for instance for beta/rc testing.
The installation itself
Just put the first cd in the tray and reboot the pc; then type enter when you get to the question if you want to install, upgrade or other. (For completeness, yes you can also install from the images on a FAT32 (windows) partition, or from a linux partition, or over the network with NFS, or via ftp.)
I will now just give some tips and explanations on what and how I do things, along with the screenshots I made during the install on my laptop (just hit F2 to make a screenshot, you can find them later in /root/DrakX-screenshots/). Note that I have chosen to resize the screenshots, the normal resolution is 800x600 (SVGA). You can click each image to get the normal size screenshot. I have also chosen the JPG image format with a rather low quality setting - beauty is not really the point, and if it reduces the total data amount of this one page to 1/5th, this is welcome, not only for modem users but also since my (free) webprovider doesn't have too much bandwidth at peak times. The full-size images are the original png files.
The following parts are in the installation; I've intermittently put my comments, whereever I have tips to spare. Note that during the initial sections, hitting ctrl-alt-del takes you back to the first installer screen (language selection).
Choosing Your Language
| Use advanced to select more than one language. Very important if you want multiple languages, in some cases it can be near impossible to add later (well you can always run through the install process again, just doing upgrade instead of install...). Selecting extra languages means you also get the spell checker files for those languages installed. | 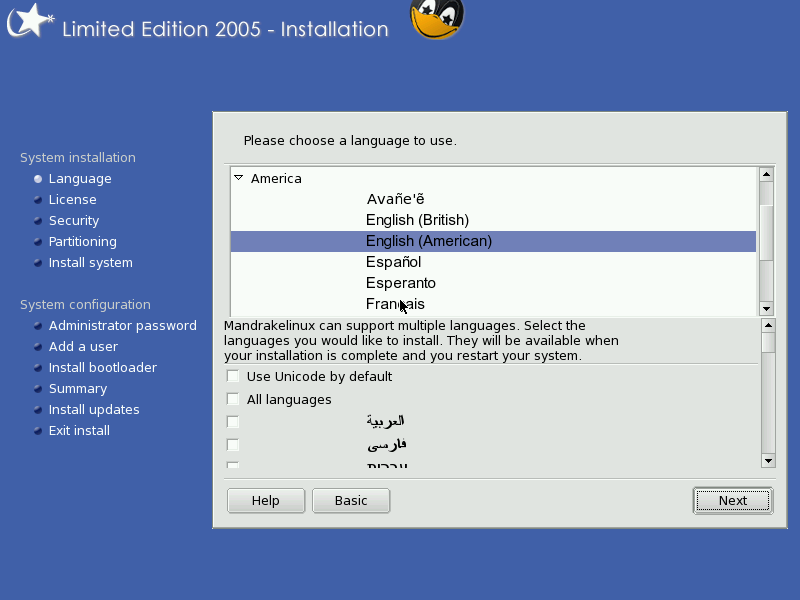 |
| As you can tell when browsing this list, Linux offers an astonishing choice of languages (any language that anyone has bothered to do the translation for, as a matter of fact). I checked the secondary languages of my choice and moved on. | 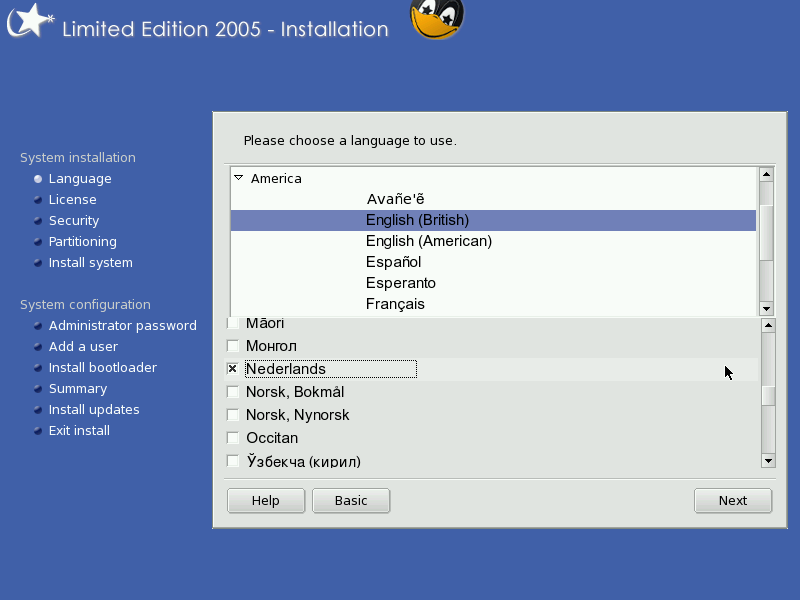 |
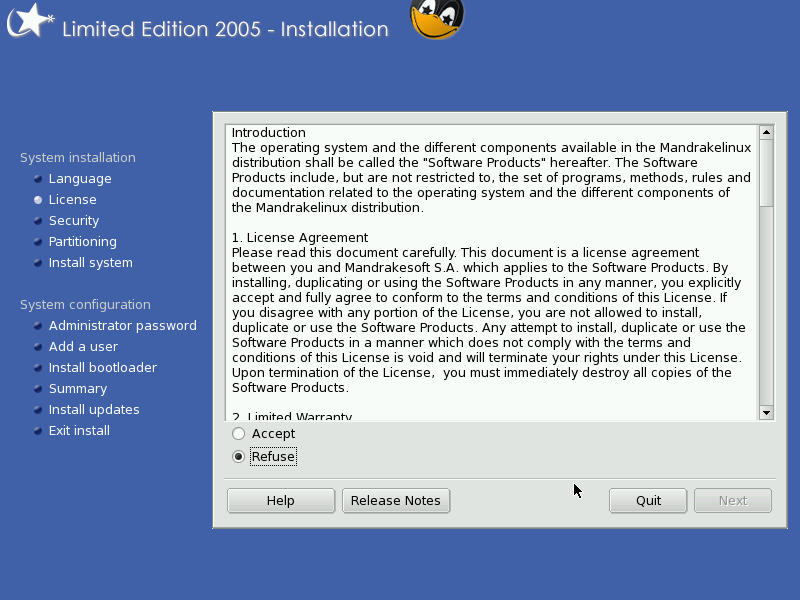
License Terms of the Distribution
 |
Install type
|
Here the question is asked is whether you want to install or upgrade; even if you have an older version of Mandrake installed, it is often wiser to do an install than an upgrade. People have reported problems with the result in case of an upgrade from some older Mandrake installation. |  |
Keyboard selection
| Select your keyboard layout. (Tip for Dutch users: you can choose the Dutch layout, but this is actually very uncommon; the commonly used keyboard layout in the Netherlands is US international.) I got the British layout preselected, since I chose British English as the first language. | 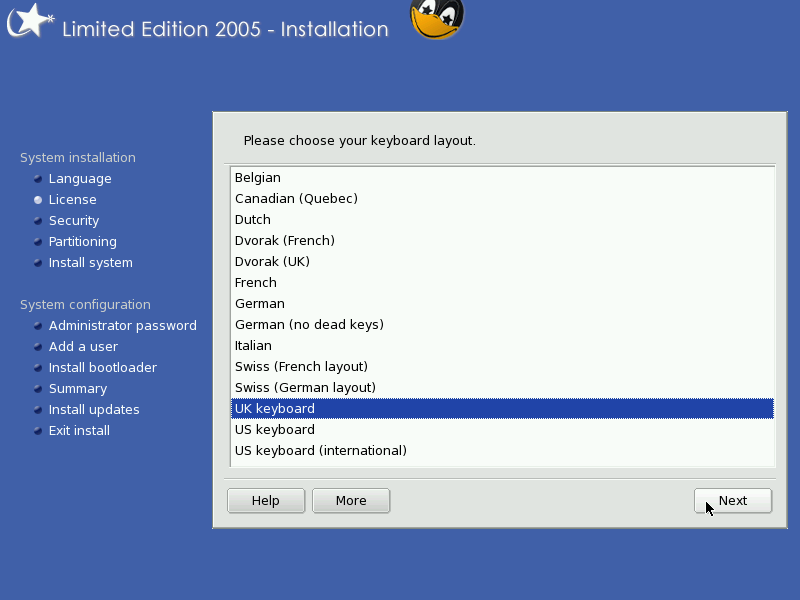 |
Security level
| Choose the security level of your Mandrakelinux system. For servers with a fixed ip address that will be permanently connected, you may want to select something a bit higher than the standard setting that I took. | 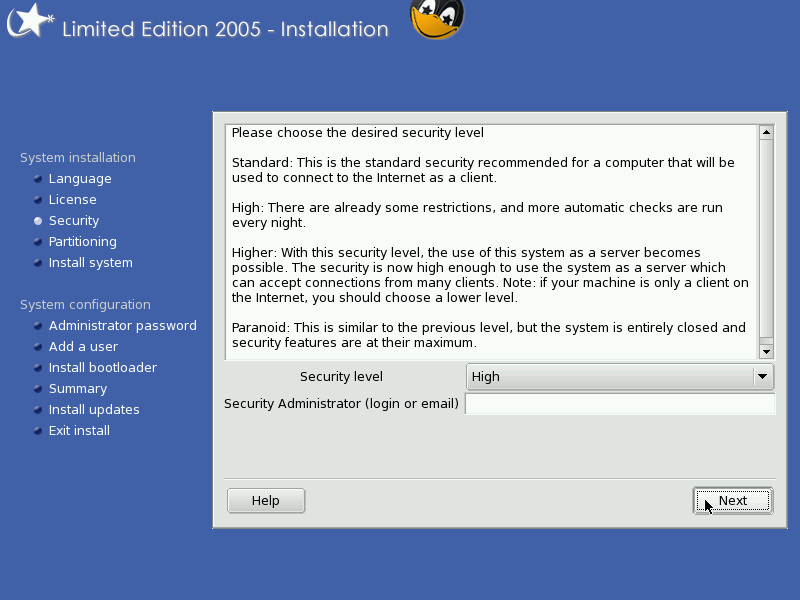 |
Hard disk partioning
| Select whether you want to use existing partitions, erase the entire disk, reduce the size of your windows partition to make place for your Linux system or do your own custom setup. For comments on disk partitioning, read my Mandrake 9.1 installation page. For more screenshots from the Mandrake Diskdrake program, read the 9.2 installation page. | 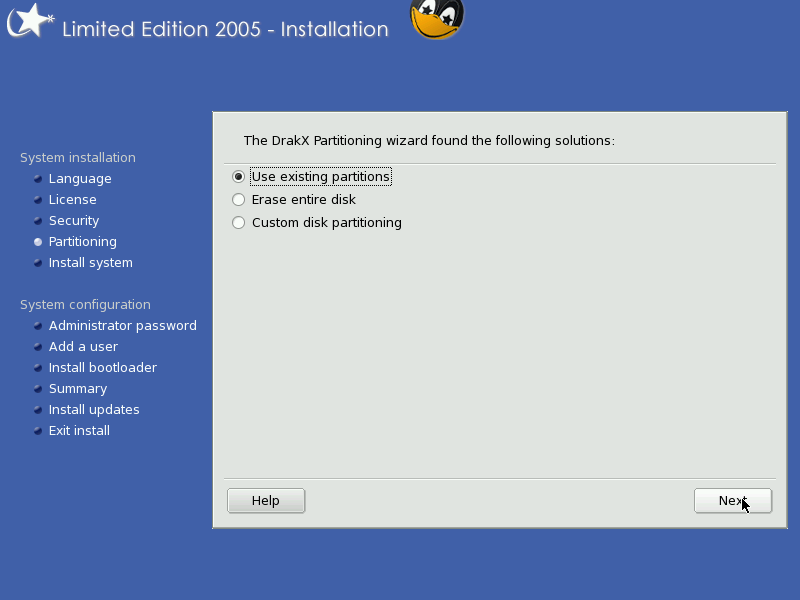 |
| I chose 'existing partitions', and I guess the installer read one of the old /etc/fstab files to know where I usually mount which extra partitions. Neat! I indicated which partition I wanted to use as a root partition ( / ) for this installation, and where to mount the other 'root' partitions. | 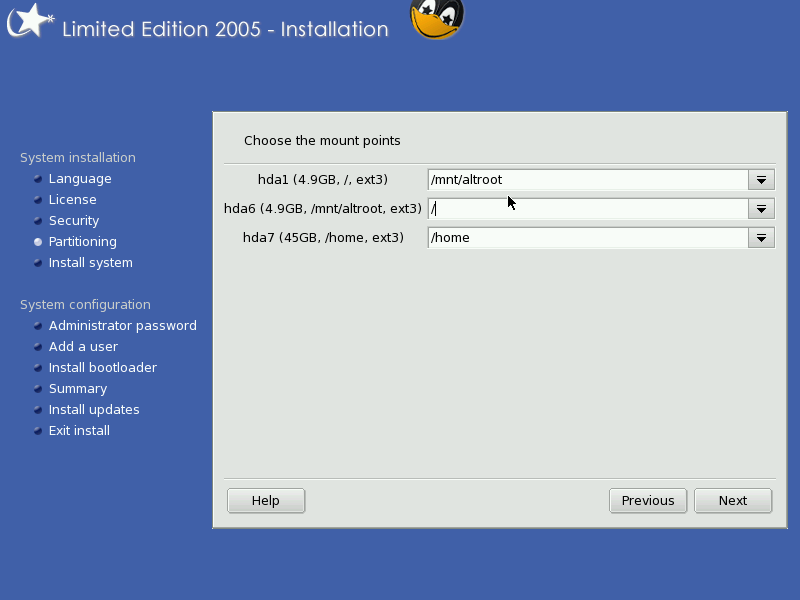 |
Formatting of partitions
| The next step is to format the partition that will serve as root partition. After this, there is no way back, so be sure that you have made backups of any file on that partition that you may need. If you wish, you can choose to format other partitions as well; in my case I wanted to keep all data on all other partitions. |  |
Identifying and copying of install media
| Here the installer offers the option to indicate what media one has (since there are sets of 3, 4 or even 5 cds - the 3 disc set is public, the other sets are clubmembers only - but not to worry, one can actually get all the software even without being a clubmember, it's just offered in a more convenient manner to paying members), and whether one wants to have the media contents copied to the harddrive. As mentioned, this will help avoid the "where's my installation disc" issues. | 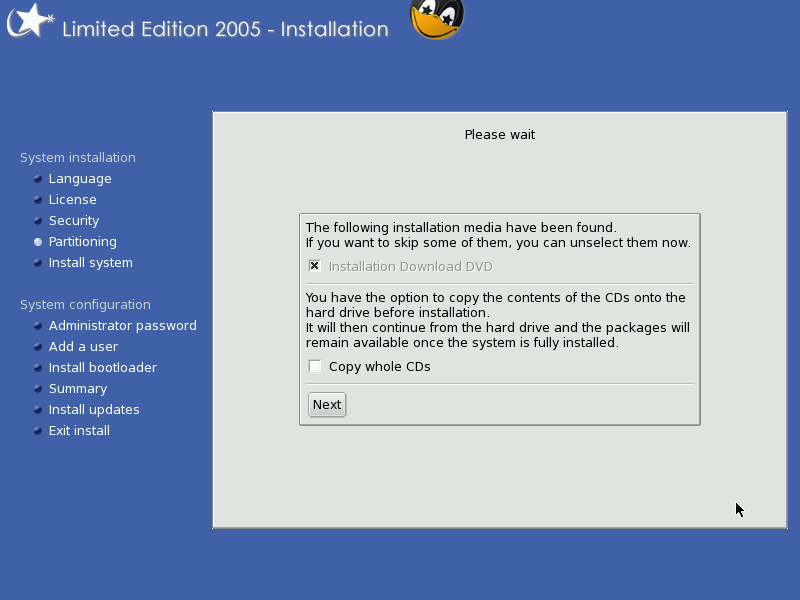 |
Package selection
| The installer checks which programs can actually be installed. The group selection allows for quick installation of the most common applications per subsection. |  |
| This is my usual selection. | 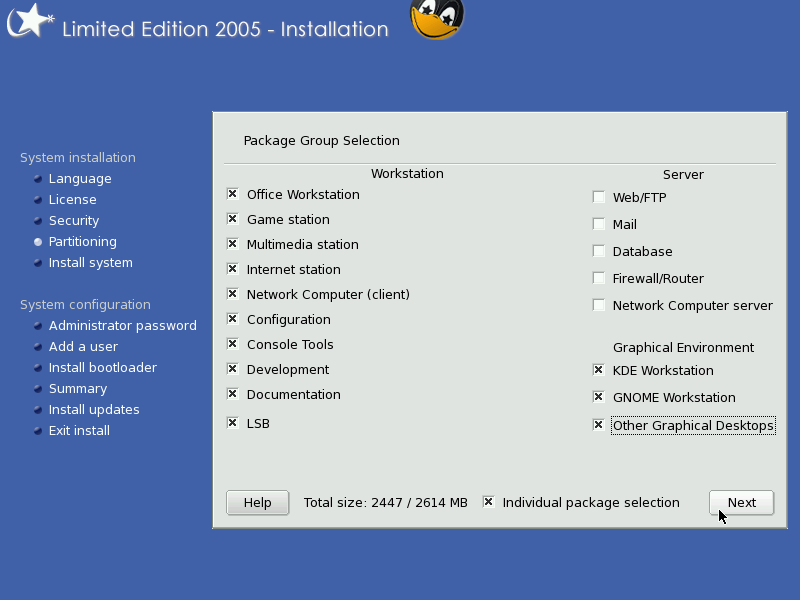 |
| I had opted for the individual package selection, and this screenshot shows dependency resolution of a single selected package (mplayer-gui) with quite a few dependencies. Note that in 'flat list view' (click the circular arrow-icon), you can just start typing away and the built-in search will jump to the package name you're typing. | 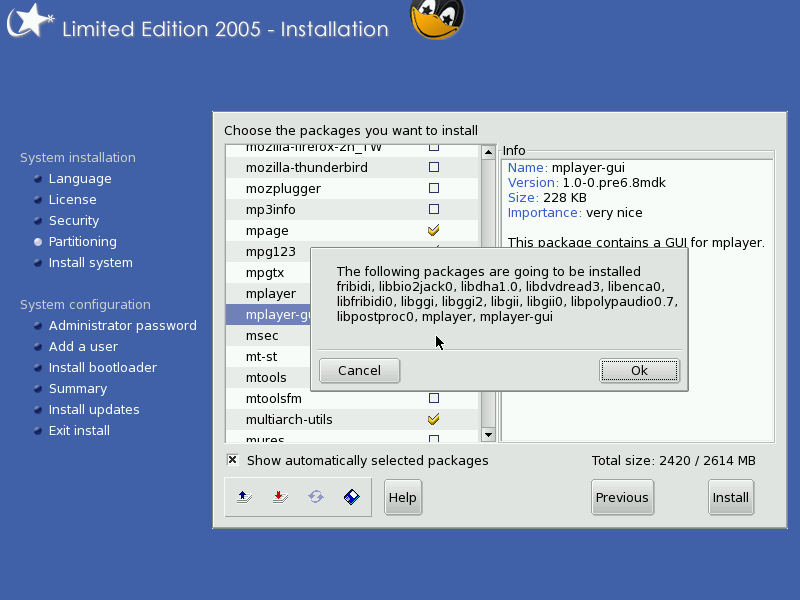 |
Server packages security issue
|
This is just a warning that the server applications that you may have selected to install will be switched on and if they should have a security problem, you will have to update them. In other words, please realise that installing these packages burdens you with the responsability of their maintenance. After you 'OK' this, the chosen packages are installed, which can take between 10 and 100 minutes, strongly dependent on your selections and the speed of your hardware. | 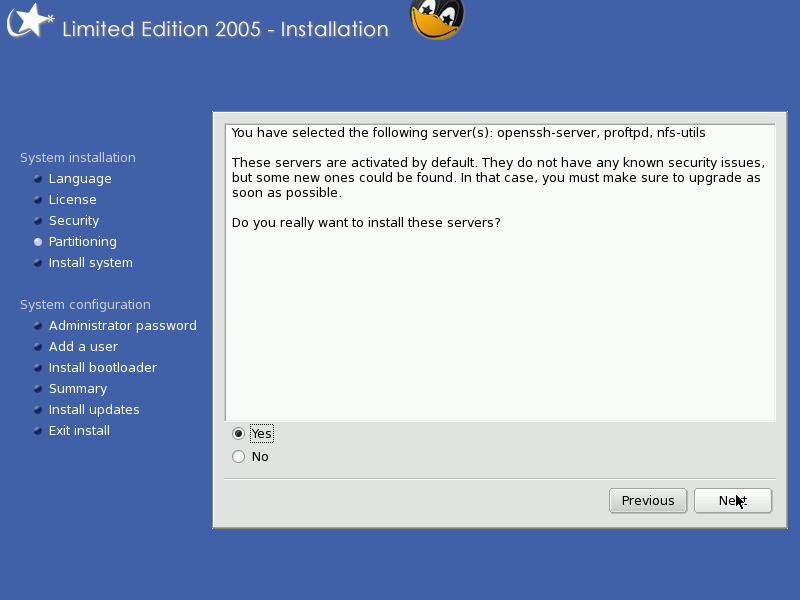 |
Setting the root password
| Choose a password that you can remember, but bear in mind: anyone with physical access to your machine can easily change it (not necessarily find out what your password is, but set a new one. See the howto page on how to do that). |  |
Create user accounts for your system
|
You have to create at least one user account. You can select an icon (which, naturally can be changed later) for each user, by clicking on it. Note that the (new) default login manager doesn't show these icons... Click 'accept user' to add another one, and 'next' when you're done. | 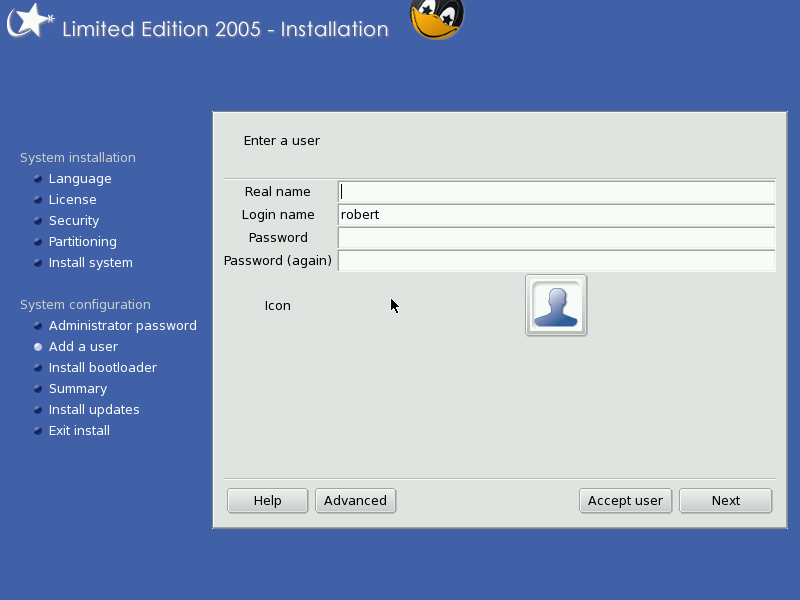 |
Autologon
| If you want the system to log one specific user on upon boot, without asking for the password, you can set that up here. If you don't use this feature, a logon screen (MDKKDM) is presented each time the machine is booted, where the account name and password have to be used to get into the machine. Note that if you use KDE, you can simply set things up to use a screenlock when starting - so you can safely use this autologon feature and still be sure no-one will mess with your data and/or account. | 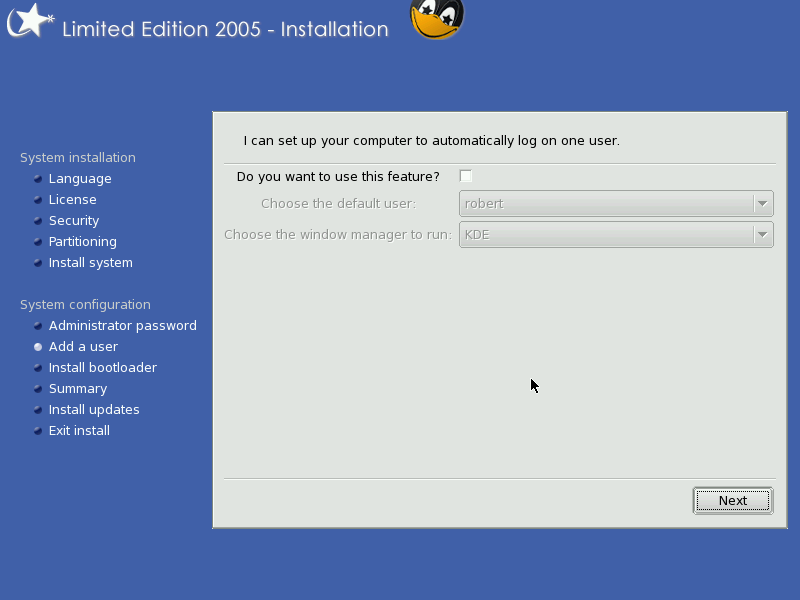 |
Boot loader
| The bootloader serves to let you choose between the Operating Systems on your machine at boot time. You can have the bootloader on the various positions that are selectable here. Note that it only makes sense to put the bootloader in the first sector of the root partition if you have some other bootloader to direct the computer BIOS there. If you choose 'skip' you won't be able to start your system, and even the rescue mode of the installation cd won't be able to help you; it relies on the bootloader info being available somewhere on your system, and if you choose 'skip' here, it won't even get created. |  |
Summary and configuration
| This is the summary screen; you can (re)configure plenty of hardware here, from your mouse, keyboard, audio, graphics card to your printer(s) and internet/ethernet connection. | 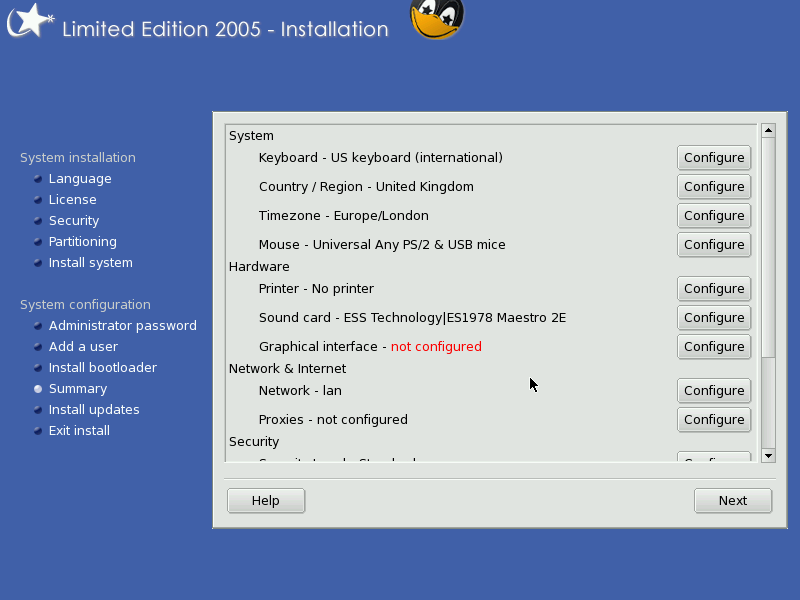 |
| Scrolling down shows some more things to configure... | 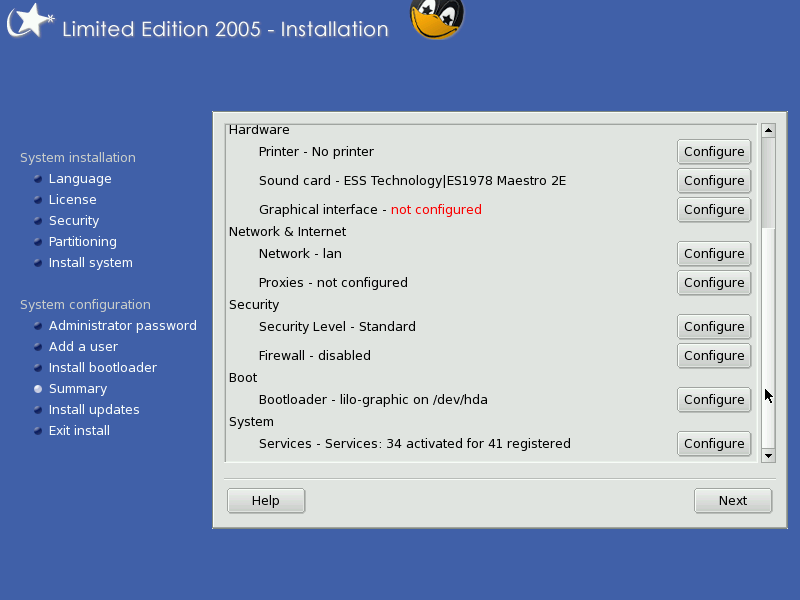 |
Summary -- Network
| Choose which connection to configure. In my case, it's my LAN connection. | 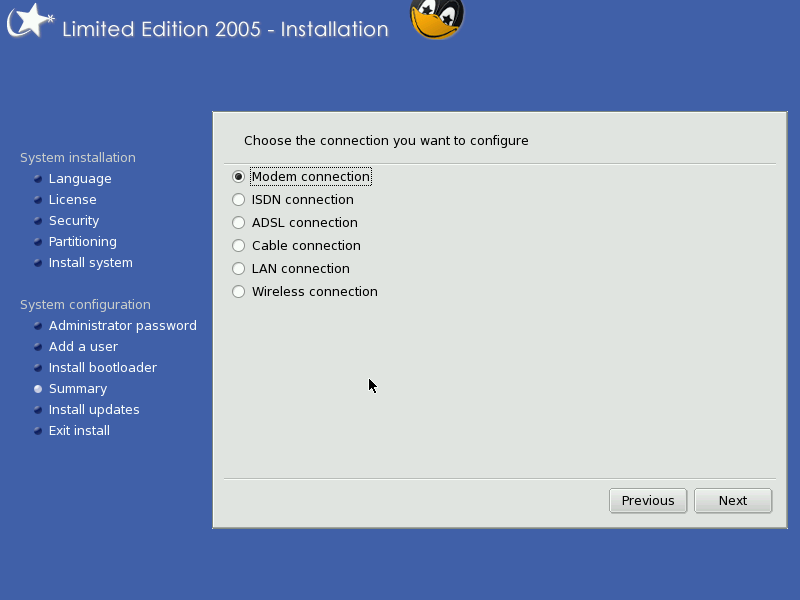 |
| My interface was correcly identified, so I didn't have to select the driver manually. | 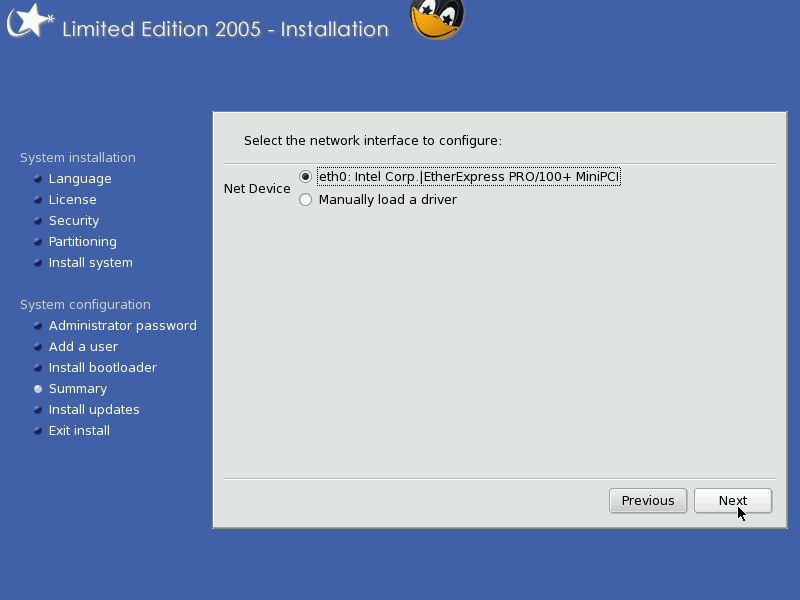 |
| Silly question - this is a clean install. It seems that in the next release this screen will finally be gone... Until then, just ignore it, as with Mandrakelinux 9.2, 10.0, 10.1.... | 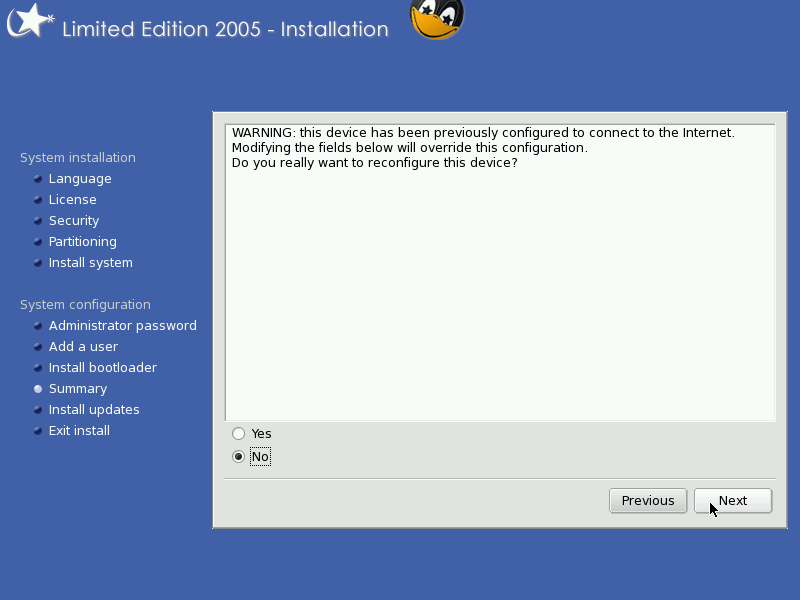 |
| I prefer to have fixed IP addresses on my home lan - especially when some cable is unplugged or so, it avoids long waits at boot time. | 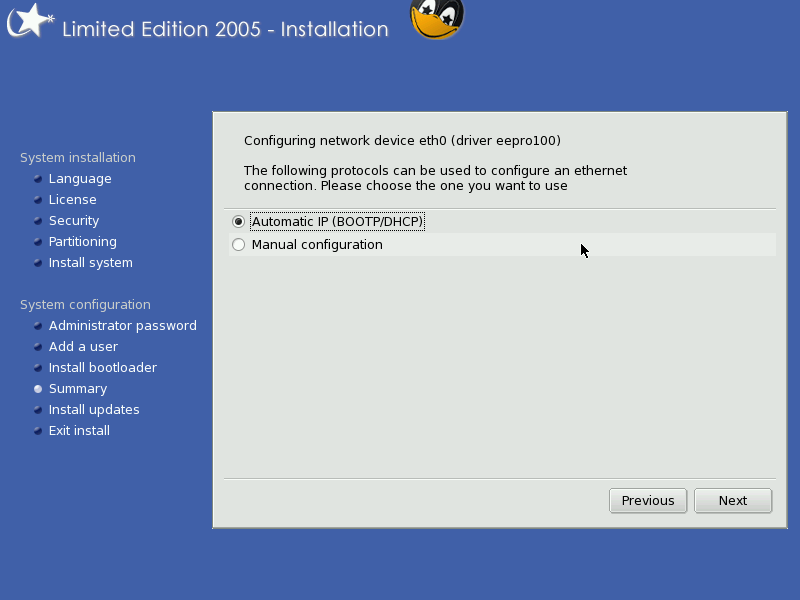 |
| So here the static IP information can be fed to the system. | 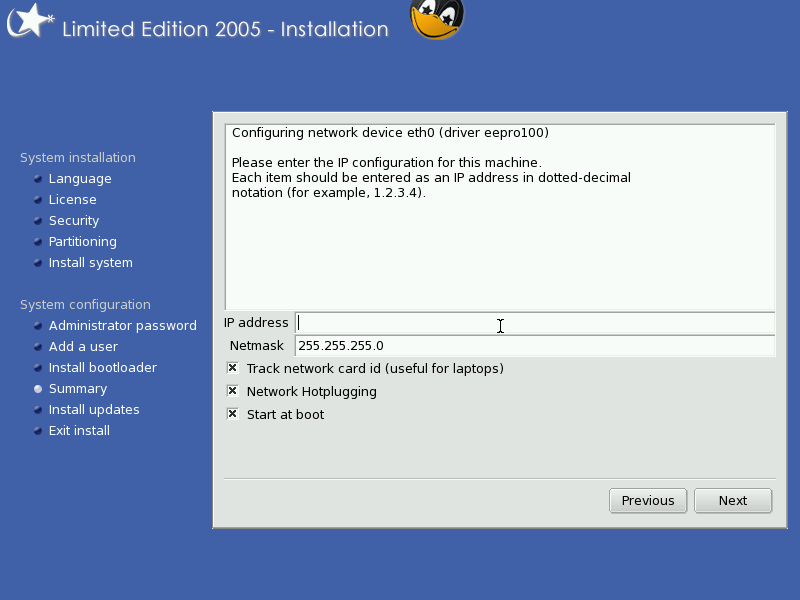 |
| and here the hostname, DNS server IP addresses and gateway IP. | 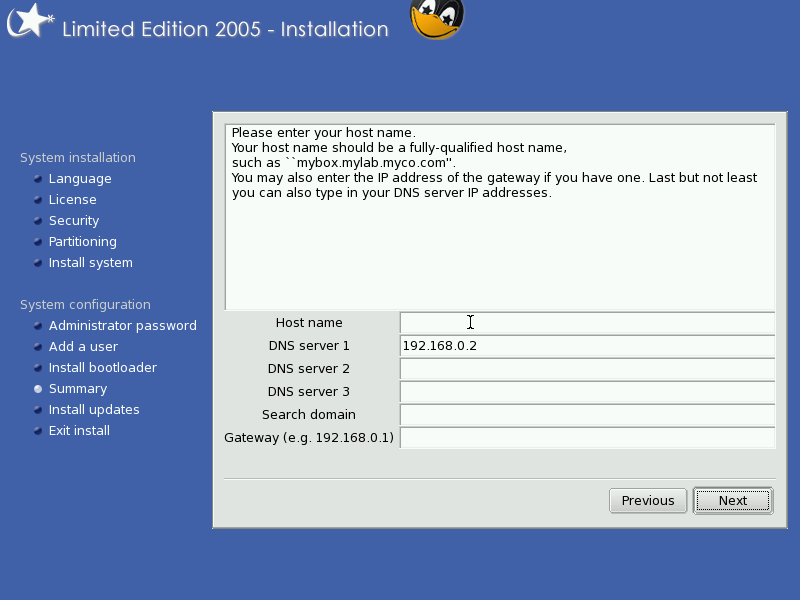 |
| In case you want to use Zeroconf, you can put the hostname here. |  |
| And as a last option, you can choose to allow users to start the network connection. | 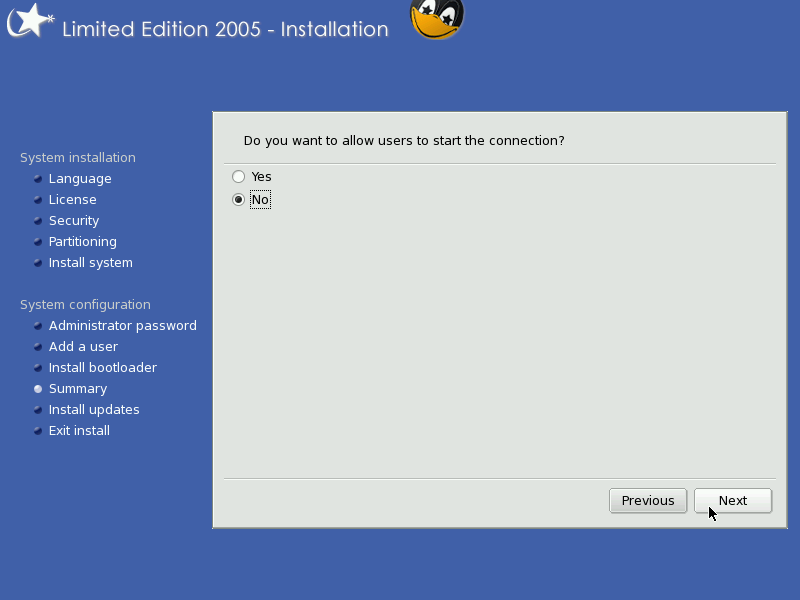 |
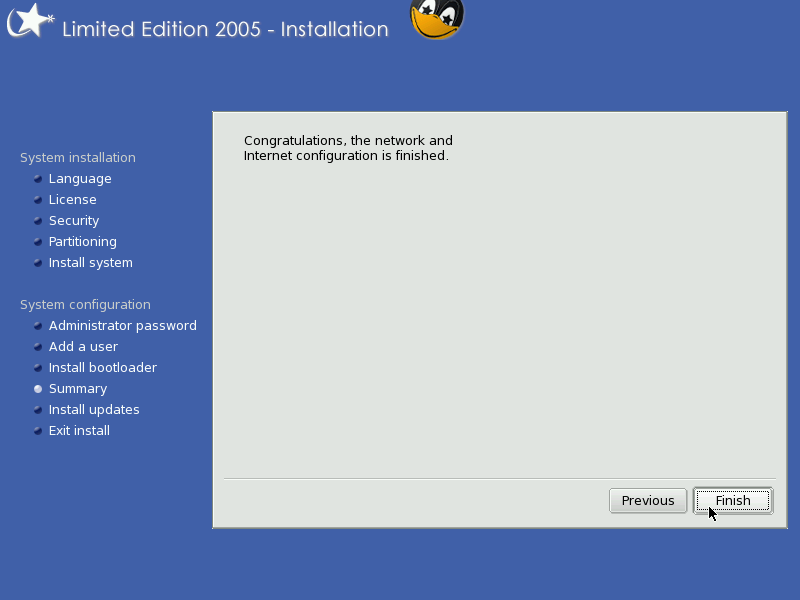 |
Summary -- Printer setup
|
Before doing the printer setup, I did the network setup, and for a reason: I have a network (colour laser) printer and an inkjet on my server. Without the network up and running, setting up the printer would be a futile event. I guess for very light machines, one can now opt to have cups only running on a server and not locally run a cups server. I guess that for some this may make sense. I kept the default local cups. | 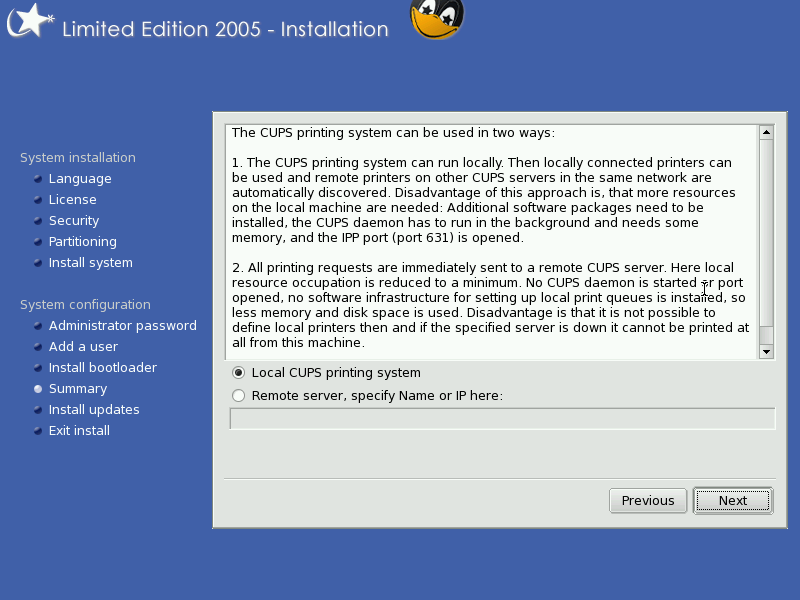 |
| Here the printer detection settings can be configured. | 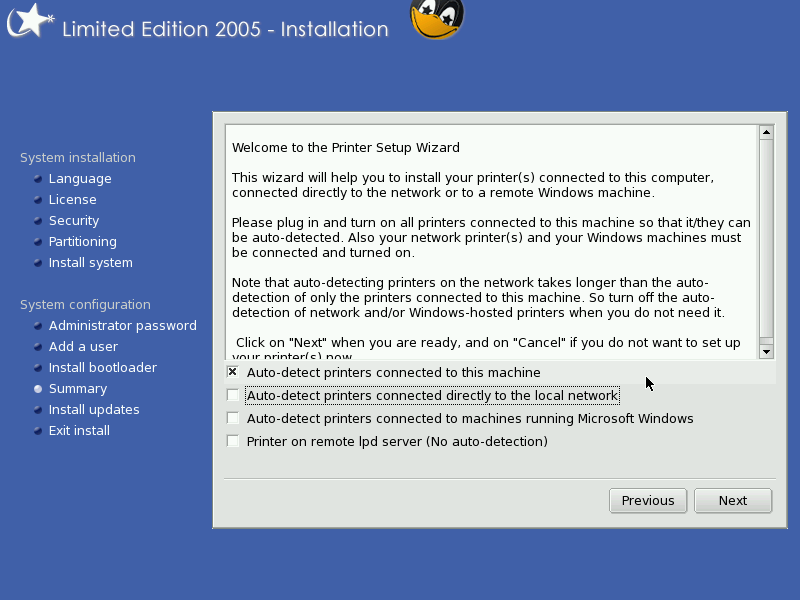 |
| Cups options. | 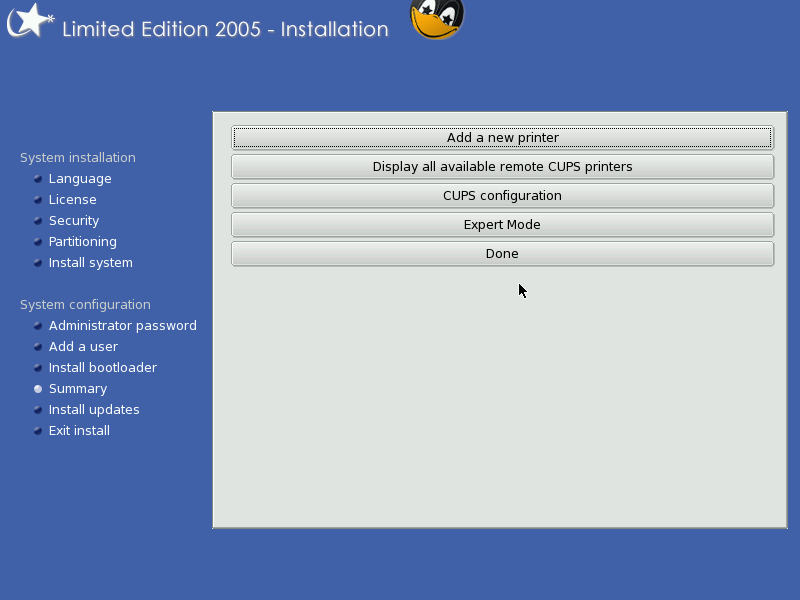 |
| The autodetection didn't find my network printer (never has),.. | 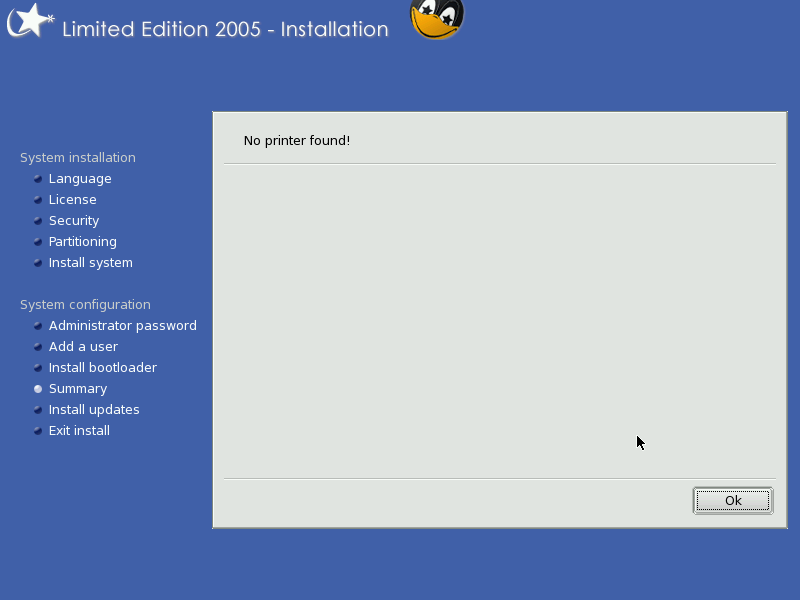 |
| ... so I turned on the 'expert mode' (which makes me feel good.. :-) | 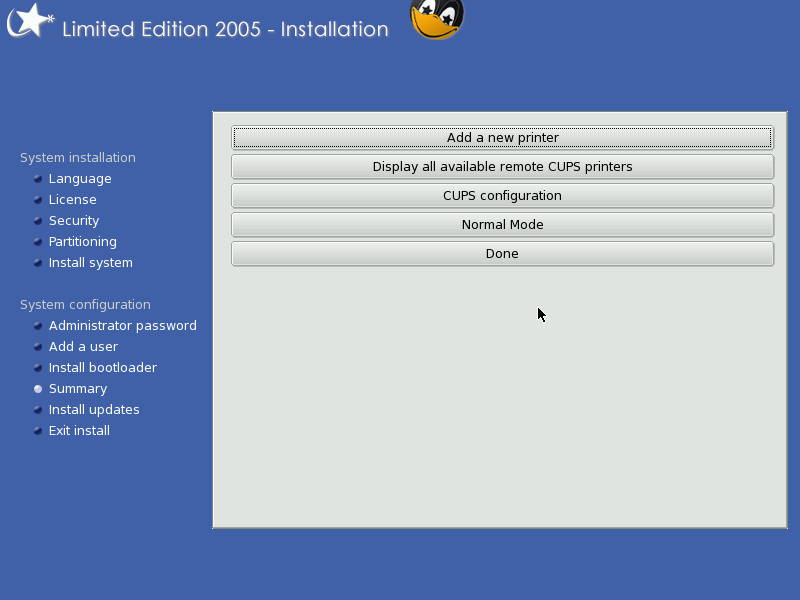 |
| and then I set up | 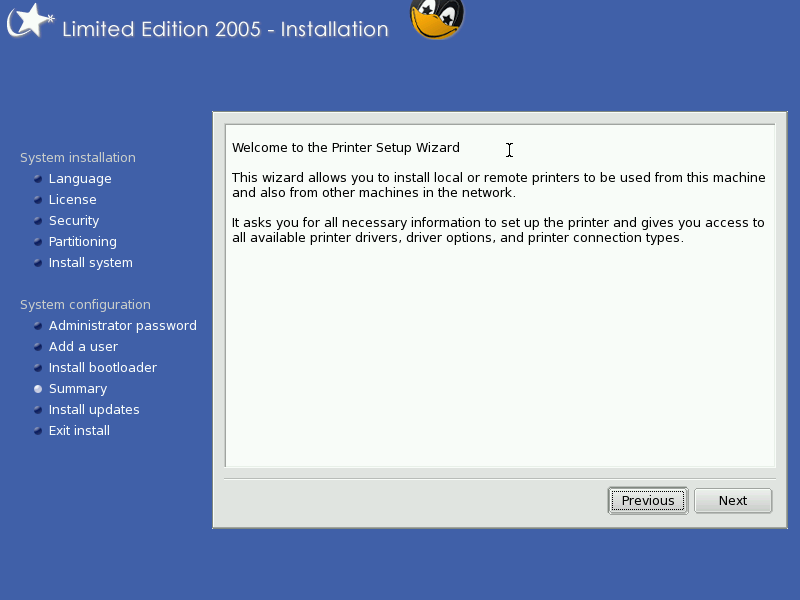 |
| my network laser printer | 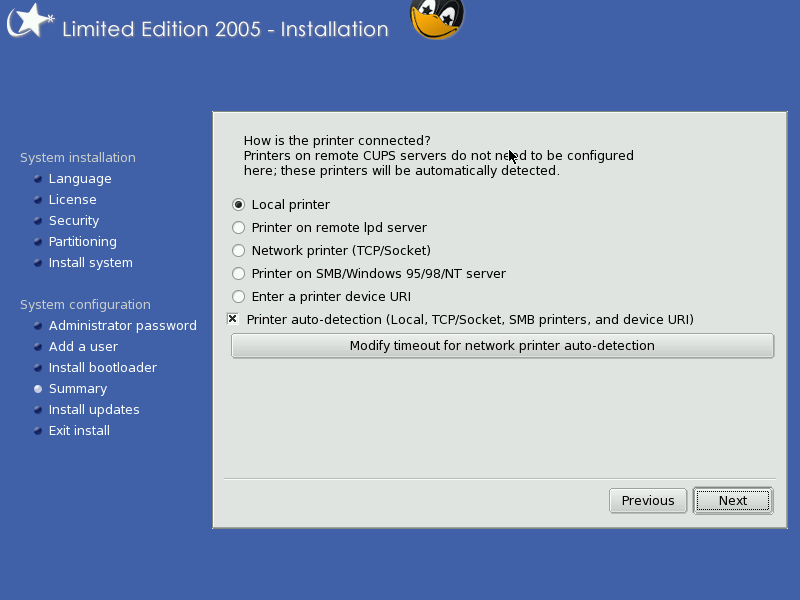 |
| by giving the IP address and the port number. | 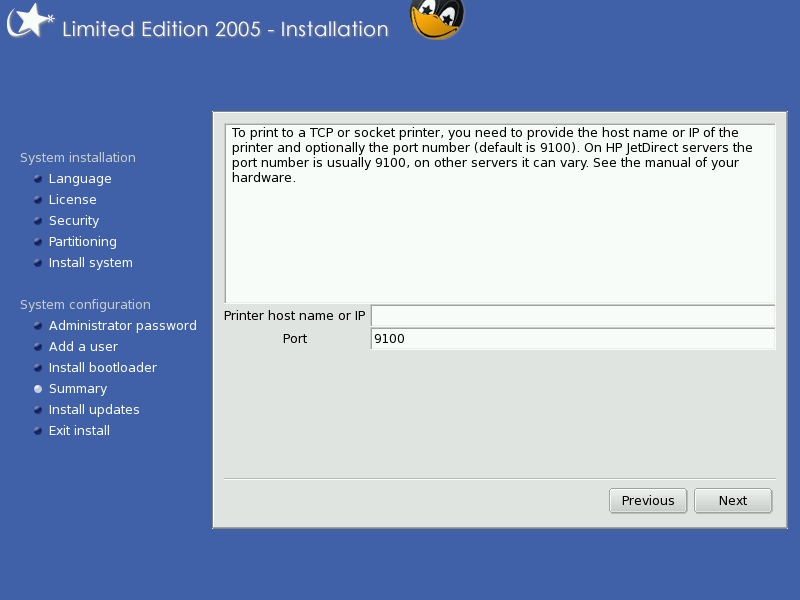 |
| The installer detected the printer name and model... |  |
| ... but then failed to propose the correct driver ... | 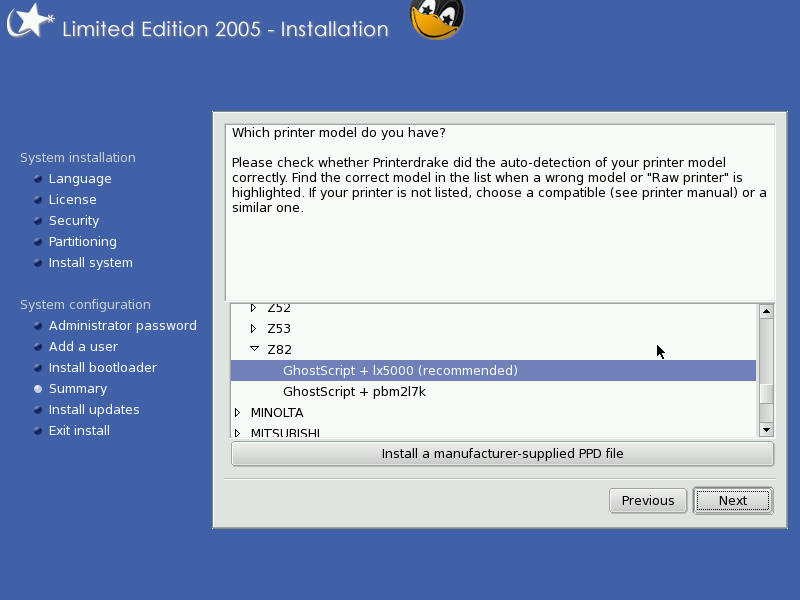 |
| ... so I selected it by hand ... | 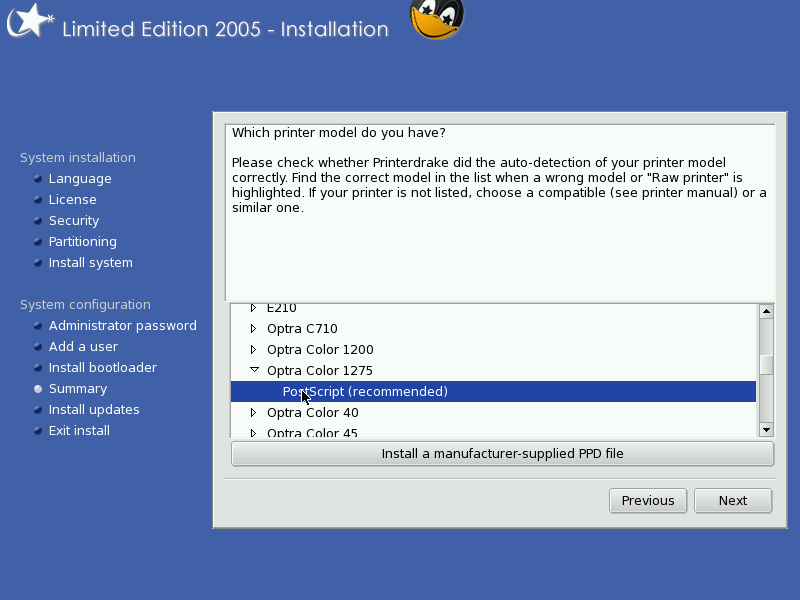 |
| ... checked the settings ... | 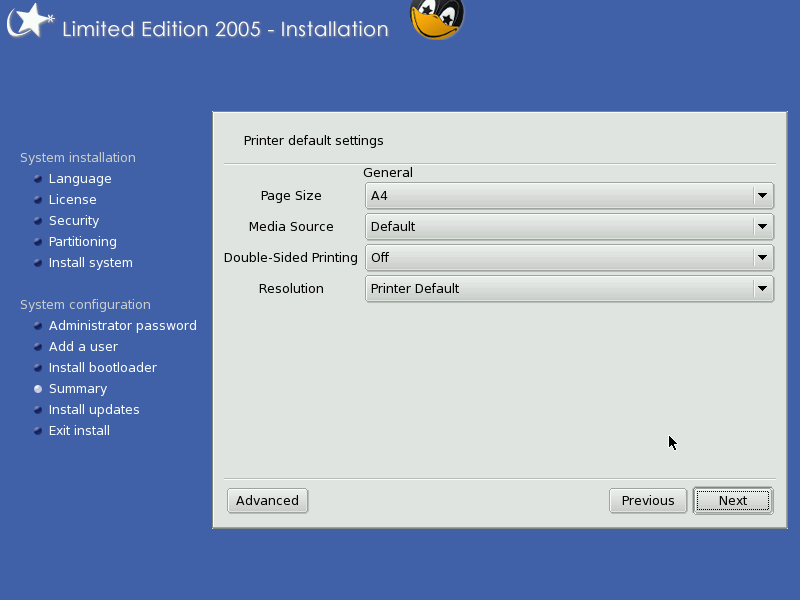 |
| ... and the name and descriptions ... | 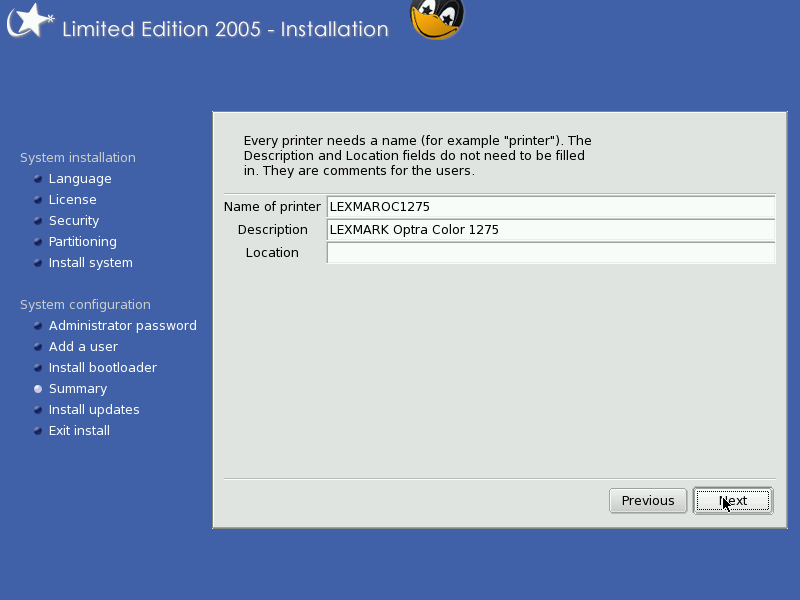 |
| ... and had the system print a test page, which came out fine. | 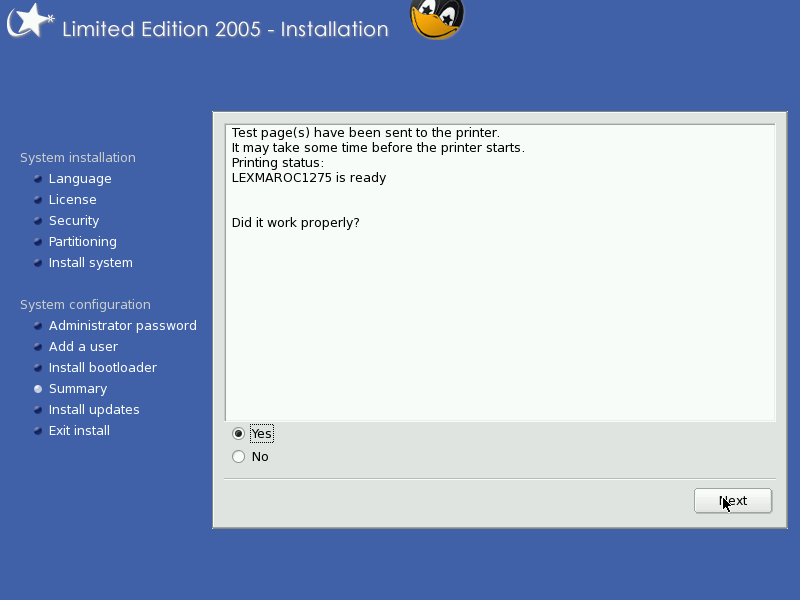 |
| The overview now showed my network printer. |  |
| I then choose to use printer sharing on my local network. After the installation I found that indeed the usb printer on my server was found and could be used. | 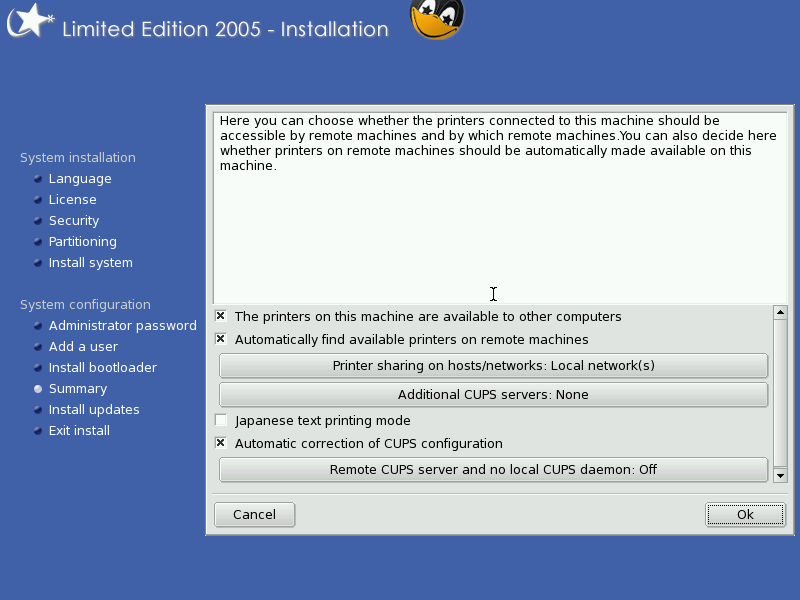 |
Summary -- Graphical interface
| I then set up the graphical stuff. In linux/unix speak this is called the X-server. Since it was indicated in the Summary that this had not been configured I chose to do it now. It automatically detected and proposed the graphics adapter I have. | 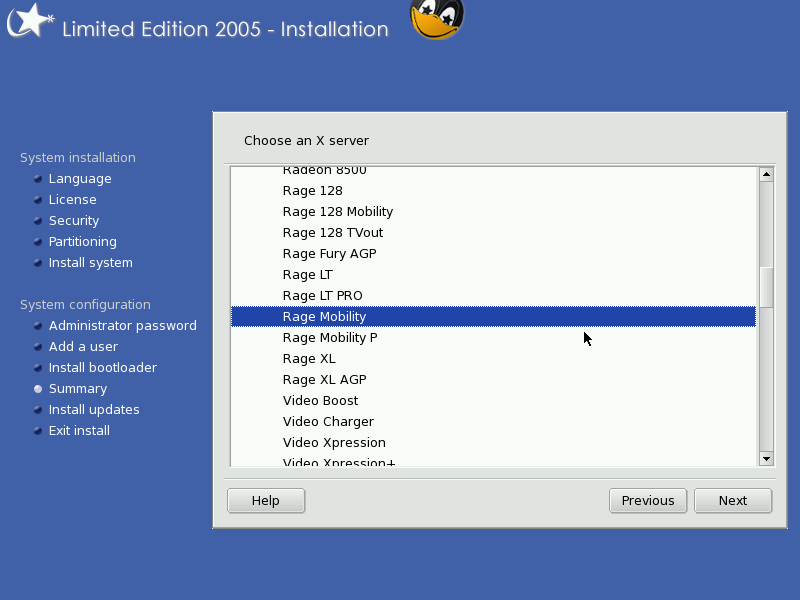 |
| Hooray, my laptop graphics card can now be set to have 3D accelleration! Thanks to the X.org developers! (I had 3D accelleration before, but don't ask how much trouble that cost me..) | 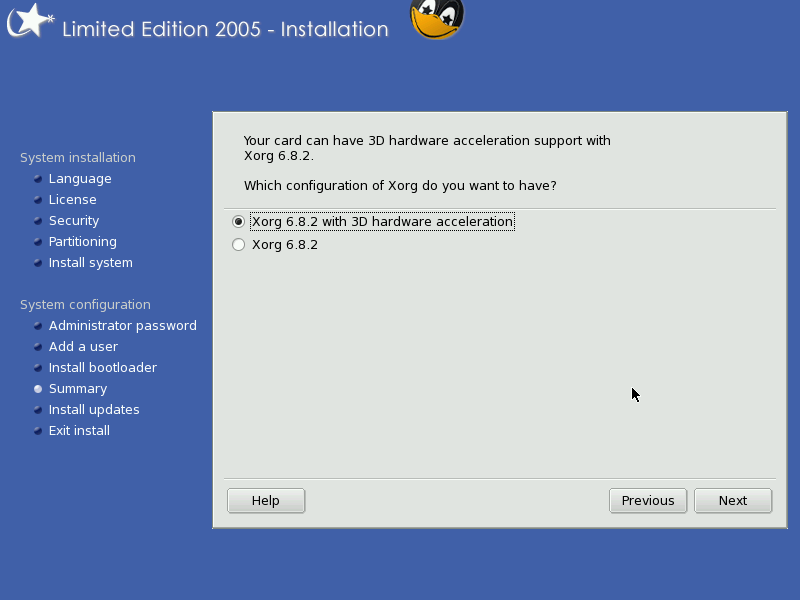 |
| Choice of display type, also correctly identified and proposed. | 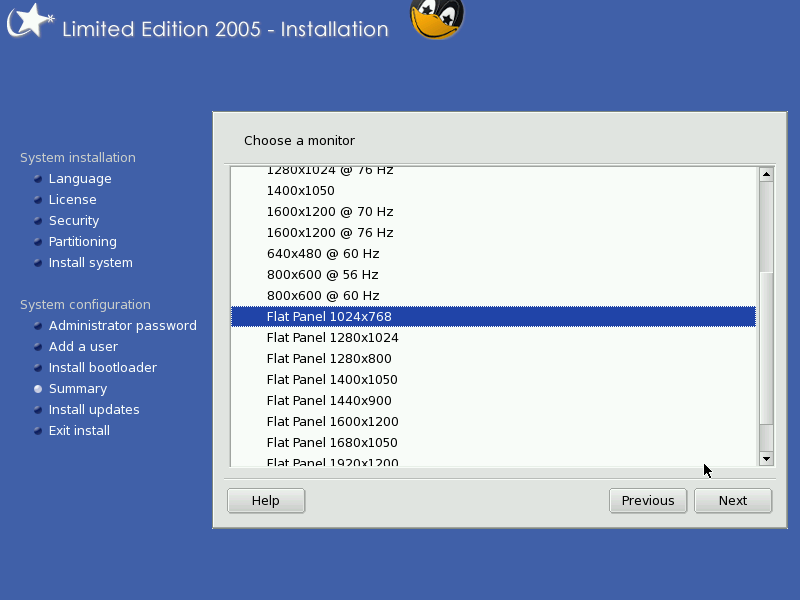 |
| Resolution and colour depth selection. | 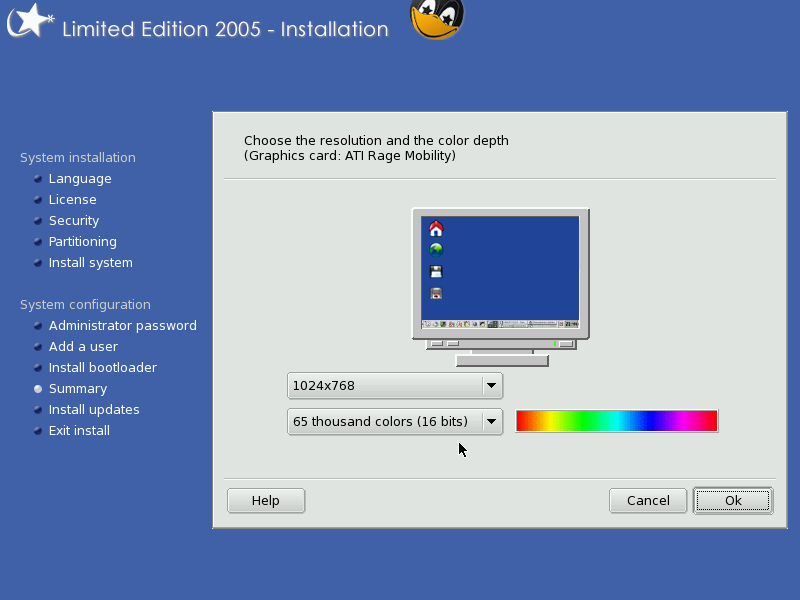 |
| And lastly in the graphics setup, the choice to start graphics mode at boot or not. | 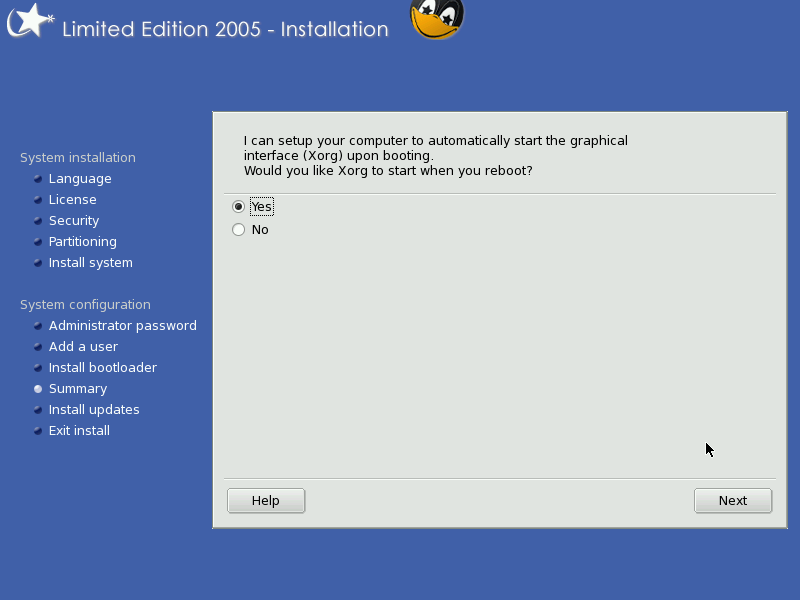 |
Summary -- Servers
| In the servers subsection of the summary, you can select what servers should be activated at boot time. If you don't need certain services, you can turn them off to speed up the boot process. | 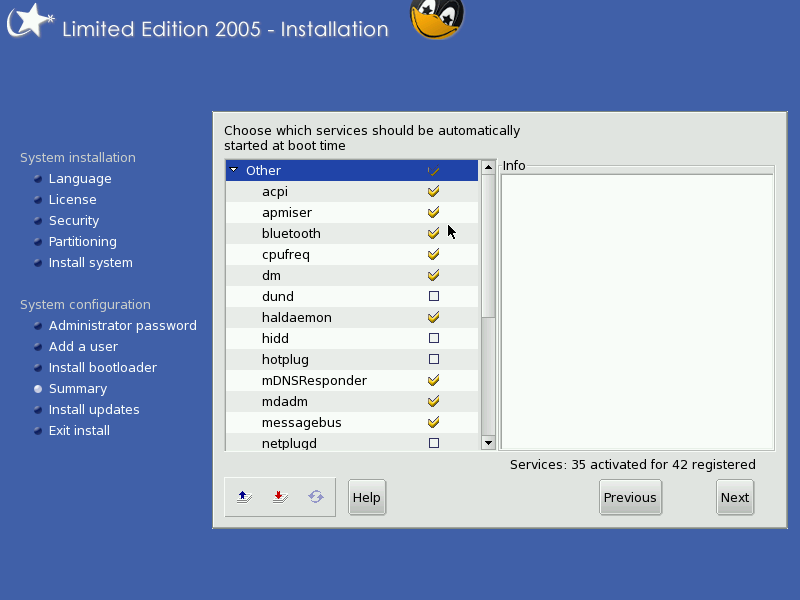 |
Install updates
| Before ending the install, you get to install the updates that have been released after the install cds hit the web. | 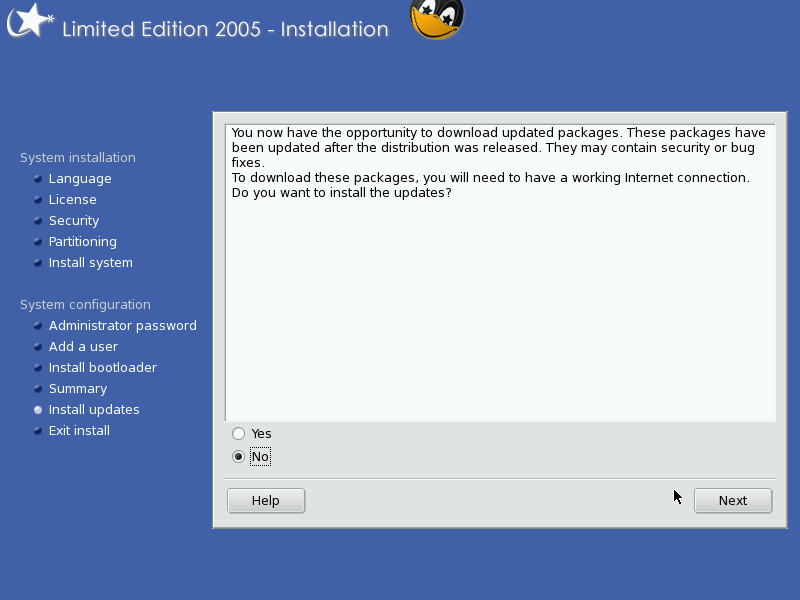 |
End of installation
| Done! It took just over than one hour, not bad for a full system install. |  |
Final remarks
The installation went extremely smooth and relatively fast, both on my desktop and on my laptop (system specs here). It is nice to see that compared to 10.1 OE things have really improved. Good work Mandrakesoft! Ehm... I mean: Mandriva developers! ;-)
Happy installing!
aRTee
Discussion and feedback
If you want to give me feedback you can get to me via my contact info (link at the top) or in this topic: http://mandrivausers.org/index.php?showtopic=26435. I'm tracking that topic, so as soon as you add a message I will be notified and read up on your comments. That forum is also great for help in case of problems.
All contents © copyright 2003 - 2007, unless mentioned otherwise, published under the GNU Free Documentation License (FDL) by aRTee. Artwork and CSS don't fall under the FDL, standard copyright applies. Tux image from Larry Ewing. You may use anything published under the FDL on this site freely, as long as you include this copyright notice and a reference to the main address of this site: www.mandrake.tips.4.free.fr.


